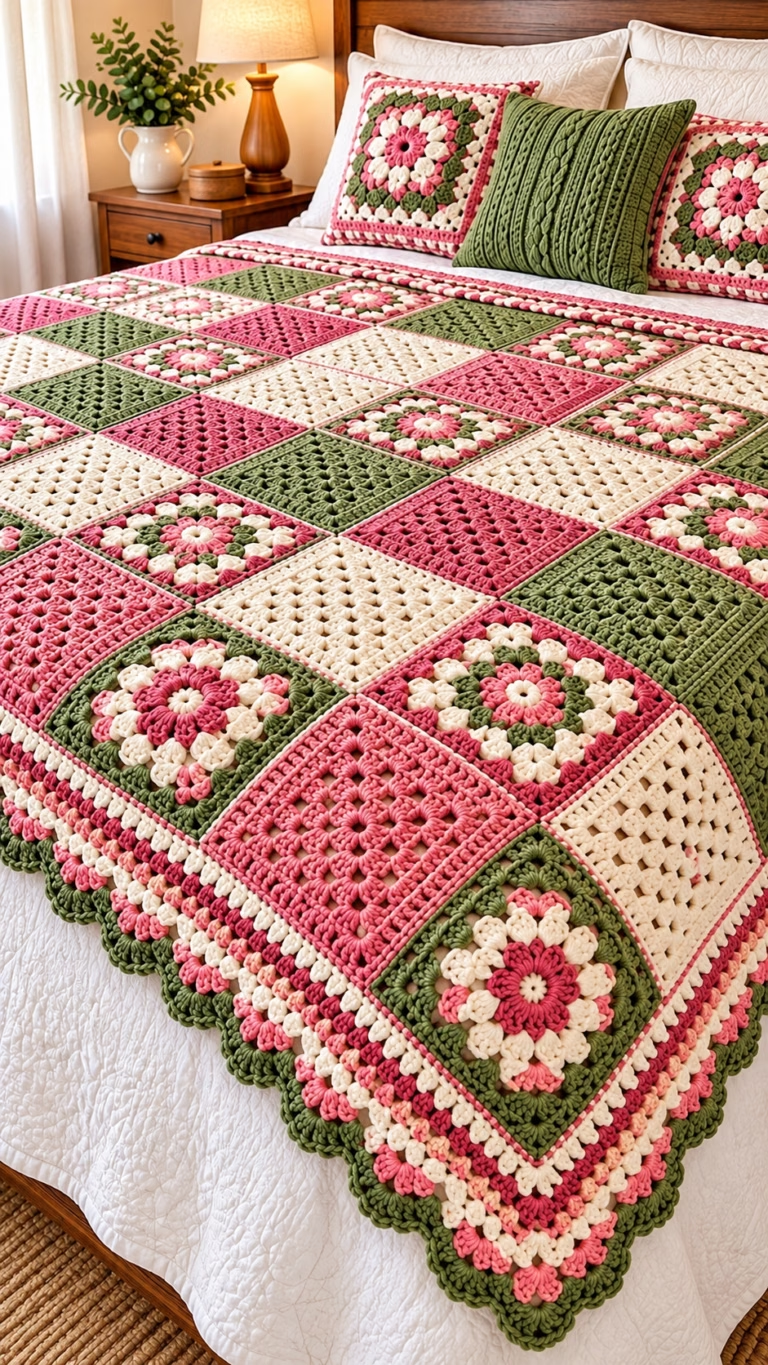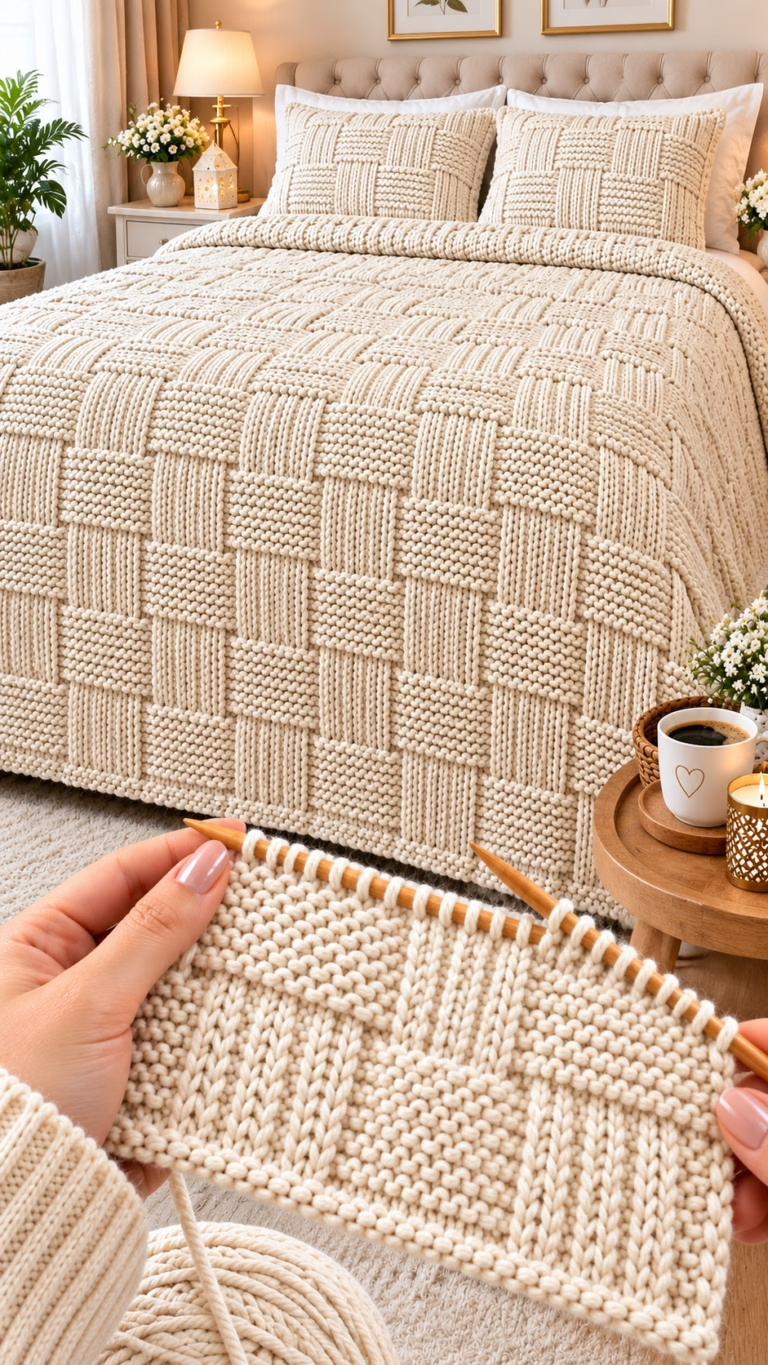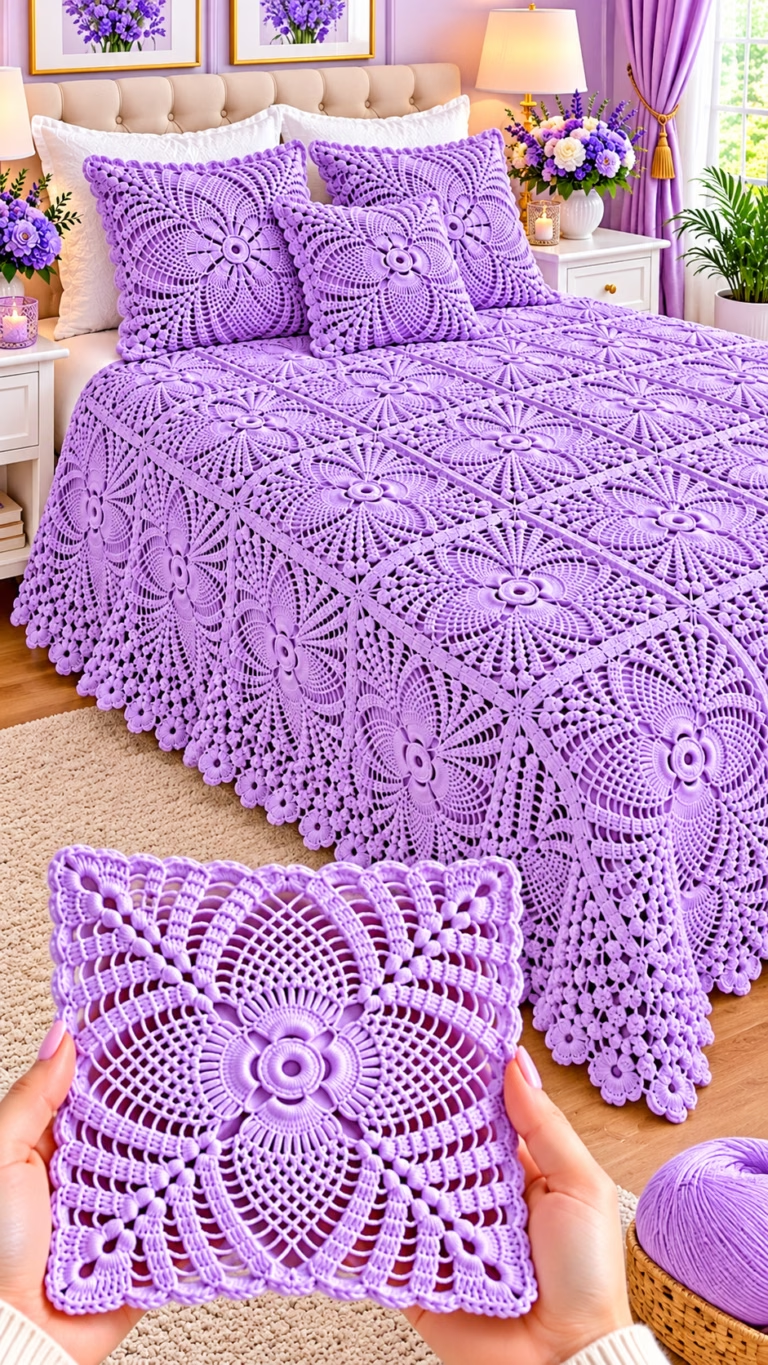
📖 INTRODUCTION
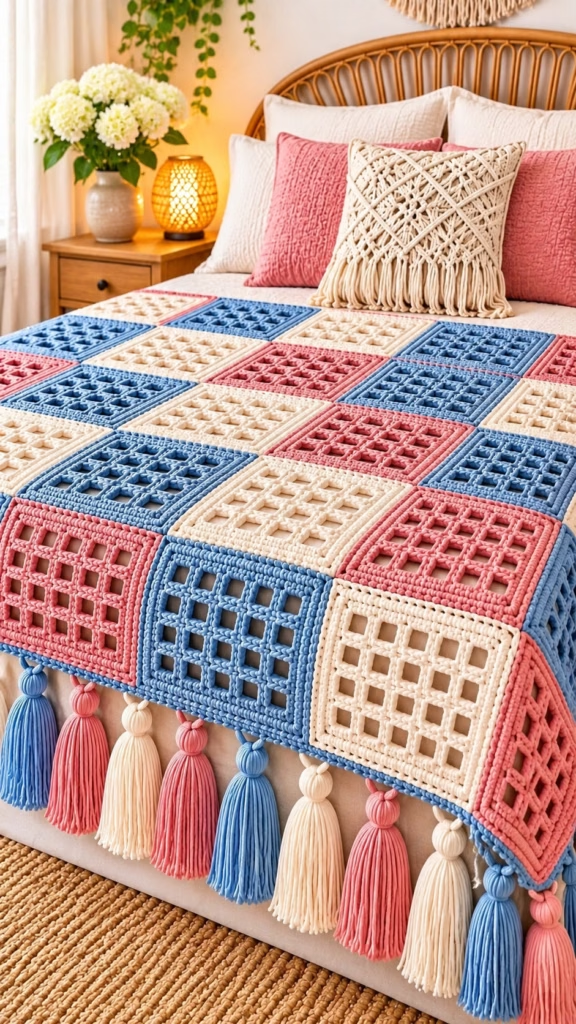
Drape your bed or favorite reading nook in bold, architectural texture with the Coastal Waffle Grid Bedspread, a free crochet blanket pattern featuring chunky open-lattice squares and lush, oversized fringe tassels. Designed with a striking three-color palette of dusty coral, denim blue, and warm cream, this modern geometric throw brings cozy, breezy boutique charm to any bedroom or living space. Each individual square showcases a crisp, raised grid windowpane center framed by a plump, structured border that gives the finished blanket substantial weight and unmistakable visual depth.
Whether you are crafting an heirloom housewarming gift, refreshing a guest bedroom for spring and summer, or creating a statement textile piece for a boho-coastal interior, this modular crochet blanket is as rewarding to make as it is to display. Because the blanket is built one square at a time, it is an ideal portable project you can work on during quiet evenings, travel, or weekend coffee breaks without wrestling a heavy pile of yarn in your lap until assembly day.
The beauty of this open-grid waffle afghan lies in its endless customization potential. You can stick to the sun-washed coral, blue, and cream coastal palette shown here, shift into earthy terracotta and sage tones for autumn, or work the entire throw in a single monochromatic shade to let the sculpted lattice shadows take center stage. Even better, you can easily add or subtract squares to tailor the dimensions from a cozy sofa lapghan to a generous queen- or king-sized bedspread.
🔍 MAIN PATTERN OVERVIEW
The Coastal Waffle Grid Bedspread is an original modular crochet blanket constructed from individual open-grid squares joined together in an alternating diagonal color layout and finished with a delicate picot-style scalloped edge and oversized yarn tassels.
- 🟦 The Grid Squares (25 Total Motifs): Each square features a 4×4 open-windowpane lattice center built with crisp chain-space grids, surrounded by a thick, raised double-crochet and single-crochet frame. The motifs are worked in three alternating colors—Denim Blue, Dusty Coral, and Warm Cream—arranged in a balanced diagonal checkerboard across a 5-square by 5-square grid.
- 🪡 Clean Invisible Join: The 25 squares are joined edge-to-edge using a flat whipstitch or mattress seam through the back loops, keeping the sturdy ribbed borders of each block distinct and well-defined on the right side of the blanket.
- 🎀 Textured Trim & Statement Tassels: Along the bottom and top borders (or all four edges, if desired), a neat row of Denim Blue single crochet with tiny picot loops creates sturdy anchor points for thick, plush tassels in alternating coral, blue, and cream.
🎯 SKILL LEVEL
Easy to Intermediate
While the foundational stitches are beginner-friendly, achieving crisp, uniform grid squares and clean, invisible seams requires consistent tension and careful stitch placement. This pattern is an approachable next step for adventurous beginners ready to tackle modular blankets.
- 🧶 Working in turned rows to establish an even open-grid mesh
- 🔄 Transitioning from flat rows to working evenly around all four sides of a square
- 📐 Maintaining uniform tension across chain spaces so every motif blocks to the exact same size
- 🪡 Mattress-stitching or whipstitching modular squares together neatly
- ✂️ Making and attaching uniform, full-bodied yarn tassels
📏 FINISHED SIZE
- Standard Throw / Bed Topper (5 x 5 Squares, excluding tassels): Approximately 50 in x 50 in (127 cm x 127 cm)
- Individual Grid Square (blocked): Approximately 10 in x 10 in (25.5 cm x 25.5 cm)
- Tassel Length: Approximately 6.5 in (16.5 cm) each, adding roughly 13 in (33 cm) to the overall drape length when attached to both top and bottom edges.
Factors That Can Change Finished Size:
- 🧶 Yarn Weight & Fiber: Using a lighter worsted (#4) yarn will yield smaller squares (around 8–8.5 in), while a true chunky (#5) or dense cotton-acrylic blend will produce larger, heavier squares.
- 🪝 Hook Size & Tension: Loosening your chain spaces will expand the grid openings; if your squares measure larger than 10 in, drop down one hook size (from 6.5 mm to 6.0 mm).
- 💦 Blocking: Wet or steam blocking relaxes the grid arches and squares off the corners, typically adding 0.5 in to 0.75 in per motif.
🧮 GAUGE
- Individual Motif Gauge: 1 complete Grid Square (Row 1–13 grid + Rounds 1–2 border) = 10 in x 10 in (25.5 cm x 25.5 cm) after light blocking.
- Swatch Check: After completing the 13-row inner grid (before adding the border rounds), your open lattice panel should measure approximately 8 in x 8 in (20.5 cm x 20.5 cm).
Consistent motif sizing is far more important than matching an exact stitch-per-inch count. Measure your first completed square after blocking and adjust your hook size if needed before crocheting the remaining 24 squares.
🧶 REQUIRED YARN AMOUNTS
This design uses Bulky (#5) weight smooth cotton-acrylic blend or plush tubular/chainette yarn (approx. 109–130 yds / 100–120 m per 100 g skein) to achieve the plump, rounded stitch definition seen in the grid bars and thick tassels.
- 🔵 Color A — Denim Blue (9 Squares + Border Edging + 8 Tassels): Approximately 1,150 yards (1,050 meters) / ~950 g
- 🔴 Color B — Dusty Coral (8 Squares + 8 Tassels): Approximately 1,020 yards (930 meters) / ~850 g
- ⚪ Color C — Warm Cream (8 Squares + 8 Tassels): Approximately 1,020 yards (930 meters) / ~850 g
- 🧺 Total Estimated Yarn: Approximately 3,190 yards (2,910 meters) / ~2,650 g
Note: If you choose to attach tassels along only the bottom edge (as displayed draped over the foot of the bed), reduce your total yarn estimate by approximately 120 yards (110 meters) per color.
🧰 MATERIALS
- 🪝 Crochet Hook: US Size K/10.5 (6.5 mm), or size needed to obtain gauge
- 🧶 Yarn: Bulky (#5) smooth cotton-blend or chainette yarn in Color A (Denim Blue), Color B (Dusty Coral), and Color C (Warm Cream)
- 🪡 Tapestry Needle: Large-eye blunt yarn needle suitable for bulky yarn
- 📌 Stitch Markers: At least 8 locking stitch markers (essential for marking corners and spacing border stitches evenly)
- ✂️ Scissors: Sharp craft scissors for trimming ends and shaping tassels
- 📏 Tassel Template: A sturdy piece of cardboard, hardcover book, or tassel maker measuring 6.5 in (16.5 cm) tall
- 🧷 Blocking Supplies: Foam blocking mats, rust-proof T-pins, and a spray bottle or handheld garment steamer
🔤 ABBREVIATIONS – US TERMS
- ch: chain
- ch-sp: chain space
- dc: double crochet
- picot: ch 3, sl st into the 3rd ch from hook (or front loop and left leg of the sc just made)
- rep: repeat
- RS: right side
- sc: single crochet
- sk: skip
- sl st: slip stitch
- sp(s): space(s)
- st(s): stitch(es)
- WS: wrong side
- [ … ] xN: repeat instructions inside brackets N times
📝 NOTES BEFORE YOU BEGIN
- 📐 Construction Logic: Each motif is constructed in two distinct phases. First, you crochet a flat 4×4 open-windowpane lattice in turned rows. Second, without fastening off, you pivot and crochet two structured border rounds around all four sides of the lattice to create the thick, raised picture-frame edge.
- 🔢 Why a 4×4 Windowpane Grid? Looking closely at the reference aesthetic, each square contains 4 open square cutouts across by 4 open square cutouts down (16 open windows per motif), separated by crisp, two-stitch-wide solid vertical and horizontal bars.
- 🧶 Keeping Lattice Bars Crisp: To give the vertical grid bars a plump, structured column appearance rather than a flimsy single-stitch gap, each vertical bar is worked as 2 consecutive double crochets, and each horizontal bar is worked as 2 rows of solid single crochet/double crochet across.
- 🪡 Yarn Tails: Leave a 14-inch (35 cm) tail when fastening off each square; you will use these tails to whipstitch adjacent motifs together seamlessly.
- 🎨 Color Layout: The 25 squares (5 columns x 5 rows) follow a repeating diagonal color sequence so no two squares of the same color ever touch edge-to-edge:
- Row 1: Blue, Coral, Cream, Blue, Coral
- Row 2: Coral, Cream, Blue, Coral, Cream
- Row 3: Cream, Blue, Coral, Cream, Blue
- Row 4: Blue, Coral, Cream, Blue, Coral
- Row 5: Coral, Cream, Blue, Coral, Cream
🪡 COMPLETE PATTERN
🟦 PART 1: Open-Grid Waffle Squares (Make 25 Total)
- Yarn & Quantities:
- Color A (Denim Blue): Make 9 squares
- Color B (Dusty Coral): Make 8 squares
- Color C (Warm Cream): Make 8 squares
- Starting Point: Worked flat from bottom to top to create the 4×4 open-windowpane center, followed immediately by 2 continuous rounds around the perimeter.
🪟 Phase A: The 4×4 Windowpane Lattice Center (Turned Rows)
Foundation: Ch 24 loosely (or use a slightly larger hook for the starting chain so the bottom edge does not pull inward).
- Row 1 (RS — Bottom Horizontal Bar): Sc in 2nd ch from hook and in each ch across. Turn. (23 sc)
- Row 2 (WS — Bottom Horizontal Bar): Ch 2 (counts as first dc here and throughout), dc in next st and in each st across. Turn. (23 dc)
- Row 3 (RS — Window Row 1): Ch 2, dc in next st, [ch 3, sk 3 sts, dc in next 2 sts] x4, ch 3, sk 3 sts, dc in last 2 sts. Turn. (12 dc, 5 ch-3 sps — Note: let’s adjust stitch count to create an exact 4×4 window grid!)
(Design Check — Exact 4×4 Windowpane Arithmetic: Four open windows separated by five vertical bars of 2 dc each = 5 bars x 2 dc = 10 dc, plus 4 windows x 3 ch = 12 ch, totaling 22 stitches across! Let us follow this exact 22-stitch grid count below so every motif has 4 crisp windows across by 4 windows tall.)
Corrected Foundation: Ch 23 loosely.
- Row 1 (RS — Bottom Horizontal Bar): Sc in 2nd ch from hook and in each ch across. Turn. (22 sc)
- Row 2 (WS — Bottom Horizontal Bar): Ch 2 (counts as first dc here and throughout), dc in next st and in each st across. Turn. (22 dc)
- Row 3 (RS — Window Row 1): Ch 2, dc in next st, [ch 3, sk 3 sts, dc in next 2 sts] x4. Turn. (10 dc, 4 ch-3 sps)
- Row 4 (WS — Window Row 1): Ch 2, dc in next st, [ch 3, sk ch-3 sp, dc in next 2 dc] x4. Turn. (10 dc, 4 ch-3 sps)
- Row 5 (RS — Horizontal Grid Bar 1): Ch 1, sc in first 2 dc, [3 sc in ch-3 sp, sc in next 2 dc] x4. Turn. (22 sc)
- Row 6 (WS — Window Row 2): Ch 2, dc in next st, [ch 3, sk 3 sts, dc in next 2 sts] x4. Turn. (10 dc, 4 ch-3 sps)
- Row 7 (RS — Window Row 2): Ch 2, dc in next st, [ch 3, sk ch-3 sp, dc in next 2 dc] x4. Turn. (10 dc, 4 ch-3 sps)
- Row 8 (WS — Horizontal Grid Bar 2): Ch 1, sc in first 2 dc, [3 sc in ch-3 sp, sc in next 2 dc] x4. Turn. (22 sc)
- Row 9 (RS — Window Row 3): Ch 2, dc in next st, [ch 3, sk 3 sts, dc in next 2 sts] x4. Turn. (10 dc, 4 ch-3 sps)
- Row 10 (WS — Window Row 3): Ch 2, dc in next st, [ch 3, sk ch-3 sp, dc in next 2 dc] x4. Turn. (10 dc, 4 ch-3 sps)
- Row 11 (RS — Horizontal Grid Bar 3): Ch 1, sc in first 2 dc, [3 sc in ch-3 sp, sc in next 2 dc] x4. Turn. (22 sc)
- Row 12 (WS — Window Row 4): Ch 2, dc in next st, [ch 3, sk 3 sts, dc in next 2 sts] x4. Turn. (10 dc, 4 ch-3 sps)
- Row 13 (RS — Window Row 4): Ch 2, dc in next st, [ch 3, sk ch-3 sp, dc in next 2 dc] x4. Turn. (10 dc, 4 ch-3 sps)
- Row 14 (WS — Top Horizontal Bar): Ch 2, dc in next st, [3 dc in ch-3 sp, dc in next 2 dc] x4. Turn. (22 dc)
- Row 15 (RS — Top Horizontal Bar): Ch 1, sc in first st and in each st across. Do not fasten off. (22 sc)
🖼️ Phase B: Plump Framed Border (Worked in Joined Rounds, RS Facing)
Now rotate your work to crochet evenly around all four edges of the lattice square, keeping the Right Side (RS) facing you throughout.
- Border Round 1 (Foundation Frame — RS):
- Top Edge: Ch 1, (sc, ch 2, sc) in the first corner st; sc in each of the next 20 sts across the top edge; (sc, ch 2, sc) in the last top corner st.
- Left Side Edge: Rotate 90 degrees clockwise to work down the raw side edge of Rows 15–1. Place 20 sc evenly down the side edge (work 2 sc around the post of each dc row-end and 1 sc in the side of each sc row-end so the edge lies completely flat without ruffling or pulling).
- Bottom Edge: Rotate to work across the opposite side of the foundation chain. Work (sc, ch 2, sc) in the first bottom corner; sc in each of the next 20 sts across the bottom edge; (sc, ch 2, sc) in the last bottom corner.
- Right Side Edge: Rotate 90 degrees clockwise to work up the remaining side edge of Rows 1–15. Place 20 sc evenly up the side edge. Join with a sl st to the first sc of the round. (88 sc, 4 ch-2 corner sps — 22 sc along each of the four sides)
- Border Round 2 (Thick Raised Frame — RS):
- Sl st into the first ch-2 corner sp. Ch 2 (counts as first dc), (dc, ch 2, 2 dc) in the same corner sp.
- [Dc in each of the next 22 sc along the side; work (2 dc, ch 2, 2 dc) in the next ch-2 corner sp] x3.
- Dc in each of the last 22 sc along the fourth side. Join with a sl st to the top of the starting ch-2. (104 dc, 4 ch-2 corner sps — 26 dc along each of the four sides)
- Fasten Off: Cut yarn leaving a 14-inch (35 cm) tail for seaming. Weave in the starting foundation tail securely on the wrong side.
🪡 PART 2: Joining the 25 Squares
- Arrangement: Lay all 25 blocked squares flat on a bed or clean floor in a 5 x 5 grid, following the diagonal color map in Notes Before You Begin (or your own custom color arrangement). Ensure all squares have their Right Side (RS) facing up and their vertical/horizontal lattice bars oriented in the same direction.
- Seaming Method (Flat Back-Loop Whipstitch / Mattress Seam):
- Place two adjacent squares right sides up, side by side.
- Thread one of the 14-inch yarn tails onto your tapestry needle.
- Starting at the corner ch-2 space, insert the needle from bottom to top through the back loop only (BLO) of the first stitch on Square 1, then from bottom to top through the back loop only (BLO) of the corresponding stitch on Square 2.
- Continue lacing stitch-for-stitch across all 26 stitches of the edge, ending in the opposite corner ch-2 space. Gently pull the yarn snug every 5–6 stitches so the seam lies completely flat and the front loops of both squares form a crisp, parallel ridge on the surface.
- Join all 5 horizontal rows of 5 squares first, then join the 5 long vertical seams across the entire blanket. Weave in all seaming tails securely on the wrong side.
🔵 PART 3: Blanket Edging & Picot Anchor Border
- Yarn: Color A (Denim Blue)
- Purpose: Unifies the outer perimeter of the joined blanket and creates neat, evenly spaced picot loops along the bottom (and optionally top) edge for attaching the tassels.
- With RS facing, join Color A (Denim Blue) with a standing sc (or sl st + ch 1, sc) in any outer corner ch-2 space of the assembled blanket. Work (sc, ch 2, sc) in that corner space.
- Side Edges (Left & Right): Work 1 sc in every dc along the outer edge of each square, and 1 sc in each corner ch-2 space where two squares meet (138 sc along each side edge). Work (sc, ch 2, sc) in the next outer corner.
- Bottom Edge (Tassel Edge — 12 Tassels Across):
- Across the 5 bottom squares (138 total stitches across: 26 dc per square x 5 + 8 inner corner ch-2 sps), work evenly in single crochet while placing a picot loop every 11 stitches to serve as a sturdy tassel hanger:
- Sequence across Bottom Edge: Sc in first 8 sts, [picot, sc in next 11 sts] x11, picot, sc in last 8 sts. (138 sc, 12 evenly spaced picots)
- Top Edge:
- If you want tassels on one end only (ideal for draping over the foot of a bed, as shown), work plain sc evenly across the top edge (138 sc) and join with a sl st to the first sc.
- If you want tassels on both ends (ideal for a reversible throw), repeat Step 3 across the top edge so both ends have 12 matching picot anchor loops.
- Fasten Off: Cut yarn and weave in all remaining border ends neatly on the wrong side.
🎀 PART 4: Chunky Oversized Tassels (Make 12 for One Edge, or 24 for Both Edges)
- Yarn & Color Distribution (for 12 Tassels along Bottom Edge):
- Color A (Denim Blue): Make 4 tassels
- Color B (Dusty Coral): Make 4 tassels
- Color C (Warm Cream): Make 4 tassels (Double these quantities to 8 per color if placing tassels on both top and bottom ends.)
- Wrap the Yarn: Cut two 14-inch (35 cm) tying strands of matching yarn and set them aside. Wrap your yarn smoothly and evenly 32 times around your 6.5-inch (16.5 cm) cardboard template. Keep tension relaxed so the strands do not stretch.
- Tie the Top Crown: Slide one 14-inch tying strand underneath all wrapped loops at the top edge of the cardboard. Tie a tight, secure double surgeon’s knot at the very top center, leaving the two tying ends long for attachment.
- Cut the Bottom Fringe: Slide your scissors under the loops at the opposite (bottom) edge of the cardboard and cut straight across in one clean snip. Remove the cardboard.
- Form the Tassel Neck: Smooth all fringe strands downward neatly with your fingers. Take the second 14-inch tying strand and wrap it tightly 4 to 5 times around the bundle approximately 1.25 inches (3 cm) below the top crown. Tie a secure square knot, then thread both ends onto your tapestry needle and pull them down through the center of the tassel head so they blend invisibly into the fringe.
- Trim Evenly: Lay the tassel flat on a table, comb the strands straight with your fingers, and trim the bottom ends straight across so each finished tassel measures 6 inches (15 cm) from crown to tip.
- Attach to Blanket: Using the two long top tying strands, thread each tassel through one of the picot loops along the bottom edge of the blanket in alternating color order (Blue, Coral, Cream, Coral, Blue, Cream… matching the adjacent square colors). Tie a tight double knot on the back of the picot loop, then thread the tying tails down through the crown into the body of the tassel so no knots show.
🎨 STYLING / ASSEMBLY / STABILITY / FINAL SHAPING
📐 Blanket Alignment & Laying Out
- Before seaming, verify that every square has its Right Side (RS) facing upward. On the RS, the two rows of single crochet along the horizontal grid bars look crisp and raised, while the Border Round 2 double crochets show clean, V-shaped top loops.
- Check that the vertical lattice bars run parallel from top to bottom on all 25 squares. Rotating even one square 90 degrees will subtly shift the grid proportion.
🪡 Recommended Assembly Sequence
- Crochet & Block All 25 Squares: Block each square to 10 in x 10 in (25.5 cm x 25.5 cm) before joining so the open windows open into crisp, uniform rectangles.
- Join into 5 Horizontal Strips: Seam 5 squares side-by-side into 5 long rows using the back-loop whipstitch.
- Join the 5 Strips Vertically: Align the corner intersections carefully with locking stitch markers before sewing the 4 long horizontal seams across the blanket width.
- Work the Perimeter Border: Add the Color A single crochet and picot border around the entire assembled blanket.
- Make & Attach Tassels: Assemble all 12 (or 24) tassels, trim them to identical length, and tie them securely into the picot loops.
✅ Final Shaping & Finishing Checklist
- ✅ All 25 squares are oriented with the Right Side facing up and grid bars aligned in the same direction.
- ✅ Diagonal color sequence is consistent across all 5 rows and 5 columns with no accidental color repeats side-by-side.
- ✅ Corner intersections meet cleanly at four-way junctions without puckering or gaps.
- ✅ All yarn tails are woven in securely for at least 3 inches in multiple directions on the wrong side.
- ✅ Tassels hang at uniform length, with neck wraps positioned evenly 1.25 inches from the crown and tying tails hidden inside the fringe.
💡 HELPFUL CROCHET TIPS
- 💡 Use a Larger Hook for the Starting Chain: When beginning each square’s 23-chain foundation, go up half a hook size (7.0 mm) for the chain only, then switch back to 6.5 mm for Row 1. This keeps the bottom bar of your lattice just as stretchy and wide as the top bar.
- 💡 Count Side-Edge Border Stitches Religiously: Placing exactly 20 single crochets along both the left and right raw edges during Border Round 1 is the secret to a perfectly square motif. Place stitch markers halfway down each side edge (marking 10 stitches per half) to keep spacing effortless.
- 💡 Steam Block for Crisp Grid Geometry: Acrylic-cotton blends respond wonderfully to gentle steam blocking. Pin each square to 10 in x 10 in on a foam mat, hover a garment steamer 2 inches above the fabric until warm and damp, pat the grid bars straight with your hands, and let dry completely before unpinning.
- 💡 Batch-Produce Your Squares: Crochet all 9 Denim Blue squares first, followed by the 8 Dusty Coral and 8 Warm Cream squares. Working in color batches builds muscle memory for the stitch counts and keeps your tension remarkably consistent.
- 💡 Keep Tassel Wraps Tension-Free: Avoid pulling the yarn tight while wrapping around your cardboard template. Stretched yarn snaps back once cut, causing uneven, curly tassel strands.
- 💡 Steam the Finished Tassels: Once all tassels are attached, hang the blanket over a door or bed rail and lightly steam the tassels while combing them straight with your fingers for a smooth, boutique-grade drape.
🧼 CARE INSTRUCTIONS
- 🧺 Washing: Machine wash cold on a gentle, delicate cycle inside a large mesh laundry bag, or hand wash gently in cool water with mild detergent. To protect the chunky tassels from tangling during machine washing, loosely braid every 3–4 tassels together and secure the ends with soft hair ties before washing.
- 🚫 Bleach & Fabric Softener: Avoid chlorine bleach and heavy liquid fabric softeners, which can weaken cotton fibers and coat chainette yarn.
- 🌬️ Drying: Gently press out excess water in clean bath towels—never wring or twist the wet blanket, as the weight of wet bulky yarn can stretch the open grid. Lay flat on a clean surface to air dry, smoothing the squares into crisp alignment and straightening the tassel fringe while damp.
- 📦 Storage: Fold neatly and store in a breathable cotton storage bag or linen closet shelf away from direct sunlight to keep the coral and denim tones vibrant.
❓ FAQ
- ❓ Can I adjust the size of this blanket for a larger bed or a baby blanket? Yes! Because each motif measures 10 in x 10 in (25.5 cm x 25.5 cm), you can scale the dimensions easily. For a baby blanket, make a 3 x 3 grid (9 squares = 30 in x 30 in). For a generous Queen bedspread, make a 7 x 7 grid (49 squares = 70 in x 70 in) or 7 x 8 grid (56 squares = 70 in x 80 in).
- ❓ What type of yarn creates the plump, rounded stitch definition shown in the photo? Look for a Bulky (#5) tubular/chainette yarn or a smooth, multi-ply cotton-acrylic blend (such as Bernat Maker Home Dec, Lion Brand Hue + Me, or Paintbox Yarns Cotton Aran held double). Smooth, round-plied yarns highlight the crisp 3D grid bars much better than fuzzy or haloed wool yarns.
- ❓ Can I join the squares as I go (JAYGO) instead of sewing them together at the end? Yes. During Border Round 2, you can replace the corner ch-2 spaces and middle side stitches with slip-stitch joins into the adjacent completed square. However, the flat back-loop whipstitch described in the pattern creates a noticeably cleaner, thicker twin-ridge frame around every individual block.
- ❓ My grid squares are curling at the edges before blocking—is that normal? Completely normal! Because the center is an open mesh surrounded by two dense rounds of double crochet, unblocked squares naturally curl slightly inward. A quick pin-and-steam block relaxes the fibers immediately and turns every motif into a flat, crisp 10-inch square.
- ❓ Are the tassels safe for homes with pets or young children? Because the tassels contain long loose strands tied onto the border, supervise young children and pets around the fringe. If you are making this blanket for a toddler’s room or a home with curious cats, you can omit the tassels altogether and finish the entire perimeter with a clean single-crochet and picot border.
- ❓ How do I keep the tassels from shedding or unraveling over time? If you are using a smooth cotton or chainette yarn that tends to fray at cut ends, tie a tiny, discrete overhand knot at the very tip of each fringe strand or dab a microscopic drop of clear washable fabric fray-check on the cut tips after trimming.