Frozen PB Yogurt Bites
Frozen Greek Yogurt Peanut Butter Bites: The Ultimate Healthy Snack
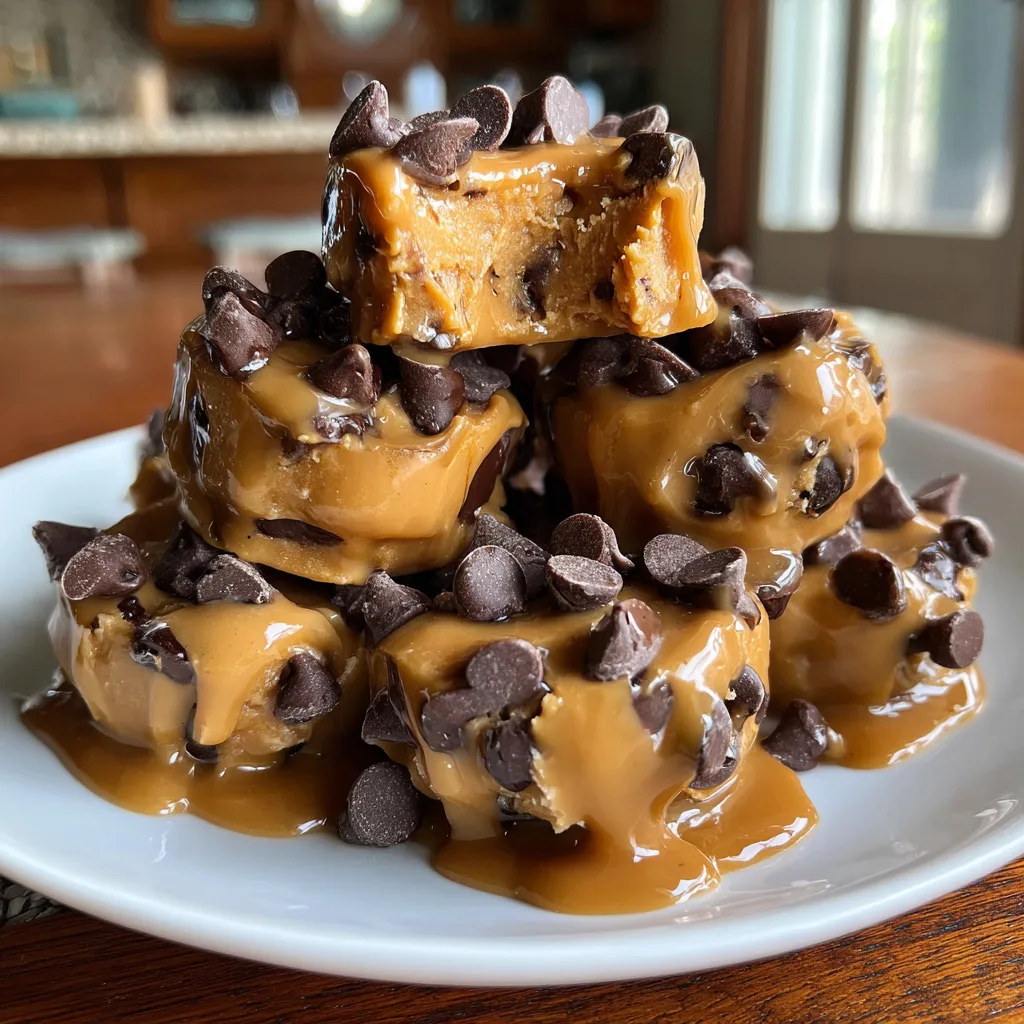
Finding a snack that perfectly bridges the gap between a healthy, protein-packed bite and a decadent, crave-worthy dessert can often feel like an impossible task. We usually have to choose between satisfying our nutritional goals or satisfying our sweet tooth. But what if you could have both? Enter the absolute game-changer of healthy snacking: Frozen Greek Yogurt Peanut Butter Bites. These little nuggets of joy are creamy, rich, perfectly sweetened, and studded with chocolate chips, yet they are packed with wholesome ingredients that will actually keep you fueled.

This recipe has taken the internet by storm for good reason. With just a handful of staple pantry ingredients and absolutely zero baking required, you can whip up a batch of these frozen treats in mere minutes. They are the perfect grab-and-go option for busy mornings, a fantastic post-workout protein boost, or a guilt-free late-night indulgence. Whether you are trying to sneak more protein into your kids’ diets or just want a delicious, cooling treat to keep in the freezer for whenever a craving strikes, these Frozen Greek Yogurt Peanut Butter Bites are guaranteed to become a permanent fixture in your meal prep routine.
Why You Will Love This Recipe
The beauty of this recipe lies in its elegant simplicity and its nutritional profile. The base of these bites is made from plain or vanilla Greek yogurt. Greek yogurt is renowned for being incredibly thick, creamy, and loaded with protein—often packing twice as much protein as regular yogurt. This provides a satisfying, satiating base that prevents blood sugar spikes.
When you blend that tangy, creamy yogurt with rich, nutty peanut butter, magic happens. The peanut butter adds a dose of healthy fats and that classic, comforting flavor we all love. A touch of natural sweetener, like pure maple syrup or honey, rounds out the tartness of the yogurt without making the bites cloying. Finally, the addition of semi-sweet or dark chocolate chips provides the perfect textural crunch and a necessary hit of rich chocolate flavor. The result is a snack that tastes remarkably like peanut butter cheesecake ice cream, but with a fraction of the calories and a massive boost of nutrition.
The Secret to the Perfect Texture
Because we are dealing with frozen yogurt, texture is everything. You want these bites to be smooth and creamy, not icy and rock-hard. The fat content in the ingredients plays a crucial role here.
First, opt for full-fat or 2% Greek yogurt rather than fat-free. The fat helps prevent the formation of large ice crystals during the freezing process, ensuring a smoother, more ice-cream-like mouthfeel. Second, use a natural, creamy peanut butter where the only ingredients are peanuts and salt. Processed peanut butters with added oils and stabilizers can sometimes separate weirdly when frozen. The natural oils in the pure peanut butter will seamlessly blend with the yogurt, creating a luscious, velvety batter.
Lastly, do not overmix once you add the chocolate chips. You want those chips evenly distributed, but overworking the batter can sometimes cause the yogurt to thin out. Just a gentle fold is all you need before portioning them out.
Ingredients
You only need a few simple ingredients to make these incredible frozen treats. Quality matters, so use a good, thick yogurt and your favorite natural peanut butter.
For the Yogurt Base:
- – 1 cup plain or vanilla Greek yogurt (whole milk or 2% preferred for creaminess)
- – 1/2 cup natural creamy peanut butter (just peanuts and salt)
- – 2 to 3 tablespoons pure maple syrup or honey (adjust to your sweetness preference)
- – 1 teaspoon pure vanilla extract
- – 1/2 cup mini semi-sweet or dark chocolate chips (plus a few extra for topping)
- – A tiny pinch of flaky sea salt (optional, to enhance the peanut butter flavor)
Instructions
These bites come together incredibly quickly. The hardest part is simply waiting for them to freeze!
- Prepare Your Molds: The easiest way to make these is using a silicone mini muffin pan, as the frozen bites will pop out effortlessly. If you don’t have one, line a standard mini muffin tin with paper liners, or use a flexible silicone ice cube tray. Set aside.
- Mix the Base: In a medium-sized mixing bowl, add the Greek yogurt, natural creamy peanut butter, maple syrup (or honey), and vanilla extract.
- Whisk to Combine: Use a whisk or a rubber spatula to vigorously mix the ingredients together. Keep stirring until the mixture is completely smooth, uniform in color, and has the consistency of thick pudding or cheesecake batter.
- Fold in the Chocolate: Pour in the mini chocolate chips. Use your spatula to gently fold the chips into the yogurt mixture until they are evenly distributed. Do not overmix.
- Portion the Bites: Using a small cookie scoop or two spoons, portion the mixture into your prepared silicone mold or lined muffin tin. Fill each cavity almost to the top. This recipe should yield about 12 to 15 mini bites, depending on the size of your mold.
- Add Toppings: Gently tap the pan on the counter a few times to smooth out the tops and remove any air bubbles. Sprinkle a few extra mini chocolate chips on top of each bite for a beautiful presentation. If using, sprinkle a tiny pinch of flaky sea salt over the tops.
- Freeze: Place the pan level in the freezer. Allow the bites to freeze completely solid. This usually takes about 2 to 3 hours, depending on your freezer’s temperature.
- Unmold and Enjoy: Once frozen solid, pop the bites out of the silicone mold or peel off the paper liners. Enjoy immediately, or transfer them to a freezer-safe storage bag or container for later!
Creative Variations to Try
This recipe is a fantastic blank canvas. Once you master the base, try experimenting with different flavor profiles to keep your snack time exciting:
- Almond Joy Bites: Swap the peanut butter for almond butter. Use coconut-flavored Greek yogurt, add a tablespoon of shredded coconut to the batter, and top with an almond.
- Berry Blast: Instead of chocolate chips, fold in very finely diced strawberries or whole wild blueberries. A swirl of fruit jam in the center before freezing is also a delightful surprise.
- Protein Power: If you want to use these as a serious post-workout supplement, whisk a scoop of your favorite vanilla or chocolate protein powder into the yogurt base. You may need to add a splash of almond milk if the batter becomes too thick.
Storage and Serving Tips
Because these are made with real yogurt and no artificial stabilizers, they will melt relatively quickly at room temperature. They are meant to be eaten straight from the freezer.
Store the completely frozen bites in an airtight, freezer-safe container or a heavy-duty zip-top freezer bag. They will keep beautifully in the freezer for up to two months—though they rarely last that long without getting eaten! If they are a bit too hard right out of the freezer, let them sit at room temperature for just 2 to 3 minutes to soften slightly before taking a bite, achieving that perfect, creamy ice-cream texture.
Conclusion
Frozen Greek Yogurt Peanut Butter Bites are the ultimate proof that healthy eating does not have to be boring or restrictive. By combining protein-rich Greek yogurt, heart-healthy peanut butter, and the irresistible allure of chocolate chips, you can create a snack that feels like a cheat-day dessert but fuels your body like a champion. They are quick, easy, kid-friendly, and endlessly customizable. Keep a stash of these in your freezer, and you will always be just moments away from a cool, creamy, and completely satisfying treat.
Frozen Greek Yogurt Peanut Butter Bites
Ingredients
Equipment
Method
- In a medium bowl, whisk together the Greek yogurt, peanut butter, maple syrup, and vanilla extract until completely smooth.
- Gently fold in the mini chocolate chips.
- Spoon or scoop the mixture into a silicone mini muffin pan or lined mini muffin tin, filling almost to the top.
- Tap the pan on the counter to smooth the tops. Sprinkle a few extra chocolate chips and a pinch of flaky salt on each bite.
- Place in the freezer for 2 to 3 hours until completely solid.
- Pop out of the molds and enjoy immediately, or transfer to a freezer-safe bag to store.