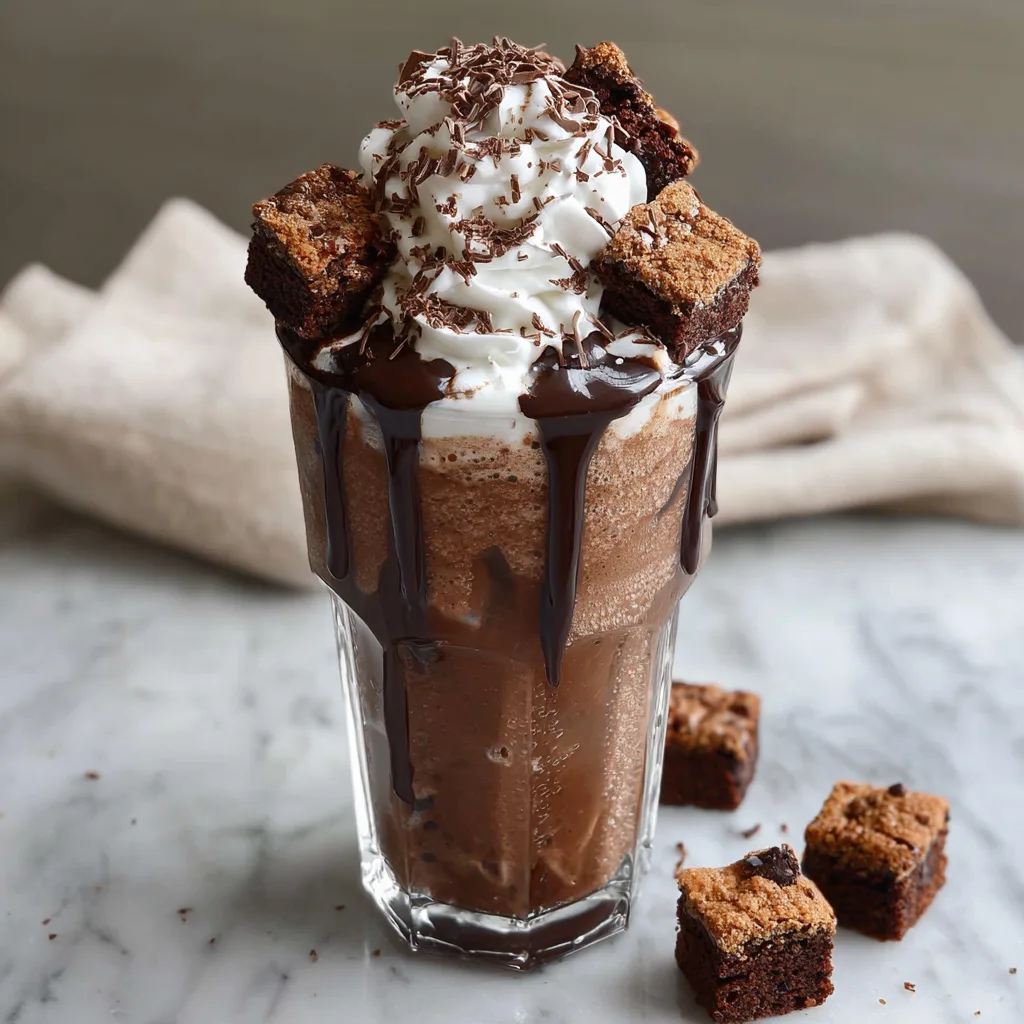
Thick and Creamy Homemade Brownie Batter Milkshake
The Ultimate Homemade Brownie Batter Milkshake Guide
There are chocolate milkshakes, and then there is the Homemade Brownie Batter Milkshake. This isn’t just a drink; it is a full-blown dessert experience that bridges the gap between a frozen treat and a baked good. Imagine the nostalgic, guilty pleasure of licking the spoon after mixing a batch of brownies, but transformed into a frosty, drinkable masterpiece. It is thick, rich, and packed with that distinct, deep cocoa flavor that only brownie batter can provide.
If you have been searching for a dessert that satisfies the deepest of chocolate cravings, look no further. This milkshake is designed for the true chocoholic. It moves beyond the standard chocolate syrup and milk combination to incorporate real brownie texture and flavor. Whether you are cooling off on a hot summer day or just looking for a comfort food fix on a Friday night, this recipe delivers restaurant-quality indulgence right in your own kitchen. The best part? It comes together in minutes with ingredients you likely already have in your pantry and freezer.
In this comprehensive guide, we will walk you through exactly how to achieve that perfect “spoon-licking” flavor safely, how to get the texture just right, and why this specific method blows fast-food shakes out of the water.
Why You Need This Shake in Your Life
We often settle for mediocre milkshakes. You know the ones—thin, watery, and tasting vaguely of artificial chocolate syrup. This recipe is the antidote to those disappointments. Here is why this Brownie Batter Milkshake stands out:
- Authentic Flavor: By incorporating actual brownie mix (heat-treated for safety) or baked brownie chunks directly into the blend, we achieve a depth of flavor that syrup alone cannot replicate.
- Texture Contrast: The smoothness of the vanilla ice cream clashes beautifully with the slightly gritty, fudgy texture of the batter and the chewiness of the brownie chunks.
- Customizable Thickness: Making this at home means you control the consistency. Do you like a shake you have to eat with a spoon? Or one that slides easily up a straw? You are the boss.
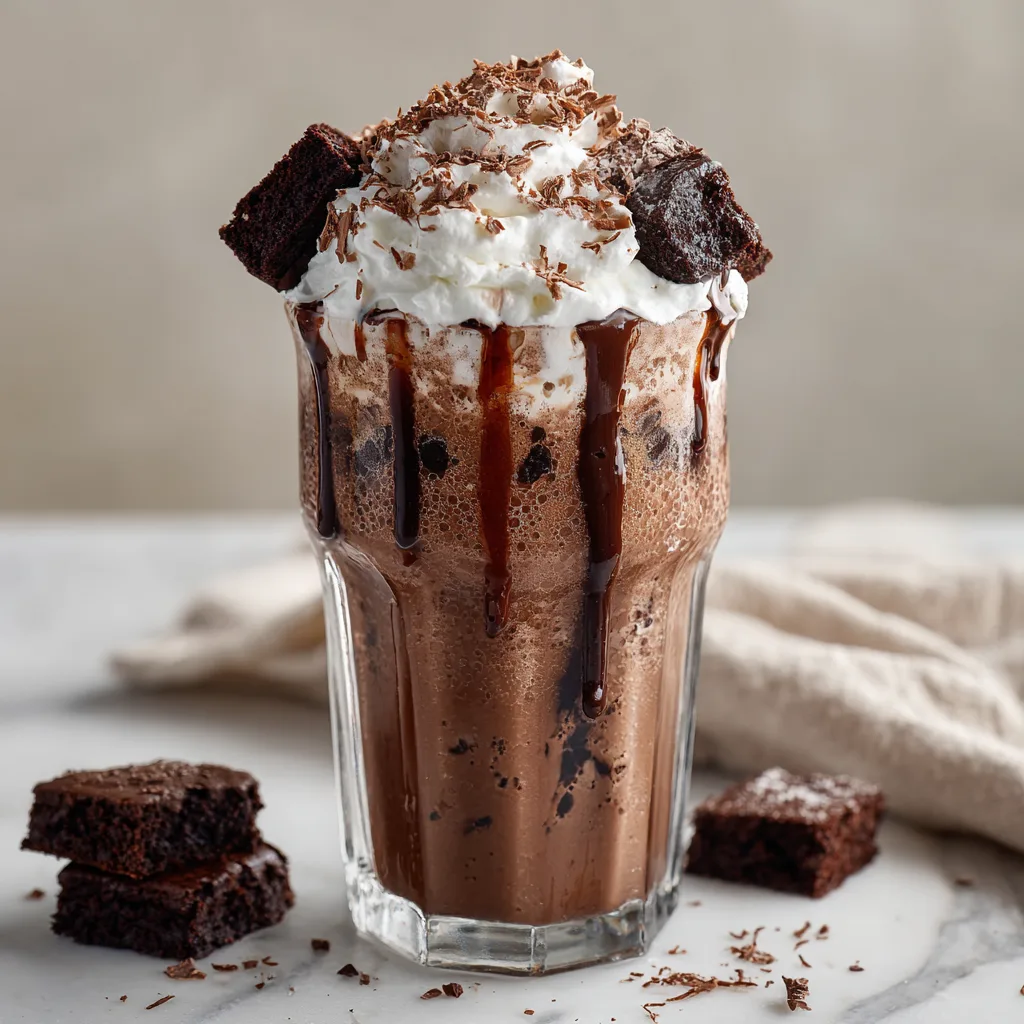
- Visual Appeal: With its towering whipped cream and studded brownie garnish, this shake is Instagram-ready and looks like it cost $15 at a fancy boutique creamery.
The Secret to Safety: Heat-Treating Flour
Before we dive into the ingredients, we must address the “batter” component. Many people love the taste of raw brownie batter, but eating raw flour can be a health risk due to bacteria like E. coli. Since we are adding dry mix to this shake to get that authentic batter taste, we recommend heat-treating your flour or brownie mix first.
It is a simple process: spread the amount of dry mix or flour you plan to use on a baking sheet and bake at 350°F for about 5 minutes, or microwave it in a bowl for 30-second intervals until it reaches 165°F. This kills off any potential bacteria, ensuring your delicious shake is 100% safe to consume.
Ingredients
The magic of this milkshake lies in the ratio of its components. Here is what you will need to gather:
- Vanilla Bean Ice Cream: – This is the base. High-quality vanilla bean ice cream provides a creamy, neutral canvas that lets the chocolate flavors shine without competing. Avoid “frozen dairy dessert” labeled tubs; go for real ice cream for the best melt and mouthfeel.
- Whole Milk: – Fat equals flavor and texture. Whole milk ensures the shake stays creamy rather than icy. You can use 2% if you prefer, but skim milk will make the shake too thin.
- Heat-Treated Brownie Mix: – This is the secret weapon. A few tablespoons of dry brownie mix (boxed or homemade dry mix) give that specific “batter” flavor.
- Baked Brownie Chunks: – You will need these for blending into the shake for texture and for garnishing the top. Store-bought brownie bites work perfectly if you don’t want to bake a whole pan.
- Cocoa Powder: – A teaspoon of unsweetened cocoa powder boosts the chocolate intensity without adding extra sugar.
- Chocolate Syrup: – Used for drizzling inside the glass for that aesthetic “drip” look and for topping.
- Whipped Cream: – Freshly whipped heavy cream or a can of spray topping works. This cuts the richness of the chocolate.
Instructions
Follow these steps to build the ultimate chocolate lover’s dream.
1. Prepare the Glass
Before you even touch the blender, prep your serving glass. Drizzle chocolate syrup generously along the inside walls of a tall glass. Place the glass in the freezer for 5-10 minutes. This chills the glass to keep your shake cold longer and freezes the syrup drips in place for a stunning presentation.
2. Heat Treat the Mix (If using raw mix)
If you are using dry brownie mix powder to enhance the flavor, ensure it has been heat-treated (baked at 350°F for 5 mins) and cooled. If you are just using baked brownie chunks, you can skip this step.
3. Blend the Base
In a high-powered blender, combine the vanilla ice cream, whole milk, and the heat-treated brownie mix (or cocoa powder). Start with less milk (about 1/4 cup) and add more only if needed. Pulse the blender to break up the hard ice cream. You want a thick vortex to form.
4. Add the Texture
Once the base is smooth, toss in a handful of baked brownie chunks. Pulse the blender 2 or 3 times—do not liquefy them! You want small, chewable bits of brownie suspended throughout the drink, not a completely smooth puree.
5. Pour and Assemble
Retrieve your chilled, chocolate-striped glass from the freezer. Pour the thick milkshake into the glass. It should be thick enough that it piles up slightly rather than settling flat immediately.
6. The Grand Finale
Top immediately with a massive swirl of whipped cream. Nestles larger chunks of brownies into the cream. Drizzle with extra chocolate sauce or sprinkle with chocolate shavings. Insert a wide-gauge straw and serve immediately.
Tips for the Perfect Consistency
The “Blizzard” Effect: If you want a shake so thick you can flip it upside down (like a certain famous treat), reduce the milk to a mere splash and use a tamper tool in your blender to push the ice cream down into the blades. You will likely need to eat this with a spoon.
Room Temperature Milk: It sounds counterintuitive, but if your milk is ice cold, it might freeze upon contact with the hard ice cream, making it harder to blend. Letting your milk sit for 5 minutes before blending can help create a smoother emulsion.
Don’t Over-Blend: The friction from blender blades creates heat. If you leave the blender running for a minute straight, your shake will turn into sweet chocolate soup. Short, powerful pulses are the key to keeping it frozen and thick.
Variations to Try
Once you have mastered the base recipe, try these fun twists to keep things exciting:
- The Boozy Brownie: For the adults, add a shot of Bailey’s Irish Cream, Kahlua, or Chocolate Liqueur. The alcohol will make the ice cream melt faster, so reduce the milk amount accordingly.
- Peanut Butter Brownie: Add a generous tablespoon of creamy peanut butter to the blender. Peanut butter and chocolate are a match made in heaven.
- Mint Chocolate: Add a drop of peppermint extract and use mint chocolate chip ice cream instead of vanilla. Garnish with crushed peppermint candies.
- Salted Caramel: Drizzle salted caramel sauce inside the glass along with the chocolate, and add a pinch of sea salt to the blender to enhance the chocolate flavor.
- Vegan Option: Substitute the dairy ice cream for a coconut milk or oat milk vanilla frozen dessert. Use almond milk for the liquid and ensure your brownie mix/chunks are vegan-friendly.
Fun Facts and Cultural Context
The term “milkshake” first appeared in print in 1885, but back then, it wasn’t the kid-friendly treat we know today. It was actually an alcoholic whiskey drink! It wasn’t until the early 1900s, with the invention of the electric blender, that the milkshake evolved into a wholesome combination of milk, syrup, and ice cream.
Brownies, on the other hand, are a distinctly American invention, originating in the late 19th century. Legend has it that a housewife in Bangor, Maine, was making a chocolate cake but forgot to add baking powder, resulting in a flat, dense, and fudgy bar. Combining these two American icons—the milkshake and the brownie—creates a dessert that is deeply rooted in comfort food culture.
Serving Suggestions
This milkshake is rich enough to be a dessert on its own, but if you are serving it at a party, consider these pairings:
- Salty Snacks: The sweetness of the shake pairs perfectly with salty pretzels or potato chips. The salt cuts through the sugar and cleanses the palate.
- Fresh Fruit: Serve with a side of fresh strawberries or raspberries. The tartness of the berries balances the heavy chocolate flavor.
- Burger and Fries: Embrace the classic diner vibe. There is nothing quite like dipping a hot, salty French fry into a cold brownie batter milkshake.
Conclusion
Making a Homemade Brownie Batter Milkshake is one of the highest-reward activities you can do in the kitchen for the least amount of effort. It transforms humble ingredients into a spectacular treat that looks and tastes like a celebration. Whether you are baking brownies specifically for this recipe or just using up leftovers (if there is such a thing as leftover brownies), the result is always a crowd-pleaser.
So, grab your blender, raid your freezer, and get ready to sip on pure chocolate bliss. Just remember: heat-treat that flour, don’t over-blend, and never skimp on the whipped cream!
Homemade Brownie Batter Milkshake
Ingredients
Equipment
Method
- If using raw brownie mix powder, spread it on a baking sheet and bake at 350°F for 5 minutes to heat-treat it. Let cool completely.
- Drizzle the inside of two tall glasses with chocolate syrup and place them in the freezer to chill.
- In a blender, combine vanilla ice cream, milk, heat-treated brownie mix, and cocoa powder.
- Blend on high until smooth and creamy. If too thick, add a splash more milk.
- Add half of the prepared brownie chunks to the blender and pulse 2-3 times just to break them up slightly (do not puree).
- Pour the milkshake into the chilled glasses.
- Top generously with whipped cream and the remaining brownie chunks.
- Serve immediately with a straw and a spoon.