📖 B. INTRODUCTION
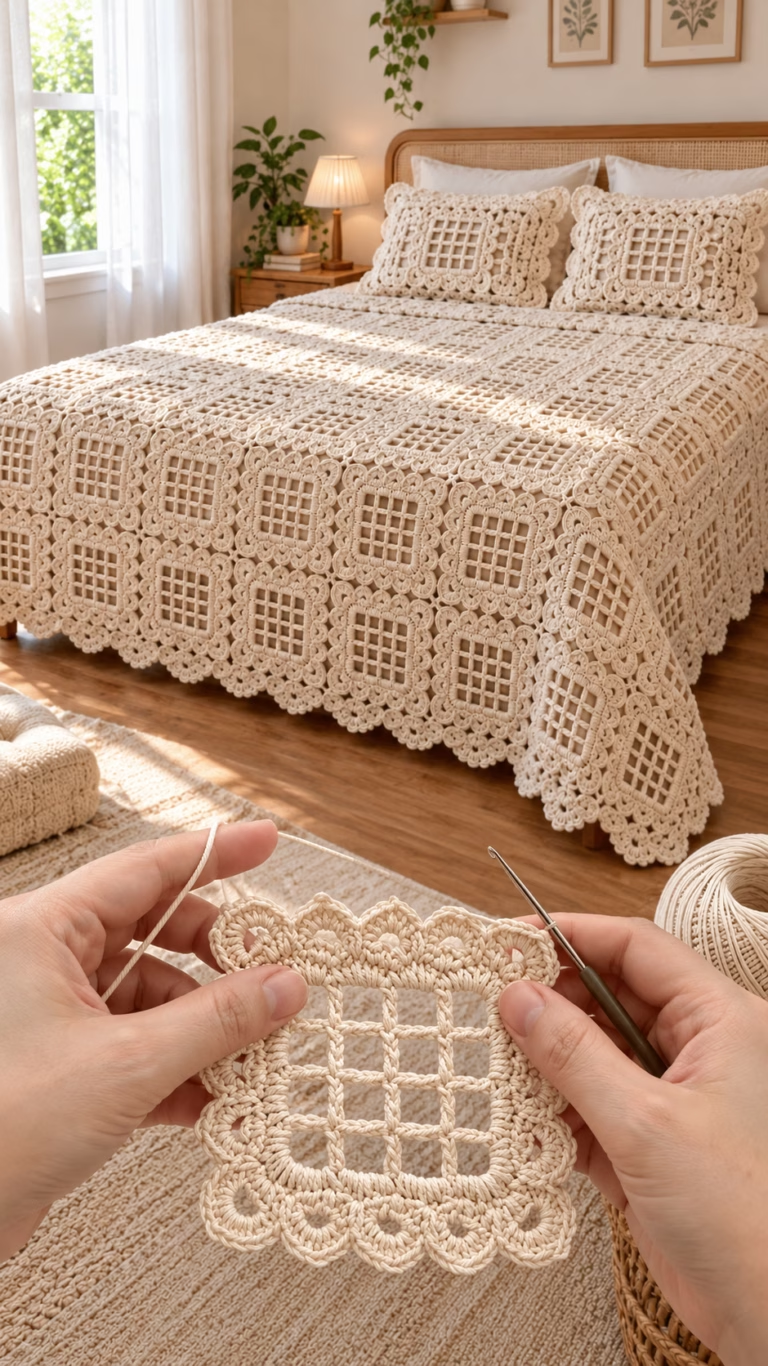
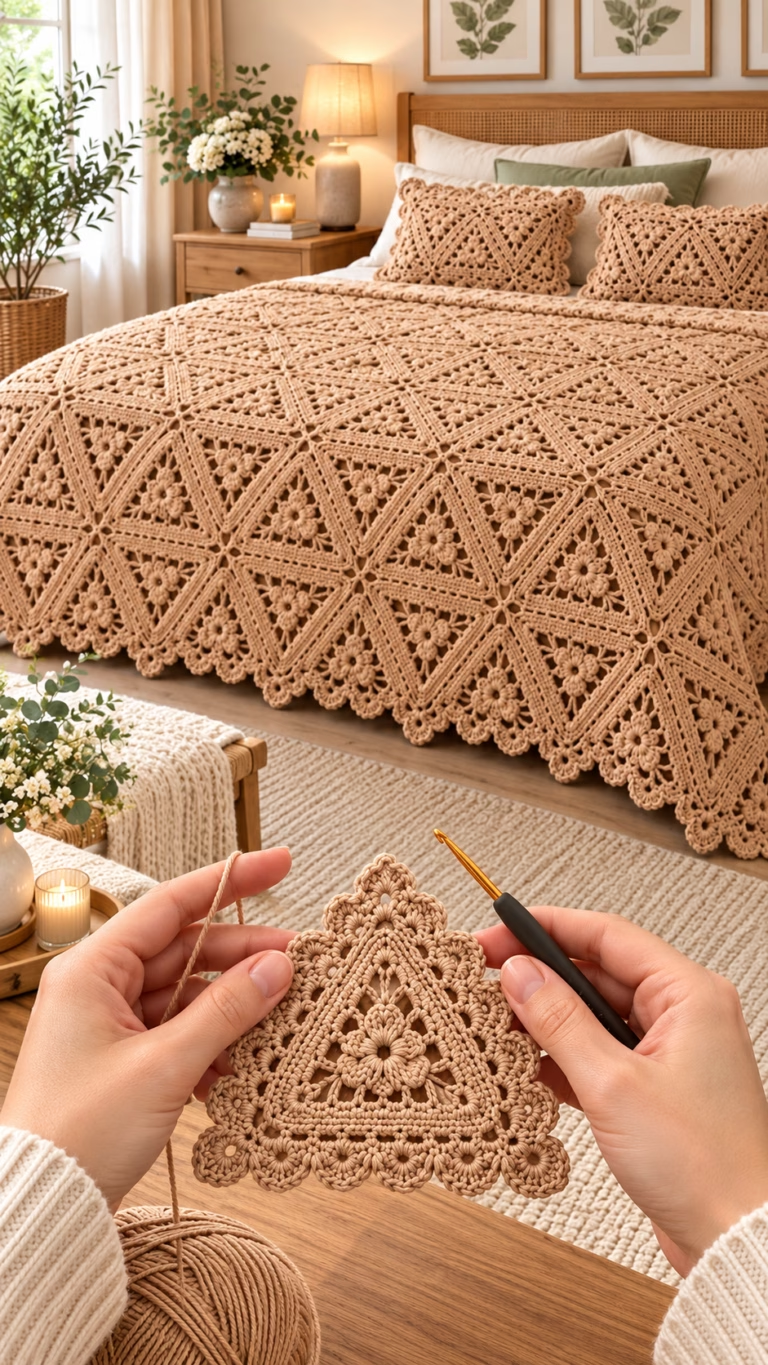
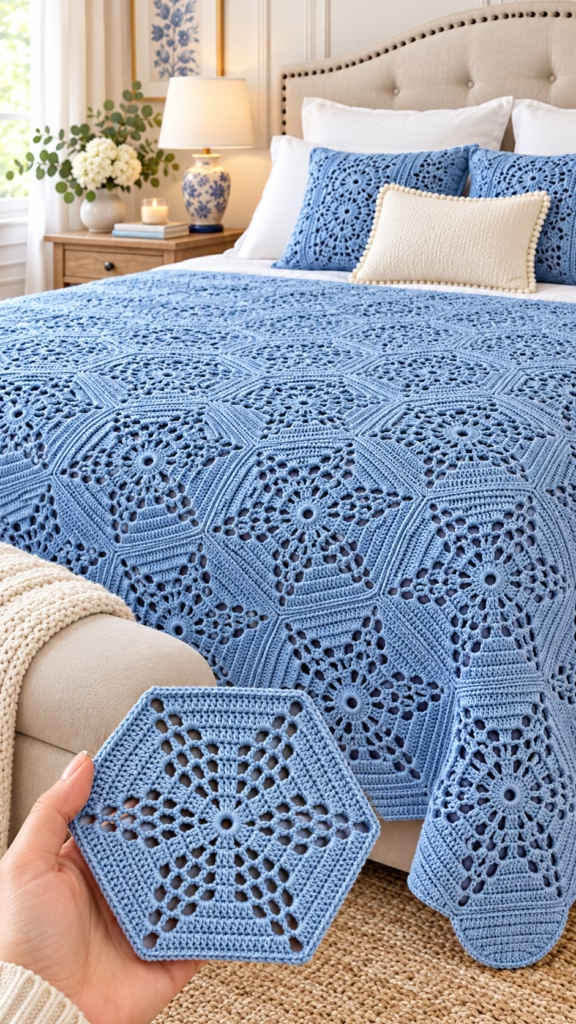
Transform your bedroom into a serene sanctuary of classic elegance with the Vintage Bloom Hexagon Bedspread & Pillow Set. Inspired by heirloom lace bedcovers and botanical motifs, this project features geometric hexagonal motifs crocheted in a soothing periwinkle blue. Each hexagon bursts outward from a openwork floral star center into solid textured double crochet borders, creating a striking lattice pattern when joined together seamlessly across your bed.
Whether you are looking to stitch a full queen-sized luxury bedspread, a cozy throw blanket, or matching accent pillow covers, this design brings timeless heirloom quality to modern living spaces. The modular construction makes it an engaging long-term project—perfect for crocheting on the go, as individual hexagon motifs are lightweight and portable before final assembly.
Crafted using worsted weight cotton or acrylic yarn, the structured stitches hold their shape beautifully while maintaining a soft, draping weight. Customize the palette with soft neutrals, vintage pastels, or vivid jewel tones to match your interior styling, or stick with this romantic slate blue tone for a serene, spa-like bedroom aesthetic.
This complete guide provides step-by-step instructions for crocheting individual full motifs, half-hexagon edging motifs to create straight finished borders, seam assembly techniques, edging options, and full pillow cover construction.
🔍 C. MAIN PATTERN OVERVIEW
The Vintage Bloom Bedspread is built from motif-based crochet geometry featuring three primary elements:
- Full Hexagon Motifs (Main Motif): The cornerstone of the design, featuring a 12-spoke lace rosette core that transitions through arched chains into a solid 6-sided hexagon border with defined corner spaces.
- Half-Hexagon Motifs (Border Fillers): Flat-worked half-hexagons designed to fill the triangular gaps along the top and bottom head/foot edges, creating straight, professional borders for bedspreads and blankets.
- Pillow Cover Units: Matching motif layouts assembled on the front face, paired with a solid double-crochet back panel and optional button closure for custom accent cushions.
       / \         / \         / \
      /   \_______/   \_______/   \
      \   /       \   /       \   /
       \ /         \ /         \ /
       / \         / \         / \
      /   \_______/   \_______/   \
      \   /       \   /       \   /
       \ /         \ /         \ /
🎯 D. SKILL LEVEL
Skill Level: Intermediate
This pattern is best suited for crocheters who are confident with basic stitches and ready to work with openwork lace tension, counting stitch repeats, and joining motifs.
- Techniques Involved:
- 🌀 Magic Ring (MR) or chain ring foundation
- 🧶 Working in the round (for full motifs) and in rows (for half motifs)
- 📐 High-treble/double-treble stitches, ch-spaces, and cluster groupings
- 📍 Working into front loops, back loops, and chain spaces
- 🪡 Slip-stitch join-as-you-go (JAYG) or whipstitch mattress seaming
- 📐 Blocking lacework for crisp geometry
📏 E. FINISHED SIZE
Individual Motif Dimensions
- Full Hexagon: 8.5 inches (21.5 cm) from flat edge to flat edge; 9.8 inches (25 cm) point-to-point (after blocking).
Finished Bedspread / Blanket Sizes
- Lap Throw (30 Hexagons): 42″ x 52″ (106 cm x 132 cm)
- Twin Size (96 Hexagons + 12 Half-Hexagons): 66″ x 88″ (168 cm x 223 cm)
- Full/Queen Size (160 Hexagons + 16 Half-Hexagons): 86″ x 94″ (218 cm x 238 cm)
- King Size (210 Hexagons + 20 Half-Hexagons): 102″ x 100″ (259 cm x 254 cm)
Accent Pillow Cover Size
- Square Pillow Cover: 18″ x 18″ (45 cm x 45 cm) — requires 7 full hexagons + 2 half-hexagons per cover face.
🧮 F. GAUGE
- Individual Motif Gauge: Rounds 1–4 of a full hexagon = 4.25 inches (10.8 cm) in diameter.
- Finished Blocked Hexagon Gauge: 1 Hexagon = 8.5″ flat-to-flat.
💡 Note on Gauge for Amigurumi vs. Decor: While exact gauge is not strictly critical for blankets, maintaining uniform tension across all motifs ensures effortless seaming and flat alignment.
🧶 G. REQUIRED YARN AMOUNTS
All estimates are based on Worsted Weight / Medium (Category 4) yarn (Approx. 200 yds / 183 m per 100g skein).
- Per Single Hexagon Motif: Approx. 38 yards (35 meters) / 19 grams.
- Per Half-Hexagon Motif: Approx. 20 yards (18 meters) / 10 grams.
Project Estimates by Size (Color: Cornflower/Periwinkle Blue)
- 🛋️ Pillow Cover (Single 18″ x 18″): Approx. 380 yards (350 m) / 2 skeins.
- 🛌 Full / Queen Bedspread (As shown): Approx. 6,800 yards (6,217 m) / 34–36 skeins (3.4 kg – 3.6 kg of yarn).
🧰 H. MATERIALS
- 🧶 Yarn: Worsted Weight (Category 4) 100% Mercerized Cotton or Premium Acrylic blend in Periwinkle Blue (Main Color).
- 🪡 Crochet Hook: Size US G+/7 (4.50 mm) or US H/8 (5.00 mm) — choose the size that achieves flat, crisp motif tension.
- ✂️ Tapestry Needle: Large eye yarn needle for weaving in ends and seaming motifs.
- 📍 Blocking Accessories: Foam blocking boards and rust-proof stainless steel T-pins (essential for opening up the central floral lace).
- 🏷️ Stitch Markers: Locking stitch markers (useful for counting motif corners during assembly).
- 🛏️ Pillow Insert (Optional): 18″ x 18″ (45 x 45 cm) pillow form for accent cushions.
🔤 I. ABBREVIATIONS – US TERMS
- ch: chain
- sl st: slip stitch
- sc: single crochet
- hdc: half double crochet
- dc: double crochet
- tr: treble (triple) crochet
- dtr: double treble crochet (yarn over 3 times)
- st(s): stitch(es)
- sp(s): space(s)
- ch-sp: chain space
- MR: Magic Ring
- inc: increase
- YO: yarn over
- BLO: back loop only
- FLO: front loop only
- RS: Right Side
- WS: Wrong Side
📝 J. NOTES BEFORE YOU BEGIN
- 📌 Construction Method: Each hexagon is worked individually in joined, continuous rounds from the center outward.
- 📌 Turning Chains: Beginning chains count as stitches throughout the pattern:
ch 1does NOT count as a stitch.ch 3counts as 1 double crochet (dc).ch 4counts as 1 treble crochet (tr).ch 5counts as 1 dtr or1 tr + ch 1.
- 📌 Joining Rounds: Always sl st into the top of the initial turning chain (e.g., 3rd ch of a ch-3 or 4th ch of a ch-4) unless specified otherwise.
- 📌 Symmetry Check: The core of the motif is built on 12 radial spokes, which cleanly divide into 6 corner points by Round 5.
- 📌 Blocking: Wet blocking or steam blocking each motif before joining is strongly recommended to ensure exact size matching.
🪡 K. COMPLETE PATTERN
🌸 Component 1: Full Vintage Bloom Hexagon Motif
Make required quantity for your desired project size (e.g., 160 for Queen Bedspread).
       ( Round 1: 12 Spokes Ring )
                  |
       ( Round 2-4: Open Lace Arches )
                  |
       ( Round 5-7: 6-Corner Hexagon Expansion )
Instructions (Worked in the Round)
- Round 1 (Center Ring & Spokes):
- Start with a MR (or ch 6, sl st to first ch to form a ring).
- ch 4 (counts as 1 tr), work 23 tr into the ring.
- Sl st to 4th ch of initial ch-4 to join.
- (Total: 24 tr)
- Round 2 (Openwork Radial Spokes):
- ch 5 (counts as 1 tr + ch 1 sp), [1 tr in next st, ch 1] 23 times.
- Sl st into 4th ch of initial ch-5.
- (Total: 24 tr, 24 ch-1 spaces)
- Round 3 (Loop Arches):
- Sl st into first ch-1 sp, ch 1 (does not count as st), sc in same ch-1 sp.
- [ch 4, skip 1 tr, sc in next ch-1 sp] 11 times.
- ch 4, sl st to first sc of round to join.
- (Total: 12 ch-4 loop arches)
- Round 4 (Petal Expansion):
- Sl st into first ch-4 arch.
- ch 3 (counts as 1 dc), work (2 dc, ch 2, 3 dc) into the same ch-4 arch.
- [Skip next sc, work (3 dc, ch 2, 3 dc) into next ch-4 arch] 11 times.
- Sl st into top of initial ch-3 to join.
- (Total: 12 petal clusters = 72 dc, 12 ch-2 spaces)
- Round 5 (Establishing 6 Hexagon Corners):
- Sl st across next 2 dc into first ch-2 corner sp.
- First Corner: ch 3 (counts as 1 dc), (2 dc, ch 3, 3 dc) in same ch-2 sp.
- Side: [ch 3, sc in next ch-2 sp, ch 3].
- Corner 2: (3 dc, ch 3, 3 dc) in next ch-2 sp.
- Repeat [Side + Corner] 4 more times around.
- ch 3, sc in last ch-2 sp, ch 3, sl st to top of initial ch-3 to join.
- (Total: 6 Corner shell groups [3 dc, ch 3, 3 dc], 12 ch-3 side spaces, 6 sc)
- Round 6 (Solid Border Framing):
- ch 3 (counts as 1 dc), 1 dc in each of the next 2 dc.
- (In corner ch-3 sp: work [2 dc, ch 2, 2 dc])
- *1 dc in each of the next 3 dc of corner shell.
- 3 dc in next ch-3 sp, 1 dc in sc, 3 dc in next ch-3 sp.
- 1 dc in each of next 3 dc.
- Repeat from * around all 6 sides.
- Sl st to top of initial ch-3 to join.
- (Total: 17 dc per side between corner ch-2 spaces = 102 dc total)
- Round 7 (Final Outer Hexagon Edge):
- ch 3 (counts as 1 dc), 1 dc in each st across side to corner.
- (In corner ch-2 sp: work [2 dc, ch 2, 2 dc])
- Continue working 1 dc in every st along each side and [2 dc, ch 2, 2 dc] in each of the 6 corners.
- Sl st to top of initial ch-3 to join. Fasten off and weave in end.
- (Total: 21 dc per side = 126 dc total, 6 corner ch-2 spaces)
📐 Component 2: Half-Hexagon Motif (Straight Edge Filler)
Use these along top/bottom edges to create a perfectly rectangular blanket/bedspread edge.
Instructions (Worked Flat in Rows)
- Row 1: MR, ch 4 (counts as 1 tr), work 12 tr into ring. Turn. (13 tr)
- Row 2: ch 5 (counts as 1 tr + ch 1), [1 tr in next st, ch 1] 11 times, 1 tr in last st. Turn. (13 tr, 12 ch-1 sps)
- Row 3: ch 1, sc in first st, [ch 4, skip ch-1 sp, sc in next st] 6 times. Turn. (6 ch-4 arches)
- Row 4: ch 3, 2 dc in first st, [ (3 dc, ch 2, 3 dc) in next ch-4 arch ] 5 times, 3 dc in last sc. Turn.
- Row 5 (Corners & Sides):
- ch 3, 2 dc in first st, ch 3, sc in next ch-2 sp.
- [ch 3, (3 dc, ch 3, 3 dc) in next ch-2 sp (Corner), ch 3, sc in next ch-2 sp] 2 times.
- ch 3, 3 dc in final st. Turn.
- Row 6: ch 3, dc across to corner, work (2 dc, ch 2, 2 dc) in corner spaces, continue dc across. Turn.
- Row 7: ch 3, 1 dc in each st across, working (2 dc, ch 2, 2 dc) in each corner sp.
- Fasten off, leaving a 12-inch tail for seaming.
🛏️ Component 3: Accent Pillow Cover Assembly
Requires 7 Full Hexagons + 2 Half Hexagons for Front Face, plus 1 Solid Backing Panel.
Front Face Motif Layout
Arrange 7 full hexagons in a flower rosette pattern (1 center hexagon surrounded by 6 outer hexagons). Fill upper and lower triangular gaps with 2 half-hexagons to form an 18″ x 18″ square face.
       / \ / \
      | H | H |    <- Half Hexagons fill top/bottom gaps
     / \ / \ / \
    | F | F | F |  <- Top Row
   / \ / \ / \ / \
  | F | C | F | F |<- Center Row (C = Center Hex)
   \ / \ / \ / \ /
    | F | F | F |  <- Bottom Row
     \ / \ / \ /
Solid Backing Panel (Make 1)
- Row 1: ch 62. Starting in 4th ch from hook, work 1 dc in each ch across. Turn. (60 dc)
- Rows 2–38: ch 3 (counts as dc), 1 dc in each st across. Turn. (60 dc)
- Continue until backing panel measures 18″ x 18″ (45 cm x 45 cm). Fasten off.
🎨 L. STYLING / ASSEMBLY / STABILITY / FINAL SHAPING
1. Recommended Seaming Options
Option A: Slip Stitch Join-As-You-Go (JAYG) — Recommended for Bedspreads
- As you complete Round 7 of a new hexagon, replace corner
ch 2with[ch 1, sl st to adjacent motif corner, ch 1]. - Replace standard side stitches with sl st joins into corresponding stitches of adjacent finished motifs. This creates a strong, flat lace join ideal for bedspread durability.
Option B: Mattress Stitch (Invisible Flat Seam)
- Lay finished, blocked motifs face up on a flat table.
- Thread tapestry needle with yarn. Working into back loops only (BLO) of edge double crochets, pass needle back and forth in a mattress stitch style. Pull snugly to lock edges together without bulging.
2. Head-to-Body / Layout Assembly
- Step 1: Lay out all full motifs on a large clean surface (or bed) according to your desired size grid.
- Step 2: Join full motifs into diagonal staggered rows.
- Step 3: Insert half-hexagons along head and foot borders to create straight top and bottom edges.
- Step 4: Block finished joined bedspread to even out edge tension.
3. Decorative Outer Edge Border
Once all motifs are joined, attach yarn at any corner ch-sp to work a finished framing border around the entire bedspread:
- Border Round 1: ch 1, sc in same space. Work sc evenly around all outer edges, placing
(1 sc, ch 2, 1 sc)in outer corners andsc2togacross motif valley joins. Sl st to join. - Border Round 2 (Picot Shell Border):
[Skip 2 sts, work (3 dc, ch 3 sl-st picot, 3 dc) in next st, skip 2 sts, sc in next st]repeat around entire perimeter.- Sl st to first sc, fasten off, and weave in all remaining ends.
4. Final Shaping Checklist
- ✅ All motifs lay completely flat without cupping or rippling.
- ✅ Corner spaces align precisely (6 motif corners meet at central junction points).
- ✅ All yarn tails are woven securely through solid dc sections (Round 6-7) to prevent unravelling during washing.
- ✅ Edge border is straight and crisp.
💡 M. HELPFUL CROCHET TIPS
- 💡 Tip 1: Wet Block Early! Do not wait until 160 hexagons are joined. Block motifs in batches of 10 or 20 as you go. This ensures accurate size consistency and easier seaming.
- 💡 Tip 2: Count Round 1 Carefully. Ensure you have exactly 24 treble crochets in Round 1. An error in Round 1 will throw off the entire 6-corner geometry in Round 5!
- 💡 Tip 3: Yarn Dye Lot Matching. Bedspreads require substantial yarn quantities. Buy yarn from the same dye lot to avoid subtle color shifts across your bedspread.
- 💡 Tip 4: Standardize Tail Lengths. Leave a consistent 12–15 inch tail on each motif for easy seaming.
- 💡 Tip 5: Use Lock Markers for Grid Layout. Use stitch markers to bundle motifs into rows of 10 for easy organization.
- 💡 Tip 6: Tension Check. If your motifs begin to cup into bowls, increase your hook size by 0.5 mm for Rounds 3–4.
🧼 N. CARE INSTRUCTIONS
- 🧼 Washing: Hand wash or machine wash on gentle/delicate cycle in cold water using a mild wool/cotton detergent.
- 🧼 Drying: Do not tumble dry. Lay flat on clean towels to dry. Shape corners and lace centers gently while damp.
- 🧼 Storage: Store folded with cedar blocks or lavender sachets. Avoid hanging heavy blankets to prevent vertical stretching.
❓ R. FAQ
❓ Q1: Can I use a lighter yarn weight like DK or Sport?
A: Yes! Using DK yarn with a 3.5 mm hook will result in smaller hexagons (approx. 6.5 inches), creating a more delicate, lightweight lace coverlet. You will need additional motifs to achieve full bed dimensions.
❓ Q2: How do I calculate how many hexagons I need for a custom size?
A: Divide your target bed width by 8.5″ (flat-to-flat motif height) to get column count, and target length by 7.5″ (point offset) to get row count. Multiply the two for total motif count.
❓ Q3: Do I have to use Mercerized Cotton?
A: Cotton yarn provides superior stitch definition and blocking memory. Premium anti-pilling acrylics work well too and offer lightweight warmth, though cotton gives the truest vintage lace drape.
❓ Q4: Can I make this as a multi-color scrap buster blanket?
A: Absolutely! Work Rounds 1–4 in contrasting flower colors and keep Rounds 5–7 in a solid cream or periwinkle blue border to create a vibrant granny-flower garden design.
❓ Q5: How do I attach the pillow cover front to the back?
A: Place motif face and solid back panel WS together. Sc around 3 edges, insert pillow form, and sc across 4th edge to seal (or install buttons along 4th edge for a removable sleeve).