Easter Bunny Poke Cake
The Ultimate Easter Bunny Poke Cake: A Colorful Spring Dessert
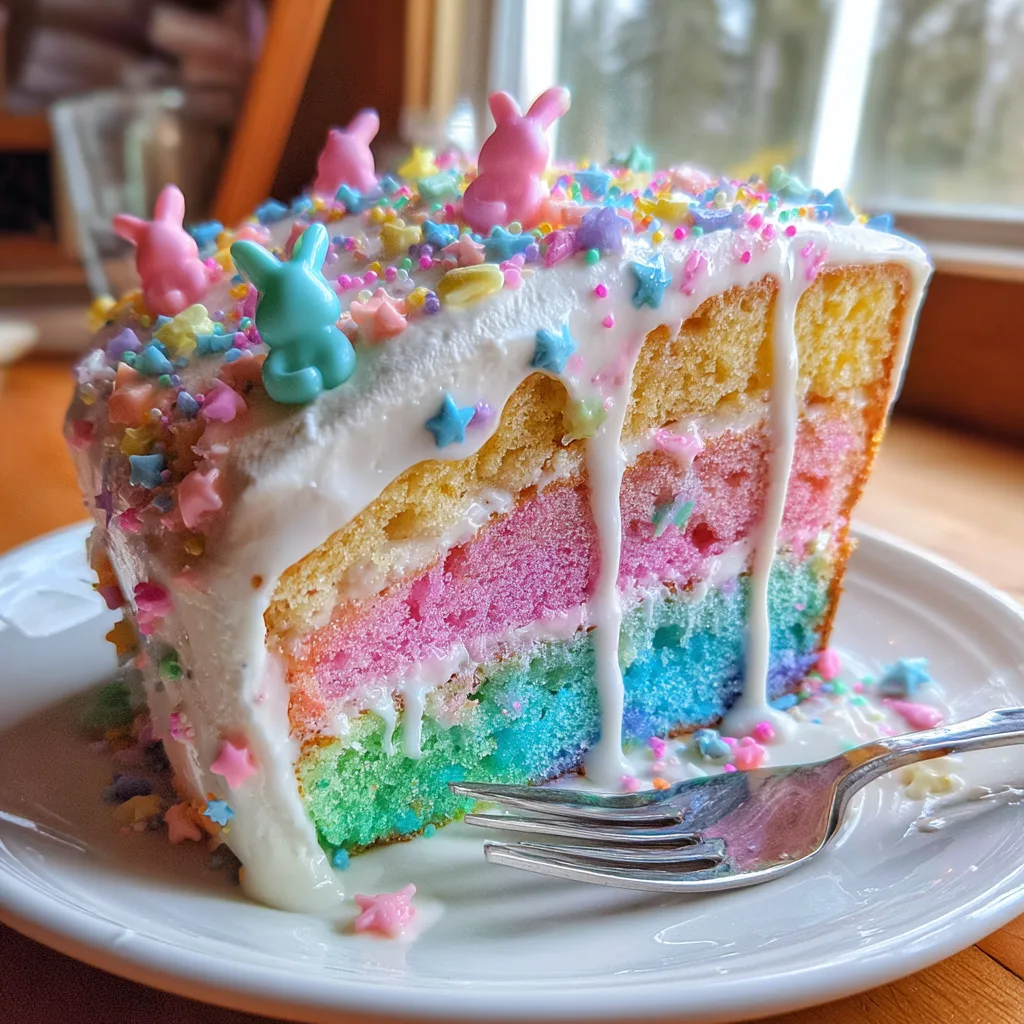
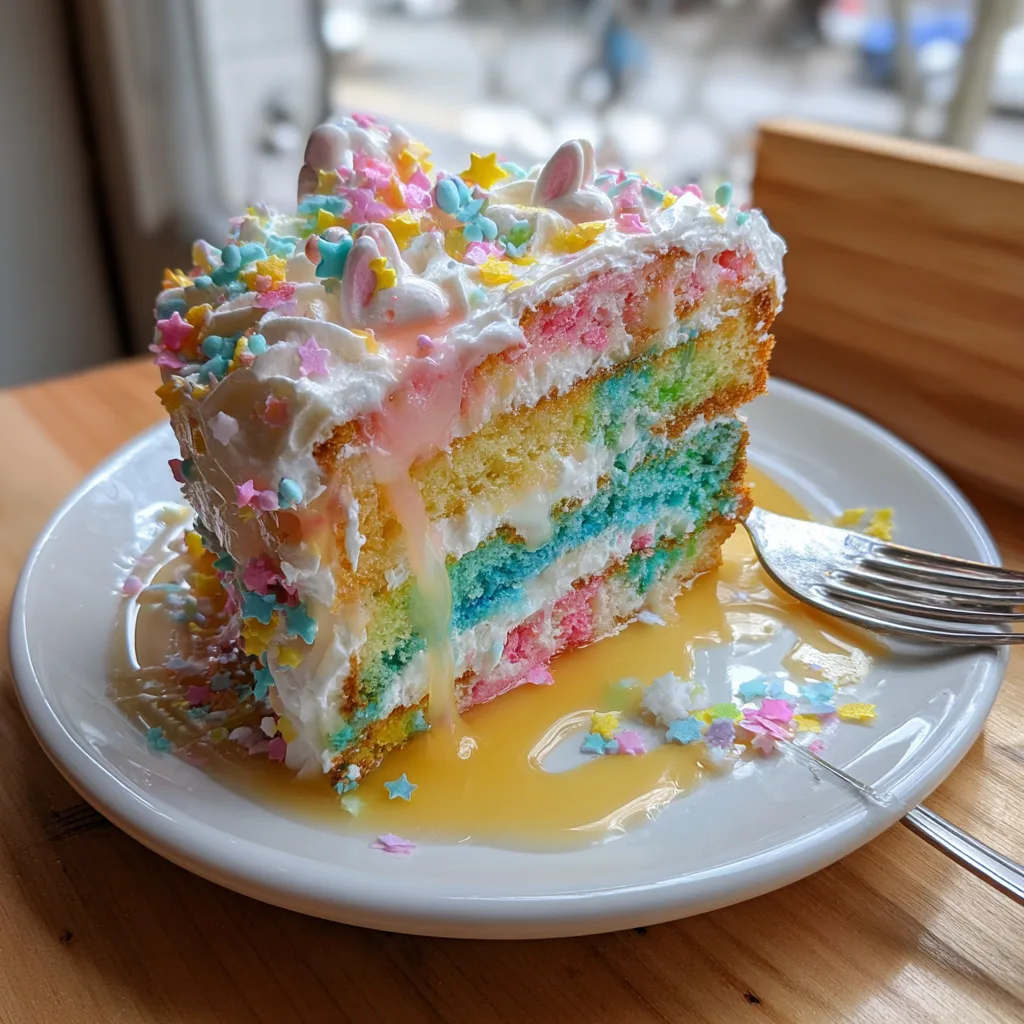
When spring finally arrives, bringing with it warmer weather and vibrant blooming flowers, our dessert tables should reflect that same bright, cheerful energy. If you are looking for the perfect centerpiece for your upcoming holiday gathering, look no further than this incredibly vibrant, moist, and delicious Easter Bunny Poke Cake. This dessert is a true showstopper, featuring distinct, gorgeous pastel layers of pink, blue, green, and yellow sponge cake, generously soaked in a sweet, rich filling, and crowned with a cloud of fluffy white whipped topping and festive spring sprinkles.
Whether you are hosting a massive family brunch, attending a neighborhood potluck, or just want a fun weekend baking project to enjoy with the kids, this Easter Bunny Poke Cake checks every single box. It is visually stunning, incredibly forgiving for beginner bakers, and tastes like an absolute dream. Read on to discover everything you need to know to master this delightful spring treat.
Why You Will Love This Easter Dessert
There are countless reasons to fall in love with this colorful concoction. First and foremost is the undeniable visual appeal. Slicing into this cake reveals a stunning cross-section of pastel perfection that is practically guaranteed to elicit oohs and aahs from your guests. It is the culinary equivalent of a brightly dyed Easter egg!
Beyond its looks, the texture of a poke cake is what keeps people coming back for seconds. By poking holes in the warm cake and pouring a sweet liquid over the top—in this case, a luscious mixture of sweetened condensed milk or pudding—the cake absorbs all that extra moisture and flavor. The result is a sponge that is impossibly soft, dense, and almost pudding-like in consistency. You never have to worry about serving a dry, crumbly cake when you use the poke cake method.
Finally, this recipe is incredibly approachable. It utilizes a simple boxed white cake mix as the base, which saves time, guarantees a consistent rise, and provides the perfect blank canvas for your vibrant food coloring. It is a low-stress, high-reward dessert that lets you focus on the fun parts: the coloring, the pouring, and the decorating.
What Exactly is a Poke Cake?
If you have never experienced the joy of a poke cake, you are in for a serious treat. The concept is simple but brilliant, originating in the United States back in the 1970s as a clever marketing campaign to sell more Jell-O. The traditional method involves baking a standard sheet cake, using the handle of a wooden spoon or a large fork to poke deep holes all over the surface while it is still warm, and then pouring liquid gelatin, pudding, or sweet syrups over the top.
As the cake cools, the liquid seeps into the holes, creating pockets of intense flavor and moisture throughout the crumb. For this Easter Bunny Poke Cake, we elevate the traditional method by using multiple colored batters to create a rainbow effect, and we use a rich, creamy filling that pairs perfectly with the light whipped topping.
Ingredients
Gather these simple, accessible ingredients to bring your Easter Bunny Poke Cake to life. You will likely have several of these in your pantry already!
For the Cake:
- – 1 box (18.25 oz) white or yellow cake mix
- – 3 large eggs
- – 1 cup water
- – 1/3 cup vegetable oil (or as directed by your specific cake mix box)
- – Gel food coloring (Pink, Blue, Green, and Yellow)
For the Filling (The “Poke” Liquid):
- – 1 can (14 oz) sweetened condensed milk
- – 1/2 cup whole milk or heavy cream (to thin it out slightly)
- – 1 teaspoon vanilla extract
For the Topping:
- – 1 tub (8 oz) frozen whipped topping (like Cool Whip), thawed completely
- – 1/2 cup Easter-themed sprinkles (pastel bunnies, stars, ducks, or classic jimmies)
Instructions
Follow these step-by-step instructions to achieve those perfect, distinct pastel layers and maximum moisture.
- Preheat and Prepare: Preheat your oven to 350°F (175°C). Generously grease a 9×13-inch baking dish with non-stick cooking spray to ensure easy slicing later.
- Mix the Batter: In a large mixing bowl, combine the boxed cake mix, large eggs, water, and vegetable oil. Beat with an electric hand mixer on medium speed for about 2 minutes, or until the batter is completely smooth and well combined.
- Divide and Conquer: Evenly divide the cake batter into four separate smaller bowls.
- Color the Batter: Add a few drops of pink gel food coloring to the first bowl, blue to the second, green to the third, and yellow to the fourth. Stir each bowl thoroughly until you reach your desired vibrant pastel shades. Remember that the colors will bake up slightly lighter than they appear in the bowl.
- Layer the Colors: Carefully pour the yellow batter into the prepared baking dish, spreading it into an even layer with an offset spatula. Next, gently drop spoonfuls of the green batter over the yellow layer and carefully spread it out. Repeat this process with the blue batter, and finally the pink batter on top. Do not swirl them together if you want distinct horizontal layers!
- Bake to Perfection: Place the baking dish in the preheated oven and bake for 28 to 32 minutes. Check for doneness by inserting a toothpick into the center of the cake; it should come out clean.
- Poke the Holes: Remove the cake from the oven. While the cake is still warm (this is crucial!), use the round handle of a wooden spoon to poke holes all over the cake, spacing them about an inch apart. Ensure you poke down through all the colorful layers.
- Prepare and Pour the Filling: In a medium bowl, whisk together the sweetened condensed milk, whole milk, and vanilla extract. Slowly and evenly pour this sweet mixture all over the top of the warm cake, making sure it fills the holes you just created.
- Cool Completely: Allow the cake to cool at room temperature for about an hour, then transfer it to the refrigerator to chill for at least 2 hours. This chilling process helps the cake absorb all the filling and set up properly.
- Frost and Decorate: Once the cake is completely chilled, spread the thawed whipped topping evenly over the surface in thick, swooping clouds. Generously scatter your Easter bunny and star sprinkles all over the top.
- Serve and Enjoy: Slice the cake into squares, revealing the beautiful pastel layers inside, and serve chilled.
Tips for the Perfect Pastel Layers
Achieving distinct, clean layers instead of a muddy, marbled mess requires a gentle touch. When adding each new color to the baking dish, do not just pour it all in the center and try to spread it to the edges. Instead, use a spoon to drop dollops of the batter evenly across the layer below it. Then, use a small offset spatula or the back of a spoon to gently connect the dollops.
Additionally, using gel food coloring rather than liquid drops is highly recommended. Gel coloring is much more concentrated, meaning you only need a tiny amount to achieve vibrant, stunning shades without adding excess liquid that could alter the chemistry and texture of your cake batter.
Variations to Try
One of the best things about poke cakes is how endlessly customizable they are. While this pastel rainbow version is perfect for Easter, you can easily adapt the recipe to suit your tastes or what you have on hand.
- The Pudding Poke: Instead of sweetened condensed milk, try using a box of instant vanilla or white chocolate pudding whisked with milk for your filling. It provides a slightly lighter, creamier texture inside the cake.
- Fruity Flavors: Add a teaspoon of strawberry extract to the pink layer or lemon extract to the yellow layer for a burst of spring fruit flavor.
- Homemade Frosting: If you are not a fan of store-bought whipped topping, you can easily substitute a homemade stabilized whipped cream or even a light cream cheese frosting for the topping.
Serving Suggestions
This Easter Bunny Poke Cake is incredibly rich and sweet on its own, so it pairs beautifully with simple, unsweetened accompaniments. Serve a slice alongside a hot cup of black coffee or Earl Grey tea to balance the sweetness. If you are serving this at a brunch, it goes wonderfully with fresh, tart spring berries like raspberries or sliced strawberries on the side.
Storage Instructions
Because this cake contains a dairy-based filling and a whipped topping, it absolutely must be stored in the refrigerator. Cover the baking dish tightly with plastic wrap or a fitted lid to prevent the cake from drying out or absorbing any savory smells from your fridge. The cake will stay moist and delicious for up to 4 days.
Can you freeze a poke cake? Yes, but with a caveat. It is best to freeze the cake after you have baked it, poked the holes, and added the liquid filling, but before you add the whipped topping. Wrap it tightly in multiple layers of plastic wrap and foil. Freeze for up to 2 months. Thaw overnight in the fridge, then add your whipped topping and sprinkles fresh before serving.
Fun Facts & Cultural Context
Springtime baking has a long history of incorporating pastel colors and rich, indulgent ingredients to mark the end of winter and, historically, the end of Lenten fasting. The use of eggs and dairy in heavy quantities was a celebratory way to use up ingredients that had been restricted. Today, the Easter bunny, pastel colors, and brightly dyed treats remain a staple of spring celebrations, symbolizing rebirth, joy, and the blooming world outside.
Conclusion
The Easter Bunny Poke Cake is more than just a dessert; it is a celebration in a 9×13 pan. With its incredibly moist crumb, sweet and creamy filling, and delightful, colorful layers, it is bound to become a requested favorite at all your spring gatherings. So grab your mixing bowls, unleash your creativity with those food colors, and enjoy the magic of a perfectly executed poke cake. Happy baking, and Happy Easter!
Easter Bunny Poke Cake
Ingredients
Equipment
Method
- Preheat oven to 350°F (175°C). Grease a 9×13 inch baking dish.
- Mix cake mix, eggs, water, and oil until smooth.
- Divide batter evenly into 4 bowls. Dye them pink, blue, green, and yellow with food coloring.
- Carefully layer the colored batters one by one into the baking dish, smoothing each layer gently to keep them distinct.
- Bake for 28-32 minutes until a toothpick comes out clean.
- While the cake is still warm, use the handle of a wooden spoon to poke holes all over the surface.
- Whisk condensed milk, whole milk, and vanilla. Pour evenly over the warm cake into the holes.
- Let cool completely, then chill in the fridge for at least 2 hours.
- Spread whipped topping over the cake and decorate with sprinkles before slicing.