Ultimate No-Bake Strawberry Cheesecake Cups Recipe
The Ultimate Guide to No-Bake Strawberry Cheesecake Cups
When it comes to desserts that deliver maximum impact with minimal effort, Strawberry Cheesecake Cups reign supreme. There is something undeniably magical about the combination of a buttery, crunchy graham cracker crust, a velvety smooth cream cheese filling, and the bright, acidic burst of fresh strawberries. Whether you are hosting a summer barbecue, looking for a sweet treat for a bridal shower, or simply craving a midnight snack that doesn’t require turning on the oven, this recipe is your new best friend.
In this comprehensive guide, we will walk you through everything you need to know to create the most drool-worthy, no-bake strawberry cheesecake cups. From selecting the ripest berries to achieving that perfectly pipeable cheesecake consistency, we have covered every detail to ensure your dessert looks just as good as it tastes.
Why You Will Love This Recipe
Before we dive into the nuts and bolts of the recipe, let’s talk about why these cheesecake cups deserve a permanent spot in your recipe rotation.
- No Oven Required: In the heat of summer, the last thing you want to do is bake. These cups set in the fridge, keeping your kitchen cool.
- Portion Control: Individual servings mean you don’t have to worry about slicing a messy cake. Plus, everyone gets their own dedicated cup of joy.
- Make-Ahead Friendly: These actually taste better after sitting for a few hours, making them the perfect prep-ahead party dessert.
- Customizable: While we are using strawberries today, the base recipe works beautifully with blueberries, raspberries, mangoes, or even caramel and chocolate.
Ingredients Overview
Great recipes start with great ingredients. The beauty of these cheesecake parfaits lies in their simplicity. You don’t need fancy equipment or hard-to-find items. Here is what you need to gather:
For the Buttery Crust
- Graham Crackers: The classic choice. You can buy them pre-crushed or crush sheets yourself for a coarser, homemade texture.
- Unsalted Butter: Melted butter acts as the glue that holds the crust together. Using unsalted allows you to control the sodium, though a pinch of salt helps balance the sugar.
- Granulated Sugar: Just a touch to add sweetness and crunch to the base.
For the Creamy Cheesecake Filling
- Cream Cheese: The star of the show. You need 8 oz of full-fat cream cheese. It is crucial that this is softened to room temperature to avoid lumps.
- Powdered Sugar: We use 1/2 cup of powdered sugar (confectioners’ sugar) because it dissolves instantly into the cream cheese, ensuring a silky smooth texture without the grit of granulated sugar.
- Vanilla Extract: 1 teaspoon of high-quality vanilla extract adds that classic aromatic warmth.
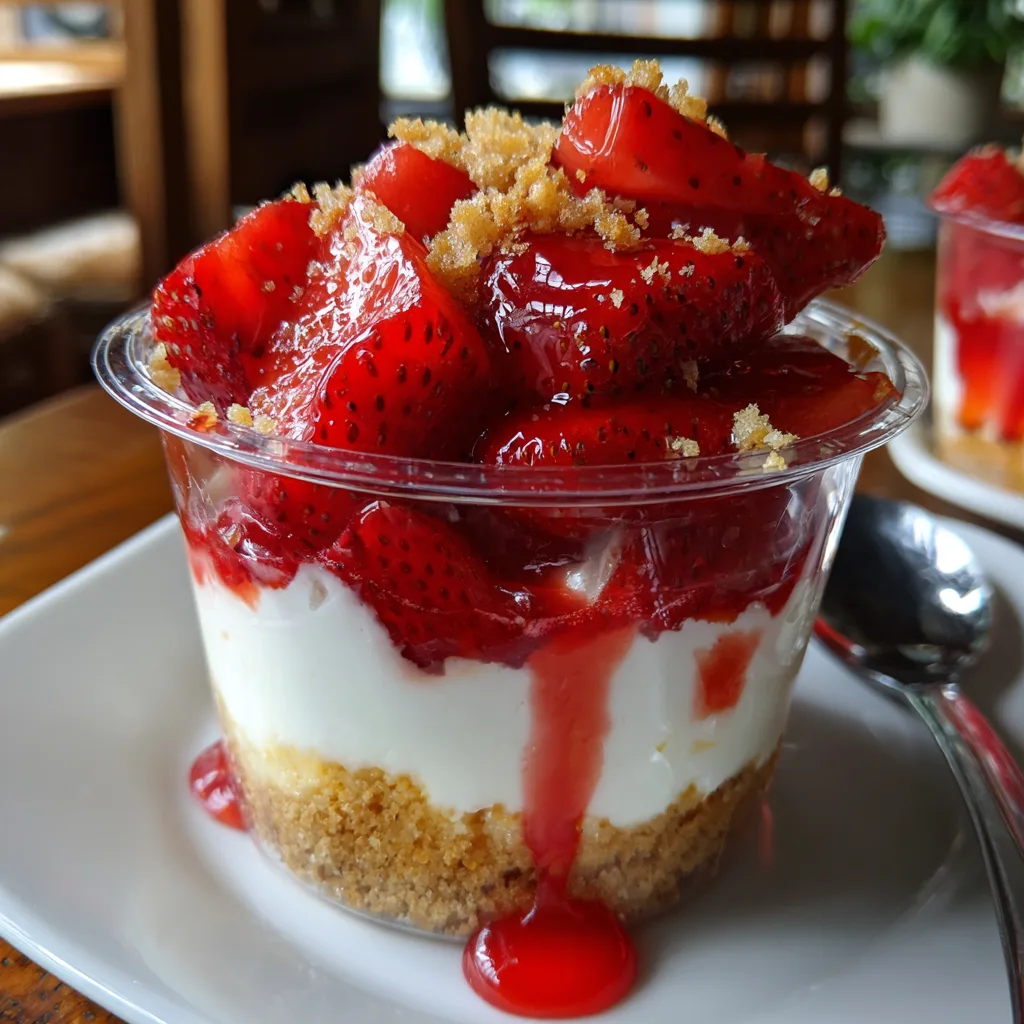
- Heavy Cream (Optional but Recommended): While the base recipe in the image focuses on cream cheese, whipping in a little heavy cream can lighten the texture, making it more like a mousse.
For the Strawberry Topping
- Fresh Strawberries: Look for firm, bright red berries. You will need about a pint.
- Strawberry Glaze (Optional): For that “drenched and glossy” look, you can toss the berries in a little strawberry glaze or simply macerate them with sugar.
Step-by-Step Instructions
Follow these steps to build the perfect layered dessert. Precision isn’t necessary here—this is a rustic, fun dessert!
Step 1: Prepare the Crust
Place your graham crackers in a zip-top bag and crush them with a rolling pin until they resemble coarse sand. In a small bowl, combine the crumbs with melted butter and a tablespoon of sugar. Stir until the mixture looks like wet sand. Spoon 2-3 tablespoons of this mixture into the bottom of your serving cups. Press it down gently with the back of a spoon to pack it tight.
Step 2: Whip the Cheesecake Filling
In a large mixing bowl, beat the softened cream cheese until it is completely smooth and creamy. This usually takes about 2 minutes with a hand mixer. Sift in the 1/2 cup of powdered sugar to prevent clumps, then add the 1 teaspoon of vanilla extract. Beat on medium-high speed until the mixture is light, airy, and uniform. Tip: If you want a fluffier filling, whip 1/2 cup of heavy cream in a separate bowl until stiff peaks form, then gently fold it into your cream cheese mixture.
Step 3: Create the Strawberry Sauce
Wash, hull, and chop your strawberries. Take half of the strawberries and mash them slightly with a fork or blitz them quickly in a blender to make a chunky sauce. Mix this with the remaining chopped strawberries. If your berries are tart, add a tablespoon of sugar and let them sit for 10 minutes to release their natural juices, creating a shiny, natural syrup.
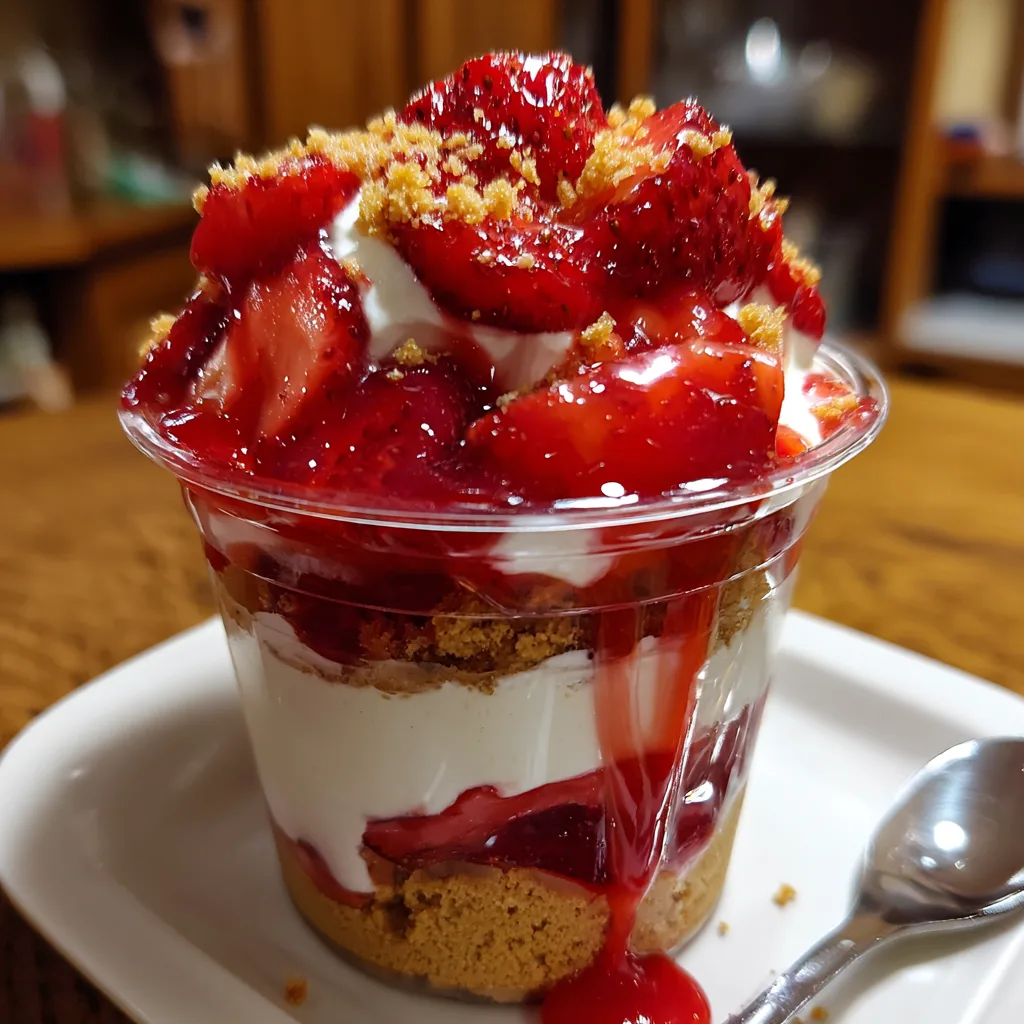
Step 4: Assemble the Cups
Now for the fun part! Spoon or pipe the cheesecake filling over the crust layer in your cups. Smooth the top with the back of a spoon. Spoon a generous amount of the strawberry mixture over the cheesecake layer. If you are feeling extra indulgent, repeat the layers: crust, cheesecake, strawberries.
Step 5: Chill and Serve
While you can eat them immediately, chilling the cups in the refrigerator for at least 1 hour allows the crust to firm up and the flavors to meld. Top with a whole strawberry slice or a sprinkle of extra graham cracker crumbs just before serving.
Expert Tips for Success
Want to take your Strawberry Cheesecake Cups from “good” to “professional bakery quality”? Keep these tips in mind:
- Room Temperature Ingredients: We cannot stress this enough. Cold cream cheese will result in a lumpy filling. Leave your cream cheese out on the counter for at least an hour before starting.
- The Piping Bag Trick: Instead of spooning the filling into the cups, which can smear the sides and look messy, transfer the filling to a piping bag (or a Ziploc bag with the corner snipped off). This allows you to pipe perfect, clean layers.
- Glass vs. Plastic: For a picnic or kids’ party, clear plastic cups are safe and convenient. For a dinner party, serve these in small mason jars, wine glasses, or glass ramekins for an elegant touch.
- Crunch Factor: If you are making these way in advance, the crust can get soft. To maintain crunch, add the crust layer right before serving, or bake the crust crumbs on a sheet pan for 5 minutes at 350°F to toast them before assembling.
Variations to Try
Once you have mastered the base recipe, the sky is the limit. Here are some popular variations:
1. Chocolate Lover’s Dream
Swap the graham crackers for Oreo crumbs (filling removed) and drizzle chocolate ganache over the top of the strawberries. You can even mix a tablespoon of cocoa powder into the cream cheese filling.
2. Lemon Berry Bliss
Add 1 teaspoon of fresh lemon zest and 1 tablespoon of lemon juice to the cheesecake filling. The acidity pairs wonderfully with blueberries or raspberries.
3. Salted Caramel Apple
In the fall, swap strawberries for sautéed cinnamon apples and drizzle salted caramel sauce between the layers. Use cinnamon graham crackers for the base.
4. Keto/Low Carb Option
Use almond flour mixed with butter and erythritol for the crust. Swap the powdered sugar in the filling for a powdered keto-friendly sweetener. Strawberries are naturally lower in carbs, making this a great diet-friendly treat.
Serving Suggestions
Presentation is key. These cups are visually stunning on their own, but you can dress them up for special occasions:
- Garnish: A sprig of fresh mint adds a pop of green that contrasts beautifully with the red berries.
- Whipped Cream: A dollop of fresh whipped cream on the very top adds height and drama.
- Dessert Bar: Set up a “Build Your Own Cheesecake” bar. Put out bowls of crust, filling, and various fruit toppings, and let your guests assemble their own creations.
Storage Instructions
Refrigerator: These cups can be stored in the refrigerator, covered with plastic wrap or a lid, for up to 3 days. The strawberries may release more liquid over time, so they are best consumed within the first 24-48 hours.
Freezer: You can freeze the crust and filling layers! However, fresh strawberries do not freeze well (they become mushy when thawed). If you want to freeze these, assemble the crust and cheese layers, cover tightly, and freeze for up to a month. Thaw in the fridge and add fresh fruit topping just before serving.

Frequently Asked Questions
Can I use frozen strawberries?
Yes, but thaw them first and drain the excess liquid. Frozen berries are softer and release more water, so they are better suited for making a sauce rather than using as whole slices.
Can I use mascarpone instead of cream cheese?
Absolutely! Mascarpone is richer and creamier, giving the dessert a more Italian tiramisu-like vibe. It is less tangy than American cream cheese.
How many calories are in a cheesecake cup?
This depends on the size of your cup and the specific ingredients, but generally, a standard serving is around 250-350 calories. You can lighten it up by using low-fat cream cheese and less sugar.
These Strawberry Cheesecake Cups are the definition of low-effort, high-reward cooking. They capture the essence of a classic cheesecake without the water bath, cracking worries, or long baking times. Whip up a batch today and watch them disappear!
Strawberry Cheesecake Cups
Ingredients
Equipment
Method
- In a small bowl, combine graham cracker crumbs, melted butter, and granulated sugar. Mix until the texture resembles wet sand.
- Spoon the crust mixture into the bottom of 4 serving cups, pressing down gently to pack it tight.
- In a medium mixing bowl, beat the softened cream cheese until smooth and creamy.
- Add the powdered sugar and vanilla extract. Beat on medium-high speed until light and fluffy. (If using heavy cream, whip it separately to stiff peaks and fold it in now).
- Transfer the cheesecake filling to a piping bag or ziploc bag with the corner cut off. Pipe the filling over the crust layer in the cups.
- Top generously with diced fresh strawberries. Chill for at least 30 minutes before serving for best texture.