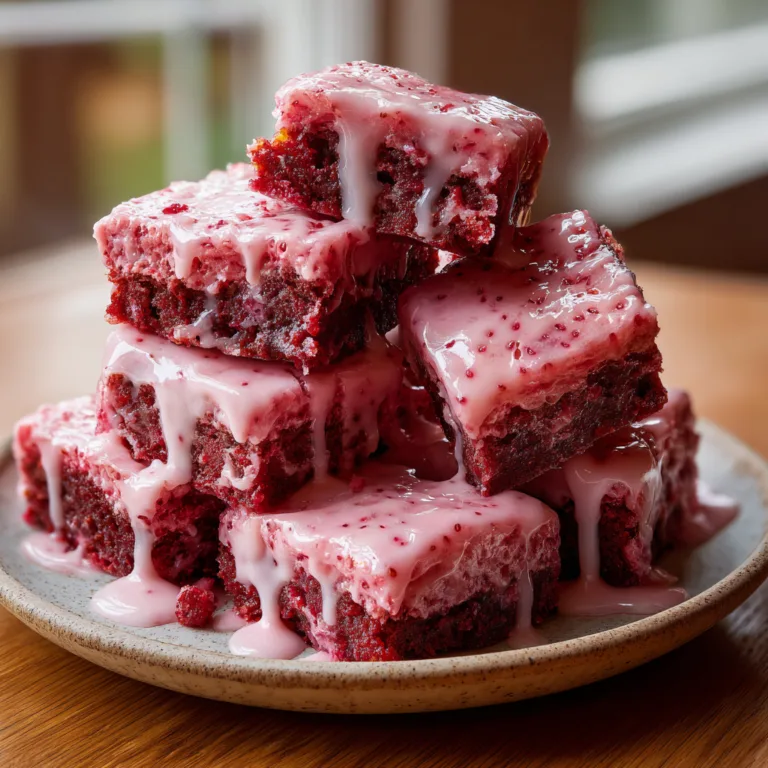
Strawberry Shortcake Krispie Treats
The Ultimate Strawberry Shortcake Rice Krispie Treats
A Nostalgic Twist on a Childhood Classic
There is something undeniably magical about taking a beloved childhood classic and elevating it with flavors that evoke even more nostalgia. Rice Krispie treats are the quintessential no-bake dessert—simple, gooey, buttery, and universally adored. But when you infuse that sticky, marshmallow-laden cereal base with the vibrant, sweet flavor of ripe strawberries and top it with a buttery, crunchy cookie crumble, you create something entirely new and extraordinary. These Strawberry Shortcake Rice Krispie Treats are a direct homage to those iconic pink and golden crumb-coated ice cream bars you used to chase down the ice cream truck for during sweltering summer afternoons.
The beauty of this recipe lies in its contrasting textures and harmonious flavor profile. You get the soft, chewy, marshmallow-pull of a perfect cereal treat, immediately followed by the satisfying crunch of golden sandwich cookies and strawberry gelatin. It is a dessert that appeals to all ages, making it the absolute perfect contribution to summer barbecues, school bake sales, potlucks, or just a fun weekend baking project with the kids. Because it is completely no-bake, you never have to turn on your oven, which is a massive bonus during the hot summer months. In this comprehensive guide, we are going to walk you through the science of the perfect marshmallow melt, the secret to that iconic crunch topping, and all the tips you need to ensure your treats are never hard, dry, or lacking in that essential strawberry flavor.
Decoding the Strawberry Crunch Topping
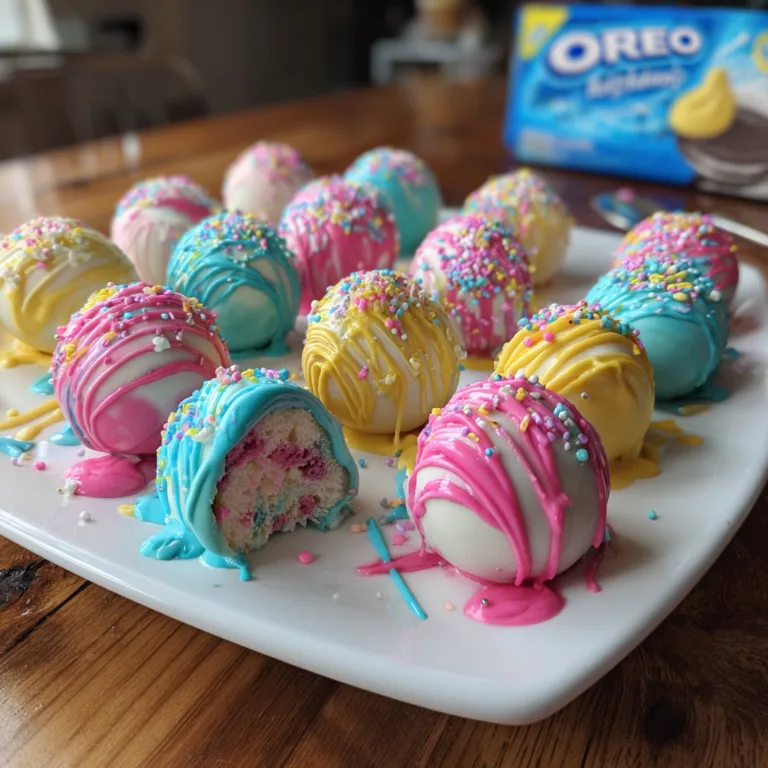
The defining characteristic of a strawberry shortcake dessert—whether it is the ice cream bar, a cake, or these cereal treats—is the signature crumb topping. It is sweet, slightly salty, deeply buttery, and packs a concentrated strawberry punch. To recreate this iconic topping at home, we rely on a brilliant shortcut: Golden Oreos (or any vanilla sandwich cookie) and strawberry gelatin powder (like Jell-O).

When you pulse Golden Oreos in a food processor, the creme filling acts as a binder, while the crisp cookies provide the necessary bulk and crunch. By adding a packet of strawberry gelatin powder, you instantly introduce that bright, artificial-in-the-best-way strawberry flavor and that vibrant pink hue that makes the dessert so visually striking. To bring it all together, melted butter is drizzled into the crumb mixture. The butter coats the crumbs, helping them clump together into delightful, crispy nuggets while also preventing them from getting soggy when pressed into the marshmallow base. This topping is so good, you might find yourself eating it by the spoonful before it ever makes it onto the cereal bars. For the best visual appeal, do not pulverize the cookies into fine dust; leave some larger, chunky pieces for texture.
The Secret to the Perfect Marshmallow Base
While the topping is the star of the show, the foundation of this dessert is the cereal base. Making Rice Krispie treats seems foolproof, but there is actually a delicate science to achieving that perfect, bendable, gooey texture. The most common mistake people make is resulting in rock-hard treats that scrape the roof of your mouth. This happens for two main reasons: stale marshmallows and high heat.
First and foremost, always use fresh marshmallows. Marshmallows that have been sitting in your pantry for six months have lost their moisture and will not melt smoothly, resulting in a stiff, brittle bind. Go to the store and buy a brand-new bag of mini marshmallows specifically for this recipe. Mini marshmallows melt faster and more evenly than the large ones. Secondly, heat control is paramount. When melting your butter and marshmallows, use the lowest heat setting possible on your stove. Rushing the process with high heat causes the sugar in the marshmallows to crystallize and harden. Patience is key. Melt the butter completely, then stir in the marshmallows constantly until they are *just* melted, leaving a few tiny lumps. Remove the pot from the heat immediately before folding in your cereal. This gentle melting process ensures the sugar stays soft and pliable, yielding a treat that pulls apart beautifully.
Infusing Strawberry Flavor into the Cereal
To ensure these are truly Strawberry Shortcake Rice Krispie Treats and not just regular treats with a fancy topping, we need to flavor the base itself. There are a few ways to achieve this, but the best method for maintaining texture while maximizing flavor is using freeze-dried strawberries. Freeze-dried fruit is a baker’s secret weapon. It provides intense, concentrated, natural fruit flavor without adding any excess moisture. Adding fresh strawberry puree or jam to melted marshmallows would introduce water, turning the cereal soggy and ruining the structural integrity of the bars.
By pulverizing freeze-dried strawberries into a fine powder and folding it into the melted marshmallow mixture, you dye the base a beautiful, natural soft pink and infuse every single bite with bright, tart strawberry flavor. The tartness of the real fruit perfectly balances the intense sweetness of the marshmallows and the cookie crumble topping. If you cannot find freeze-dried strawberries, you can use a few tablespoons of the dry strawberry gelatin powder mixed into the marshmallows, but the freeze-dried fruit offers a far superior, authentic flavor profile.
Ingredients List
- 1 cup Golden Oreos (or similar vanilla sandwich cookies): Crushed into varied-sized pieces.
- 1 (3 oz) box Strawberry Gelatin Powder (like Jell-O): Divided use (half for the topping, half for the base).
- 1/2 cup Unsalted Butter: Divided use (2 tablespoons for the topping, 6 tablespoons for the base).
- 1 (10 oz) bag Mini Marshmallows: Must be fresh for the best gooey texture!
- 6 cups Crisped Rice Cereal (like Rice Krispies): Fresh and crunchy.
- 1/2 cup Freeze-Dried Strawberries: Blended into a fine powder (optional, but highly recommended for natural flavor and color).
- 1/2 teaspoon Vanilla Extract: Enhances the overall bakery-style flavor.
- 1/4 teaspoon Salt: Crucial to cut the intense sweetness of the marshmallows.
- Fresh Strawberries: For optional garnish when serving.
Step-by-Step Instructions
- Prepare the Pan: Line a 9×9-inch baking pan (for thicker treats) or a 9×13-inch pan (for thinner treats) with parchment paper. Lightly spray the parchment with non-stick cooking spray. This makes removal incredibly easy.
- Make the Strawberry Crunch Topping: In a food processor, pulse the Golden Oreos until you have a mix of fine crumbs and pea-sized chunks. Transfer to a bowl. Add half of the strawberry gelatin powder (about 1.5 tablespoons) and toss to combine. Pour 2 tablespoons of melted unsalted butter over the mixture and toss with a fork until the crumbs are evenly coated and clump together slightly. Set aside.
- Melt the Butter and Marshmallows: In a large heavy-bottomed pot or Dutch oven, melt the remaining 6 tablespoons of butter over low heat. Once the butter is completely melted, add the mini marshmallows. Stir continuously with a silicone spatula until the marshmallows are about 90% melted.
- Flavor the Base: Remove the pot from the heat immediately. Stir in the vanilla extract, salt, the freeze-dried strawberry powder, and the remaining strawberry gelatin powder. Stir vigorously until the mixture is uniform in color (it should be a lovely pink hue).
- Fold in the Cereal: Pour the 6 cups of crisped rice cereal into the pink marshmallow mixture. Gently fold the cereal into the marshmallow using your spatula. Ensure every single piece of cereal is coated in the sticky, gooey mixture, but be careful not to crush the cereal aggressively.
- Press and Top: Transfer the sticky cereal mixture into your prepared baking pan. Using a lightly greased spatula (or your hands lightly coated in butter or water), very gently press the mixture into an even layer. Do not pack it down tightly, or your treats will be dense and hard. Immediately sprinkle the prepared strawberry crunch topping evenly over the surface, pressing down very lightly so it adheres to the sticky marshmallow base.
- Cool and Serve: Allow the treats to cool at room temperature for at least 1 hour to set completely. Once firm, use the parchment paper overhang to lift the entire block out of the pan. Cut into even squares using a sharp knife. Serve alongside fresh strawberries if desired.
Pro-Tips for Cereal Treat Perfection
To guarantee your Strawberry Shortcake Rice Krispie Treats look and taste like they came from a gourmet bakery, keep these expert tips in mind. When pressing the mixture into the pan, remember that air is your friend. The lighter you press, the chewier and softer the final treat will be. If you smash the cereal down with force, you eliminate all the air pockets, resulting in a brick-like texture.
If you find the mixture is sticking to your spatula too much while transferring it to the pan, run your spatula under cold water and shake off the excess, or give it a quick spritz of non-stick spray. Moisture or fat creates a barrier that prevents the marshmallow from adhering. Finally, when cutting the treats, use a large, sharp chef’s knife and press straight down. Do not saw back and forth, as this will crush the delicate cereal and dislodge your beautiful crumb topping.
Storage and Freezing Guidelines
These treats are best enjoyed within the first 48 hours of making them, when the marshmallow is at its freshest and softest. Store them in a completely airtight container at room temperature. You can place sheets of wax paper or parchment paper between layers to prevent them from sticking to one another.

Do not store Rice Krispie treats in the refrigerator. The cold temperature will cause the butter and marshmallows to solidify completely, turning the treats rock hard. If you need to store them for a longer period, they can actually be frozen! Wrap individual squares tightly in plastic wrap, then place them in a zip-top freezer bag. They will keep for up to two months. Let them sit at room temperature for about 30 minutes to thaw completely before eating.
Frequently Asked Questions
Can I use standard sized marshmallows instead of mini?
Yes, you can substitute standard marshmallows, but you will need to be extra patient. They take significantly longer to melt over low heat. Consider cutting them in half with kitchen shears before adding them to the pot to speed up the melting process and prevent scorching the butter.
I don’t have Golden Oreos. What else can I use for the topping?
Any vanilla sandwich cookie will work perfectly. If you cannot find sandwich cookies, you can use Nilla Wafers, graham crackers, or shortbread cookies. If using a cookie without a cream filling, you may need to add an extra teaspoon or two of melted butter to the topping mixture to ensure it clumps properly.
Why did my treats turn out hard and difficult to bite?
This is almost always due to either using stale marshmallows, melting the marshmallows over heat that is too high, or packing the cereal mixture far too tightly into the baking pan. Always use fresh marshmallows, low heat, and a gentle touch!
Can I make these vegan?
Absolutely. Substitute the butter for a high-quality vegan stick butter, and use a brand of vegan marshmallows (like Dandies). Ensure your crisped rice cereal and cookies are certified vegan. The process remains exactly the same.
Strawberry Shortcake Rice Krispie Treats
Ingredients
Equipment
Method
- Line a baking pan with parchment paper and lightly grease with non-stick spray.
- In a food processor, pulse Golden Oreos into crumbles. Toss with 1.5 tbsp strawberry gelatin powder and 2 tbsp melted butter until clumped. Set aside.
- In a large pot, melt 6 tbsp butter over low heat. Add marshmallows and stir until 90% melted. Remove from heat immediately.
- Stir in vanilla, salt, freeze-dried strawberry powder, and remaining 1.5 tbsp strawberry gelatin powder until the mixture is uniform and pink.
- Gently fold in the crisped rice cereal until evenly coated with the sticky marshmallow mixture.
- Transfer the mixture to the prepared pan. Using a lightly greased spatula, gently press into an even layer without packing it tightly.
- Immediately sprinkle the cookie crunch topping evenly over the surface, pressing lightly so it sticks.
- Allow to cool at room temperature for at least 1 hour before lifting out by the parchment paper and slicing into squares.