Pink Angel Food Cake Recipe
The Ultimate Pink Angel Food Cake: A Cloud on a Plate
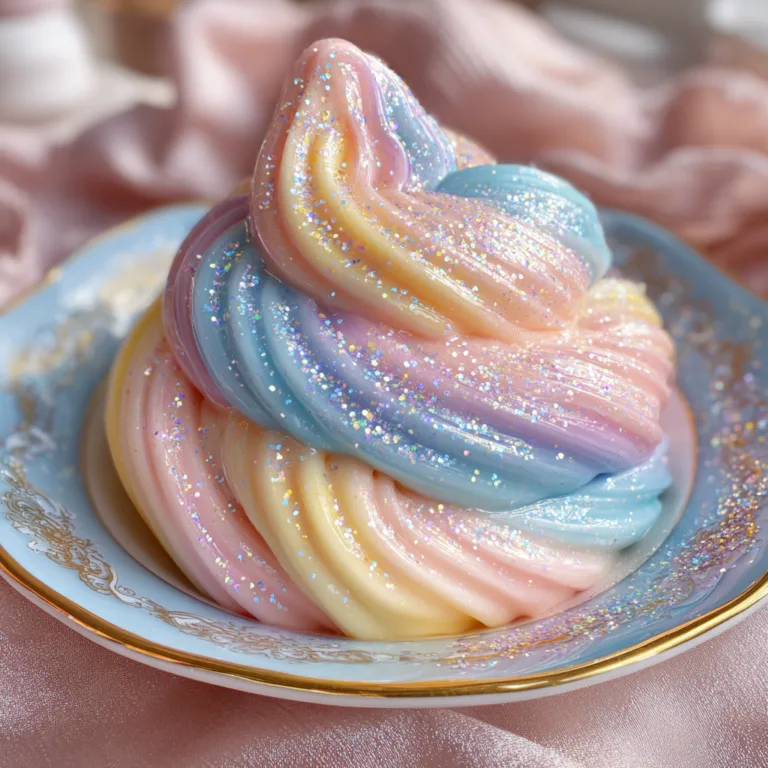
There is something inherently magical about Pink Angel Food Cake. It defies the laws of baking gravity, rising high and mighty in the oven without a drop of chemical leavening or fat, relying entirely on the power of whipped air and egg whites. When you slice into it, the interior is as light as a feather, with a texture that practically dissolves on your tongue. But this isn’t just any angel food cake; this is a whimsical, vibrant pink version covered in a billowy, cloud-like frosting and adorned with cheerful sprinkles. It is the stuff childhood dreams are made of, yet sophisticated enough to serve at an elegant afternoon tea or a Valentine’s Day celebration.
In this comprehensive guide, we are going to walk through every single step of creating this masterpiece. Many home bakers are intimidated by angel food cake, fearing it will collapse or turn out rubbery. Fear not! With the right technique—specifically how you whip your whites and fold in your flour—you will achieve bakery-quality results right in your own kitchen. This cake is naturally fat-free (before the frosting!), incredibly airy, and serves as the perfect canvas for that stunning pink hue.

Why This Recipe Works
This recipe balances the delicate structure of egg white proteins with just enough sugar to stabilize the meringue and enough flour to hold the shape, without weighing it down. Adding the pink coloring directly to the batter ensures a uniform, playful color throughout the slice, not just on the outside. We top it with a luscious, whipped frosting that mimics the lightness of the cake itself.
Unlike dense butter cakes or pound cakes, Pink Angel Food Cake is all about texture. It is spongy, springy, and moist. The addition of cream of tartar is the secret weapon here; it acts as an acid to stabilize the egg whites, ensuring they reach their maximum volume and don’t deflate while baking. This is the difference between a dense, chewy puck and a soaring, majestic cake.
Ingredients
For the Pink Angel Food Cake
- Egg Whites – You will need about 1 ½ cups (usually 10-12 large eggs). They must be at room temperature to whip to full volume.
- Cake Flour – Do not use all-purpose flour. Cake flour has less protein, which is essential for that tender, melt-in-your-mouth crumb.
- Superfine Sugar (Caster Sugar) – If you only have granulated sugar, pulse it in a food processor a few times. It dissolves easier into the whites.
- Cream of Tartar – The non-negotiable stabilizer for your meringue.
- Salt – Enhances the flavors.
- Vanilla Extract – Use pure vanilla for the best flavor.
- Almond Extract – A classic pairing with angel food cake that adds a subtle cherry-like aroma.
- Pink Gel Food Coloring – Gel is preferred over liquid as it adds color without adding excess water which can destabilize the whites.
For the Fluffy Pink Frosting
- Heavy Whipping Cream – Cold, straight from the fridge.
- Powdered Sugar – Sweetens and stabilizes the whipped cream.
- Vanilla Extract – For flavor.
- Pink Gel Food Coloring – To match the cake.
- Multi-colored Sprinkles (Nonpareils or Confetti) – For decoration.
Instructions
Step 1: Prepare Your Equipment
Preheat your oven to 350°F (175°C). Locate your tube pan (angel food cake pan). IMPORTANT: Do NOT grease the pan. The batter needs to cling to the sides of the pan to climb up as it bakes. If the pan is greasy, the cake will slip down and not rise properly.
Step 2: Sift the Dry Ingredients
In a medium bowl, sift together the cake flour and 3/4 cup of the sugar (reserve the rest of the sugar for the egg whites). Sifting is crucial here—sift it not once, but twice, or even three times. This aerates the flour and prevents heavy lumps from sinking your batter.
Step 3: Whip the Egg Whites
In the impeccably clean bowl of a stand mixer fitted with the whisk attachment, beat the egg whites and cream of tartar on medium-low speed until they become foamy. Add the salt, vanilla extract, and almond extract. Increase the speed to medium-high and gradually add the remaining sugar, one tablespoon at a time. Continue whipping until soft peaks form.
Step 4: Color and Stiffen
Add a few drops of pink gel food coloring. Continue beating until the whites form stiff glossy peaks. When you lift the beater, the peak should stand straight up without drooping. Be careful not to overbeat to the point where they look dry or curdy.
Step 5: The Fold (The Most Critical Step)
Remove the bowl from the mixer. Sift the flour mixture over the egg whites in four separate additions. After each addition, gently fold the flour into the whites using a large rubber spatula. Cut down through the center, scrape along the bottom, and come up the side, rotating the bowl as you go. Do this gently but thoroughly until no flour streaks remain. Do not stir, or you will deflate the air bubbles you worked so hard to create.
Step 6: Bake
Gently spoon the batter into the ungreased tube pan. Run a knife or a thin spatula through the batter to release any large air pockets. Smooth the top. Bake for 35 to 40 minutes, or until the top is golden brown and springs back when lightly touched. The cracks on top should look dry.
Step 7: Cool Upside Down
Immediately upon removing the cake from the oven, invert the pan onto its feet (or over the neck of a glass bottle if your pan doesn’t have feet). Let it cool completely upside down. This prevents the cake from collapsing under its own weight while the structure sets.
Step 8: Frost and Decorate
Once cooled (about 2 hours), run a knife around the edges and center tube to release the cake. In a chilled bowl, whip the heavy cream, powdered sugar, and vanilla until soft peaks form. Tint with pink coloring and whip until stiff peaks form. Spatula the frosting generously over the top and sides of the cake. Cover with colorful sprinkles immediately.
Tips for Success
- Clean Bowl Policy: Even a speck of yolk or grease in your mixing bowl can prevent egg whites from whipping properly. Wipe your bowl with a little vinegar on a paper towel before starting to ensure it is pristine.
- Room Temp Eggs: Separate your eggs while cold (it’s easier), but let the whites sit covered for 30 minutes to reach room temperature before whipping. Room temp whites whip up to a greater volume.
- Cutting the Cake: Use a serrated knife and use a gentle sawing motion. Do not press down, or you will squish the delicate sponge.
Creative Variations
While this pink vanilla-almond version is a classic, you can easily adapt this recipe to suit other tastes:
1. Strawberry Angel Food Cake: Fold in freeze-dried strawberry powder with the flour mixture for a natural pink color and intense berry flavor without adding moisture.
2. Lemon Chiffon Vibes: Omit the almond extract and pink color. Add 1 tablespoon of lemon zest to the sugar before whipping, and top with a lemon glaze instead of whipped cream.
3. Chocolate Swirl: Fold 2 tablespoons of cocoa powder into half of the batter and swirl it with the plain batter for a marbled effect.
Fun Facts & Cultural Context
Angel Food Cake originated in the United States in the late 19th century. It was named because of its airy lightness that was said to be the “food of angels,” a direct contrast to the butter-heavy “Devil’s Food Cake” that appeared later. Traditionally, it was a way to use up the copious amounts of egg whites left over after making noodles or custard, which required yolks. The special tube pan used for baking is essential because the batter is so light; the central tube allows heat to penetrate the center of the cake, helping it rise and bake evenly before the structure sets.
This pink version puts a modern, celebratory twist on the stark white classic. It is a popular choice for “smash cakes” for first birthdays due to its soft texture, but honestly, adults love it just as much for its nostalgia and guilt-free lightness.

Serving Suggestions
This cake is best served on the day it is frosted. However, the unfrosted cake can be stored at room temperature for a couple of days. Serve thick slices with:
- A side of fresh macerated strawberries or raspberries.
- A scoop of vanilla bean ice cream or raspberry sorbet.
- A drizzle of warm chocolate ganache for a decadence contrast.
Whether you are a seasoned baker or trying your hand at meringue for the first time, this Pink Angel Food Cake is a forgiving and rewarding recipe. The sheer height of the cake is impressive enough to be a centerpiece, and the taste is pure, sweet simplicity.
Pink Angel Food Cake
Ingredients
Equipment
Method
- Preheat oven to 350°F (175°C). Ensure your tube pan is completely clean and dry. DO NOT grease the pan.
- Sift the cake flour and 3/4 cup of the sugar together three times into a bowl. Set aside.
- In a large mixer bowl, whip egg whites and cream of tartar on medium-low until foamy. Add salt, vanilla, and almond extract.
- Increase speed to medium-high. Gradually add the remaining 3/4 cup sugar, one tablespoon at a time.
- Add pink food coloring and continue whipping until stiff, glossy peaks form.
- Sift the flour mixture over the whites in four batches, gently folding with a rubber spatula after each addition until just incorporated.
- Spoon batter into the ungreased pan. Run a knife through batter to remove air pockets. Smooth top.
- Bake 35-40 minutes until top is golden and springs back when touched. Invert pan immediately onto its feet or a bottle neck.
- Cool completely upside down (approx 2 hours). Run a knife around edges to release cake.
- Whip heavy cream, powdered sugar, and vanilla until soft peaks form. Tint pink and whip to stiff peaks. Frost cake and top with sprinkles.