Ocean Gummy Fish Popsicles
VBlue Ocean Gummy Fish Popsicles
There is absolutely nothing quite like the feeling of a hot summer day, the sun beating down, and the ultimate refreshment of a sweet, ice-cold treat. When the temperatures rise, kids and adults alike start craving something that not only cools them down but also brings a smile to their faces. Enter the Blue Ocean Gummy Fish Popsicles. These visually stunning, vibrant blue ice pops are more than just a dessert; they are an experience, a mini aquarium frozen on a stick that captures the imagination and delights the taste buds.
Making homemade popsicles is a beloved summer tradition, but these ocean-themed treats take that tradition to a whole new level. Featuring a beautiful gradient of bright ocean blue and packed with chewy, colorful gummy fish swimming inside, they are the absolute perfect addition to pool parties, beach-themed birthdays, or just a lazy Tuesday afternoon when you need a fun activity to keep the family entertained. In this comprehensive guide, we will dive deep into everything you need to know to create the perfect batch of aquarium popsicles right in your own kitchen.
Why You Will Love These Aquarium Popsicles
If you are wondering why you should choose this specific recipe over standard frozen fruit pops or store-bought ice cream, the reasons are plentiful. First and foremost is the visual appeal. The striking blue color, achieved either through blue sports drinks, flavored syrups, or a tiny drop of food coloring in a clear base, is mesmerizing. It genuinely looks like a slice of the tropical ocean has been frozen onto a wooden stick. When the sunlight hits the translucent ice, it glows.
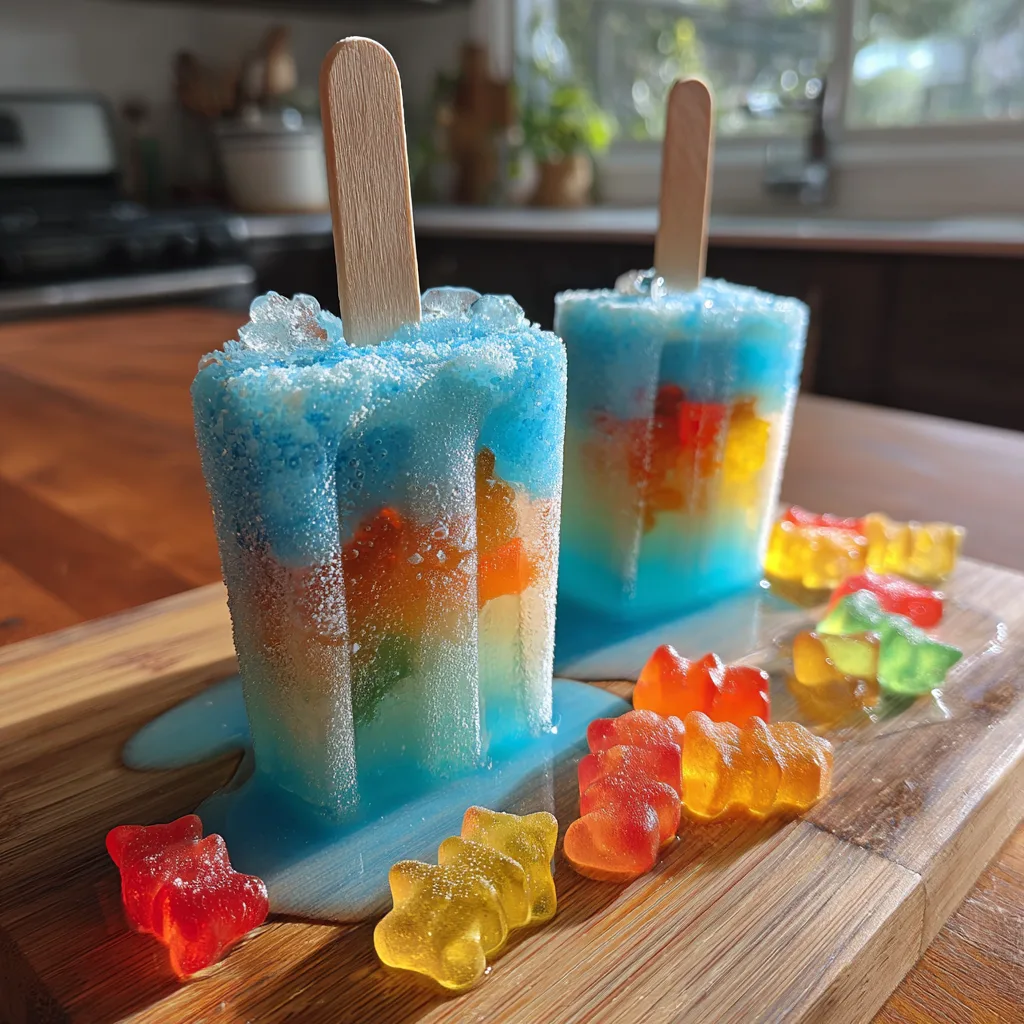
Secondly, the surprise element of the gummy fish hidden inside provides an incredible textural contrast. As you enjoy the cold, refreshing ice of the popsicle, you are rewarded with the sweet, chewy bite of a gummy candy. It is two treats in one! Kids are particularly fascinated by the suspended candies, often turning the popsicle around to look at the “swimming” fish from all angles before taking a bite.
Furthermore, this recipe is incredibly simple and highly customizable. You do not need any fancy culinary skills, baking equipment, or hard-to-find ingredients. With just a few basic items and a standard popsicle mold, you can whip up a batch in under ten minutes of active prep time. The freezer does all the heavy lifting for you. It is also an excellent recipe to get children involved in the kitchen. They can help mix the liquids, carefully drop the gummy fish into the molds, and place the sticks.
Ingredients Needed for Ocean Popsicles
The beauty of this recipe lies in its simplicity. You only need a few staple items to bring these aquatic creations to life. Here is what you will need:
- – 3 cups of clear liquid base (such as lemon-lime soda, coconut water, or white grape juice)
- – 1 to 2 drops of blue liquid food coloring (or use a blue sports drink as the base to skip the dye)
- – 1 cup of gummy fish or assorted ocean-themed gummy candies (sharks, octopuses, etc.)
- – 1/4 cup of simple syrup or agave nectar (optional, only if using an unsweetened base like plain water)
When selecting your liquid base, keep in mind how it will interact with the gummy candies. A lemon-lime soda offers a crisp, sweet flavor that pairs wonderfully with the fruity gummies, and the carbonation can sometimes leave tiny, beautiful bubbles suspended in the ice, mimicking real ocean oxygen bubbles. Coconut water is a fantastic, slightly healthier alternative that provides great hydration and a subtle tropical flavor. If you choose a sports drink, you get the added benefit of electrolytes for those extra hot days.
Step-by-Step Instructions
Creating these frozen masterpieces is a straightforward process, but following these steps carefully will ensure your gummy fish are perfectly distributed and your popsicles come out looking like real mini oceans.
1. Prepare Your Base Liquid: If you are using a clear liquid like lemon-lime soda or coconut water, pour it into a large measuring cup or mixing bowl with a spout. Add one tiny drop of blue food coloring at a time, stirring gently until you reach your desired shade of ocean blue. If you want an ombre effect (lighter at the bottom, darker at the top), divide your liquid into two batches and make one slightly darker than the other.
2. First Pour: Pour a small amount of your blue liquid into the bottom of each popsicle mold, filling them about one-third of the way up. This creates the top layer of your ocean (since the popsicles will be inverted when eaten).
3. Add the First Wave of Fish: Drop one or two gummy fish into each mold. By doing this in stages, you prevent all the gummies from sinking straight to the bottom (which becomes the top of the popsicle). Place the molds in the freezer for about 45 minutes to an hour, just until the liquid becomes slushy and semi-firm.
4. Second Pour and More Fish: Remove the slushy molds from the freezer. Pour in more of your blue liquid until the molds are about two-thirds full. If you made a darker blue batch for an ombre effect, use it now. Gently press a few more gummy fish into the slush. The semi-frozen base will hold them in place so they appear to be swimming in the middle of the popsicle.
5. Insert the Sticks: At this point, the mixture should be thick enough to hold the popsicle sticks upright. Insert a wooden stick into the center of each mold, leaving enough sticking out for a comfortable handle.
6. Final Pour and Freeze: Top off the molds with the remaining blue liquid, leaving about a quarter-inch of space at the very top to allow for expansion as the liquid freezes. Add one final gummy fish if desired. Return the molds to the freezer and freeze completely, which typically takes at least 4 hours, or ideally overnight.
7. Unmolding: To release the popsicles, run the outside of the molds under warm water for 10 to 15 seconds. Gently pull on the sticks, and the popsicles should slide right out, ready to be enjoyed.
Pro Tips for the Best Clear Blue Popsicles
While the process is simple, there are a few expert tips that can elevate your homemade popsicles from good to spectacular.
Managing the Gummies: One of the most common issues when making candy-filled popsicles is that the candies absorb liquid, swell up, and sometimes lose their chewy texture, becoming hard and icy. To mitigate this, make sure your base liquid is as cold as possible before pouring it into the molds. Some home cooks even swear by lightly coating the gummies in a tiny bit of unflavored gelatin powder before dropping them in, though the slush-freezing method outlined above is usually sufficient to keep them intact and perfectly placed.
Achieving Crystal Clear Ice: If you are using water or a homemade syrup base and want the ice to be crystal clear so the fish are easily visible, boil the water first. Boiling the water removes trapped air and impurities. Let it cool completely before adding your coloring and pouring it into the molds. This technique results in a glass-like finish.
Flavor Enhancements: Do not be afraid to play with flavor extracts. A tiny drop of coconut extract, pineapple extract, or even a hint of mint can give the ocean water base a tropical, refreshing kick that complements the visual theme perfectly.
Fun Variations to Try
Once you have mastered the basic Blue Ocean Gummy Fish Popsicle, the variations are truly endless. You can customize these treats to fit different holidays, party themes, or personal flavor preferences.
The Shark Attack: Instead of friendly gummy fish, use gummy sharks. To make it extra fun for a shark-themed party, you can add a small splash of red fruit punch or grenadine to the very top of the mold (which becomes the bottom when holding it) just before the final freeze to create a “bloody” water effect.
Tropical Reef: Mix up the colors! Use a green or yellow base liquid (like pineapple juice) for the bottom half and blue for the top half. Add in gummy octopuses, turtles, and fish to create a vibrant coral reef effect.
Adults-Only Ocean: For a grown-up summer party, turn these into cocktail popsicles. Add a splash of blue curaçao and coconut rum to your lemon-lime soda base. Keep in mind that alcohol does not freeze as solidly as water, so you will need to keep the alcohol ratio low (about 1 part alcohol to 4 parts non-alcoholic mixer) to ensure the popsicles set properly.
Serving and Storing Suggestions
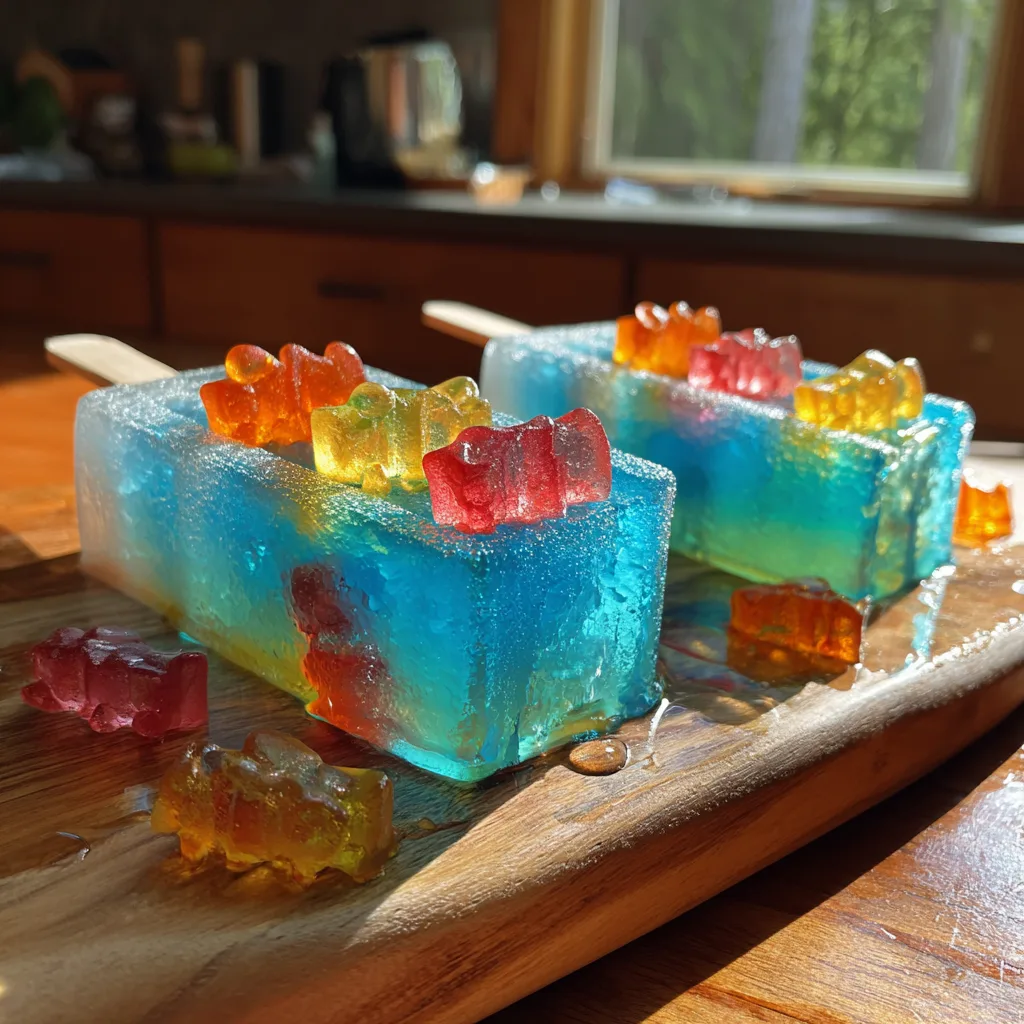
When serving these gorgeous popsicles at a party, presentation is everything. You can recreate the look of the photo by serving them on a rustic wooden platter scattered with extra gummy fish. To keep them cold longer outdoors, nestle the popsicles in a deep tray filled with crushed ice. You can even dye the crushed ice blue for maximum thematic impact!
If you are making these ahead of time or have leftovers, storage is simple. Once the popsicles are completely frozen and unmolded, wrap each one individually in wax paper or parchment paper, then place them all into a large zip-top freezer bag. This prevents them from sticking together and protects them from freezer burn. They will keep well in the freezer for up to a month, though they are usually devoured much faster than that!
The Joy of Making Treats with Kids
Beyond the delicious taste and the stunning appearance, recipes like this are fundamentally about creating memories. The kitchen is a wonderful place for children to learn basic skills, understand how ingredients change states (from liquid to solid), and express their creativity. Dropping the fish into the molds allows them to practice fine motor skills, and measuring the liquids introduces basic math concepts in a practical, fun environment.
Waiting for the popsicles to freeze also teaches a valuable lesson in patience. The excitement that builds as they repeatedly check the freezer, culminating in the joy of finally unmolding their creations, is priceless. It transforms a simple dessert into a full-day event and gives them a profound sense of accomplishment when they hand a popsicle they made themselves to a sibling or friend.
Frequently Asked Questions
Can I use sugar-free liquid for the base?
Yes, you can absolutely use sugar-free sodas, flavored waters, or sugar-free sports drinks. Just be aware that sugar helps give popsicles a softer, more biteable texture. Sugar-free popsicles tend to freeze a bit harder and icier, but they will still look fantastic and taste great.
Why did all my gummy fish sink to the bottom?
Gummy candies are denser than water or soda, so gravity pulls them down. The best way to prevent this is the “slush freeze” method described in the instructions. By freezing the liquid in stages, you create a semi-solid base that holds the candies in place before adding the next layer of liquid.
Can I use fresh fruit instead of gummies?
Definitely! If you want a healthier variation, you can use blueberries, kiwi slices, or starfruit cut-outs. While it won’t be an “aquarium” with fish, the suspended fruit suspended in the bright blue liquid still looks incredibly beautiful and offers a fresh, vibrant flavor profile.
How do I get my popsicles out of the mold without breaking them?
Patience and warm water are your best friends here. Never try to force the popsicle by yanking the stick hard. Submerge the outside of the plastic or silicone mold in a bowl of warm (not hot) water for a few seconds. Gently wiggle the stick. If it resists, give it a few more seconds in the water. It should slide out smoothly.
Conclusion
The Blue Ocean Gummy Fish Popsicle is the ultimate triumph of summer dessert crafting. It perfectly balances visual wow-factor, nostalgic flavors, and extreme ease of preparation. Whether you are hosting a massive backyard barbecue, planning a nautical-themed birthday, or simply looking for a fun weekend project to share with your family, this recipe is guaranteed to make waves. So grab your popsicle molds, pick out your favorite gummy sea creatures, and get ready to freeze up a batch of edible ocean magic today!
Ocean Gummy Fish Popsicles
Ingredients
Equipment
Method
- In a large measuring cup, mix your clear soda or coconut water with the blue food coloring until you reach a vibrant ocean blue.
- Pour the blue liquid into your popsicle molds, filling them about one-third of the way up.
- Drop 1-2 gummy fish into each mold. Place in the freezer for 45-60 minutes until semi-slushy. This prevents the fish from sinking.
- Remove from freezer. Pour more liquid until two-thirds full, add a few more gummy fish, and insert popsicle sticks into the slushy mix.
- Top off the molds with remaining liquid, leaving a little room at the top for expansion. Add one final gummy fish.
- Freeze for at least 4 hours, or overnight, until completely solid.
- To unmold, run the outside of the popsicle molds under warm water for 10-15 seconds and gently pull the sticks.


