Classic Deviled Eggs
The Ultimate Guide to Classic Deviled Eggs: Creamy, Tangy, and Perfection in Every Bite
There are very few appetizers that claim the universal adoration that Deviled Eggs do. They are the first thing to disappear at a potluck, the staple of every Easter brunch, and the savory snack that we secretly crave at midnight. While they seem deceptively simple—just eggs, mayo, and mustard—achieving the perfect deviled egg is an art form.
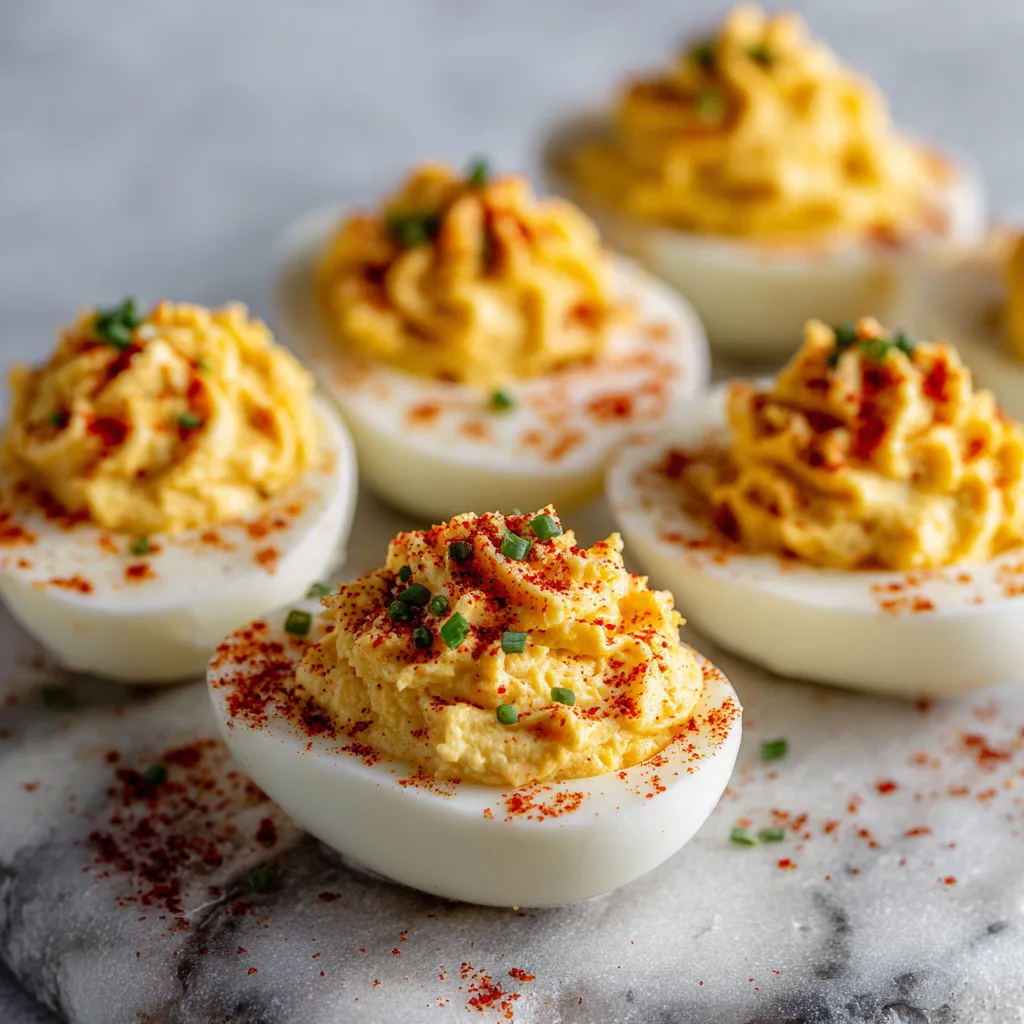
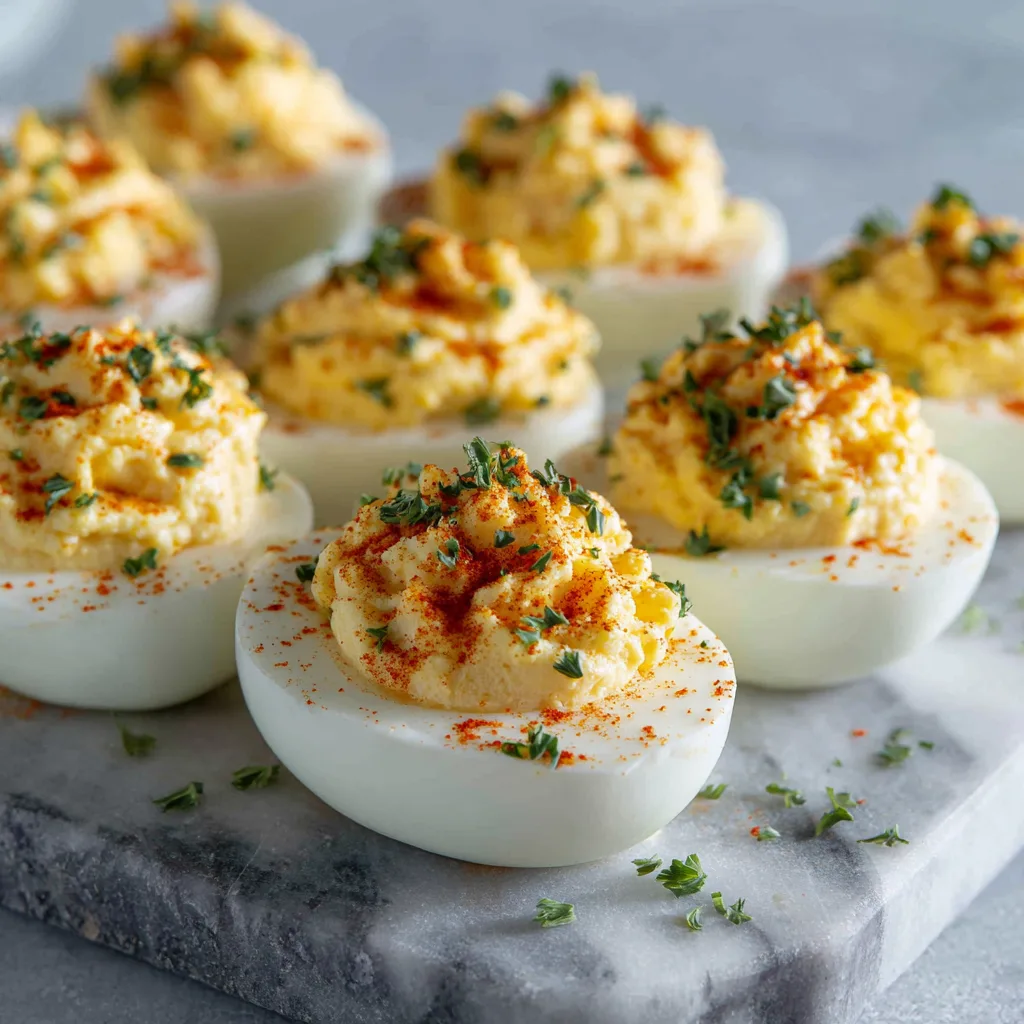
The image above shows exactly what we are aiming for: pristine, glossy egg whites that haven’t been torn during peeling, cradling a filling that is piped to perfection. The filling should be light, airy, and impossibly creamy, seasoned with just enough acid to cut through the richness of the yolk. And, of course, the signature dusting of paprika and fresh chives to finish it off.
In this comprehensive guide, we aren’t just giving you a recipe; we are diving deep into the science of boiling eggs, the secrets to easy peeling, and the exact ratios needed for that velvety filling. Whether you are a seasoned host or a first-time cook, this is the only resource you will ever need for the best deviled eggs.
Why This Recipe is a Keeper
We have all had bad deviled eggs. Sometimes the filling is dry and chalky; other times it is too runny and weeps liquid. Sometimes the egg whites are rubbery or mangled from a bad peel job. This recipe addresses all those common pitfalls.
Texture Balance: We use a specific ratio of mayonnaise to acid (mustard and vinegar) to ensure the filling is silky but holds its shape when piped.
Flavor Depth: While mayo provides creaminess, it is the Dijon mustard and a splash of pickle juice or vinegar that gives the eggs their “deviled” kick. The term “deviled” historically referred to spicy or zesty foods, and we honor that history with a flavor profile that pops.
The Foundation: Boiling the Perfect Egg
You cannot have great deviled eggs without perfectly cooked hard-boiled eggs. The biggest mistake people make is overcooking the eggs, leading to a green ring around the yolk and a sulfurous smell. Here is the fail-safe method:
The Cold Start Method vs. Boiling Water Start
While many swear by starting with cold water, we recommend the boiling water start method for easier peeling. Dropping eggs into already boiling water shocks the membrane, separating it from the shell.
- Step 1: Bring a large pot of water to a rolling boil. There should be enough water to cover the eggs by an inch.
- Step 2: Lower the heat to a simmer (so the eggs don’t crack when they hit the water) and gently lower the eggs in using a slotted spoon.
- Step 3: Crank the heat back up to medium-high and boil for exactly 12 minutes for fully set, creamy yolks.
- Step 4: The Ice Bath. This is non-negotiable. Immediately transfer the cooked eggs into a bowl filled with ice and water. This stops the cooking process instantly and shrinks the egg inside the shell, making peeling easier.
The Secret to Easy Peeling
Nothing is more frustrating than losing half the egg white while trying to peel a hard-boiled egg. Aside from the thermal shock of the ice bath, the age of the egg matters. Fresh eggs are notoriously difficult to peel because the pH is lower, causing the white to cling to the shell membrane. For deviled eggs, try to buy your eggs 5 to 7 days before you plan to boil them. Older eggs peel much cleaner.
Ingredients for Success
The beauty of this dish lies in its simplicity, which means the quality of your ingredients shines through.
The Core Components
- Large Eggs: We use standard large eggs. If using extra-large, you may need to increase the seasoning slightly.
- Mayonnaise: Use full-fat, high-quality mayonnaise (like Hellmann’s or Duke’s). Do not use “salad dressing” or Miracle Whip unless you prefer a much sweeter filling.
- Dijon Mustard: This adds a sharper, more sophisticated heat than yellow mustard, though yellow mustard works for a more nostalgic flavor.
- Apple Cider Vinegar: A small splash adds necessary acidity. You can also use white vinegar or juice from a jar of dill pickles.
- Salt and Pepper: Freshly cracked black pepper and fine sea salt are essential.
- Paprika: Sweet paprika adds color, but smoked paprika adds a wonderful depth of flavor.
- Chives: Fresh chives or scallions add a mild onion bite and a fresh crunch.
Step-by-Step Instructions
- Boil and Cool: Follow the boiling instructions above. Once the eggs have chilled in the ice bath for at least 15 minutes, peel them under cool running water. The water helps separate the membrane from the white. Pat them dry with paper towels.
- Slice and Separate: Using a sharp, non-serrated knife, slice the eggs in half lengthwise. Wipe the knife clean between cuts to keep the whites pristine. Gently pop the yolks out into a medium mixing bowl (or a food processor for ultra-smooth texture). Arrange the whites on a serving platter or deviled egg tray.
- Mash the Yolks: Break down the yolks. You can use a fork, but for the smoothest filling, press the yolks through a fine-mesh sieve. This removes any hard bits and ensures a velvety texture. If you don’t have a sieve, a potato masher works well too.
- Make the Filling: Add the mayonnaise, Dijon mustard, vinegar, salt, and pepper to the yolks. Mix vigorously. You want to incorporate a little air to make the filling light. If the mixture is too stiff, add a teaspoon more mayo or a drop of pickle juice.
- Fill the Whites: You can spoon the mixture back into the holes, but for the beautiful look in the photo, transfer the filling to a piping bag fitted with a large star tip (like a Wilton 1M). Pipe a generous swirl into each egg white cavity.
- Garnish: Dust the tops with paprika. Use a small sieve to get an even dusting rather than clumps. Sprinkle with freshly chopped chives.
- Chill: Refrigerate for at least 30 minutes before serving to let the flavors meld and the filling firm up slightly.
Tips, Tricks, and Troubleshooting
The Bag Hack: If you don’t have a piping bag, simply put the filling in a Ziploc bag, seal it, and snip one corner off with scissors. It won’t have the ridges of a star tip, but it will look much neater than using two spoons.
My Filling is Too Runny: This happens if you add too much liquid or mayo too quickly. To fix it, you can add a little bit of instant mashed potato flakes (sounds strange, but it works as a thickener without altering the taste) or boil an extra yolk and mash it in.
My Filling is Lumpy: This is usually because the yolks weren’t mashed well enough before adding the wet ingredients. The food processor or sieve method is the cure for this.
Variations to Try
Once you master the classic, you can get creative. The deviled egg is a blank canvas.
- Bacon & Cheddar: Add finely crumbled crispy bacon and shredded sharp cheddar to the mix for a savory bomb.
- Spicy Jalapeño: Mix in minced pickled jalapeños and top with a slice of fresh pepper.
- Avocado: Replace half the mayonnaise with ripe avocado for a green, heart-healthy twist (note: serve these immediately as avocado browns).
- Truffle: A drizzle of white truffle oil and fresh cracked pepper turns this humble snack into a gourmet appetizer.
Storage and Make-Ahead
Deviled eggs are the perfect make-ahead party food.
Prep Ahead: You can boil and peel the eggs up to 2 days in advance. Store the whites in an airtight container and the filling in a separate sealed bag. Assemble them shortly before serving for the freshest presentation.
Leftovers: Store assembled eggs in an airtight container in the refrigerator for up to 2 days. Be aware that the paprika might bleed slightly into the whites over time, but they will still taste delicious.
Whether it is a summer barbecue, a holiday dinner, or a simple snack, these Classic Deviled Eggs bring comfort and elegance to the table. The combination of the firm, cool white and the rich, tangy yolk is a textural masterpiece that never goes out of style.
Classic Deviled Eggs
Ingredients
Equipment
Method
- Place eggs in a single layer in a saucepan and cover with water by 1 inch. Bring to a boil.
- Once boiling, reduce heat to low, cover, and simmer for 1 minute. Remove from heat and let sit covered for 12 minutes.
- Transfer eggs immediately to a bowl of ice water and let cool for 15 minutes.
- Peel eggs under cool running water. Pat dry.
- Slice eggs in half lengthwise. Remove yolks and place them in a medium bowl; arrange whites on a serving platter.
- Mash yolks with a fork or pass through a sieve for extra smoothness.
- Stir in mayonnaise, mustard, vinegar, salt, and pepper until smooth and creamy.
- Pipe or spoon the yolk mixture back into the egg whites.
- Sprinkle with paprika and chopped chives before serving.