Cotton Candy Soft Serve
The Ultimate Cotton Candy & Bubblegum Swirl Soft Serve: A Nostalgic Summer Dream
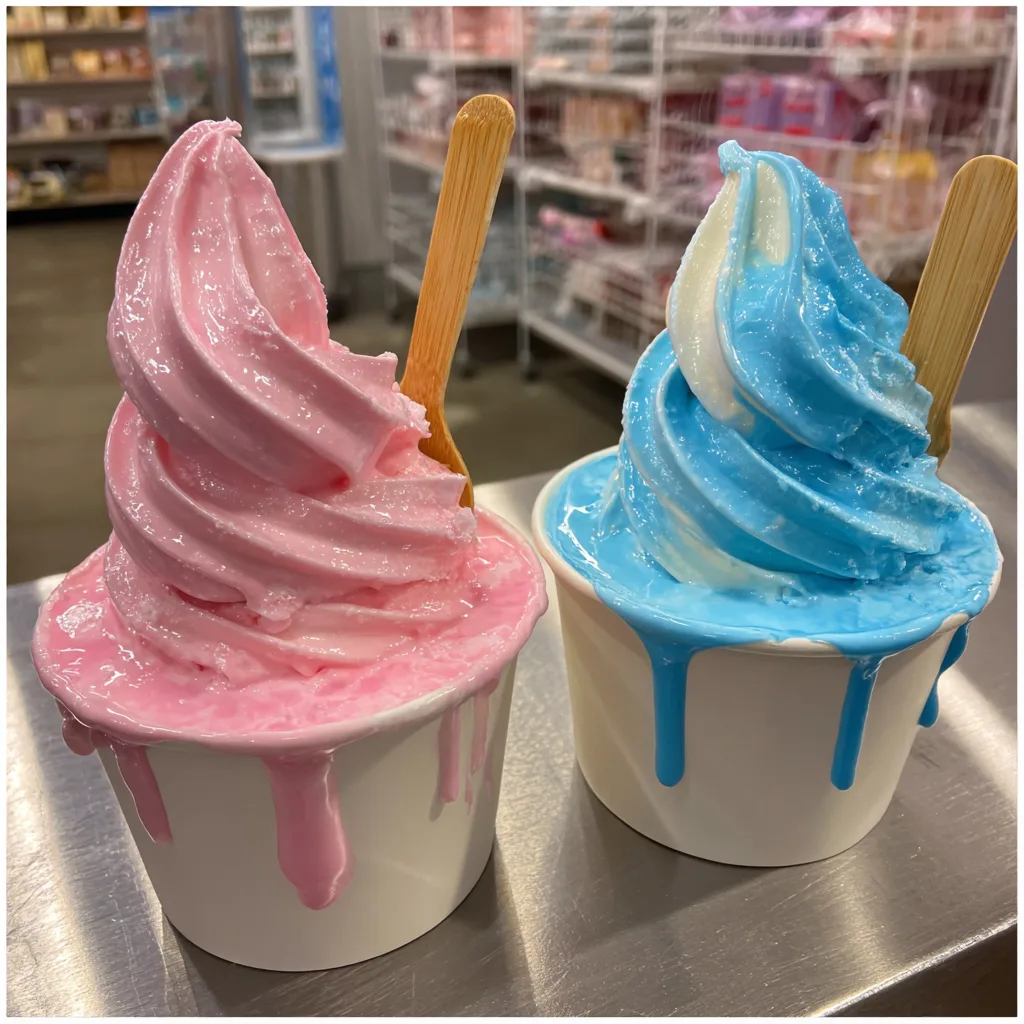
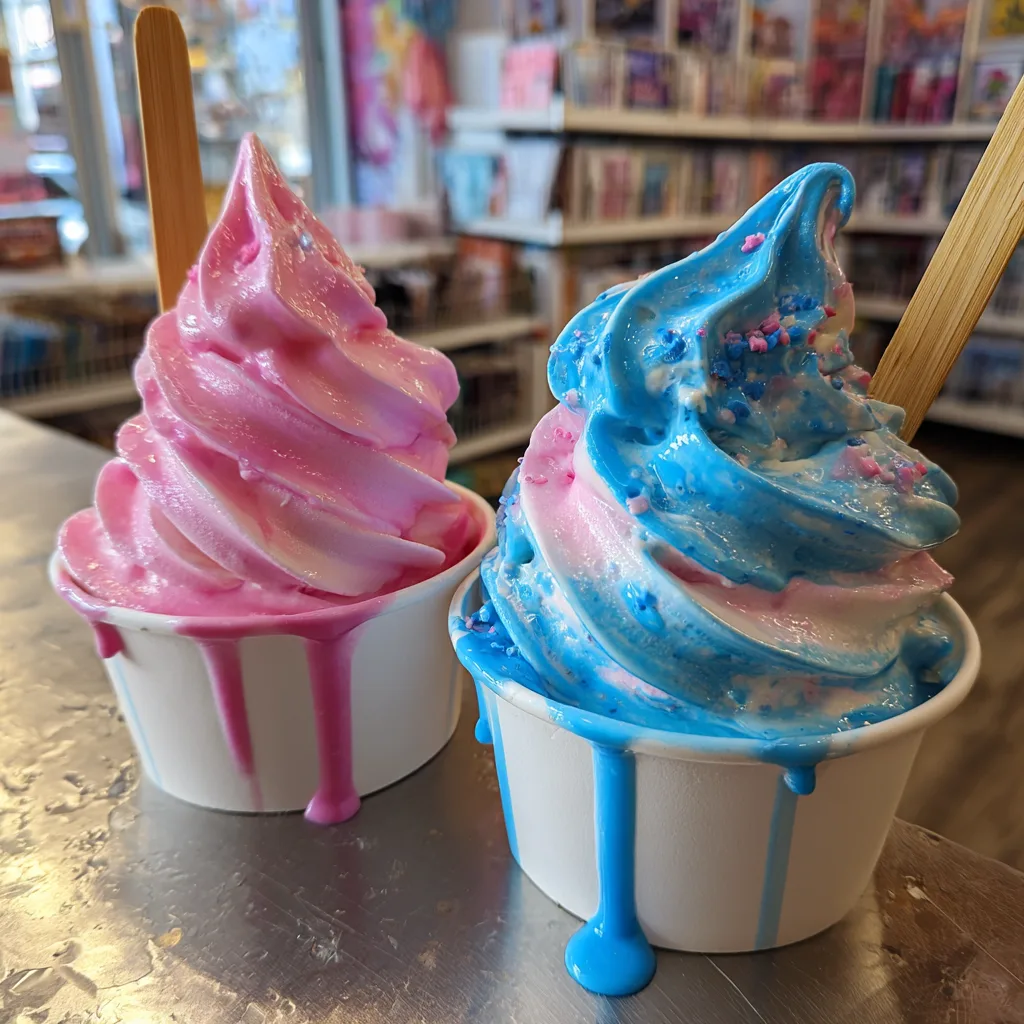
There is a specific kind of magic tied to the bright, neon colors of summer treats. When you think of walking down a sun-drenched boardwalk, visiting a bustling county fair, or chasing the local ice cream truck down the street, certain images immediately spring to mind. Among the most iconic is the towering, perfectly spiraled cup of dual-colored soft serve ice cream. Today, we are bringing that quintessential summer experience right into your kitchen with this spectacular, eye-catching Cotton Candy and Bubblegum Swirl Soft Serve.
Featuring a mesmerizing, intertwining twist of electric blue and vibrant pink, this dessert is visually striking enough to stop anyone in their tracks. But this recipe is not merely about aesthetics; it delivers a flavor profile that will instantly transport you back to your fondest childhood memories. The blue half boasts the spun-sugar sweetness of classic cotton candy, while the pink half delivers the unmistakable, fruity punch of nostalgic bubblegum. Combined, they create a carnival-in-a-cup that is just as fun to make as it is to eat. In this comprehensive, step-by-step guide, we will explore the science of making soft serve without a specialized machine, the secrets to achieving those brilliant colors, and how to pipe the ultimate, gravity-defying swirl.
The Unbeatable Appeal of Nostalgic Flavors
Why do we gravitate toward flavors like cotton candy and bubblegum? The answer lies deep within the psychology of taste and memory. Food is incredibly evocative, and these specific flavor profiles are rarely consumed outside of joyful, celebratory contexts—amusement parks, birthday parties, and summer vacations. By recreating these flavors in a homemade soft serve, you are essentially churning up pure joy.
Cotton candy flavor is essentially characterized by notes of caramelized sugar and a hint of vanilla, mimicking the aroma of sugar melting in a hot centrifuge machine. Bubblegum, on the other hand, is a fascinating blend of artificial fruit flavors—typically a mix of strawberry, banana, cherry, and sometimes a hint of clove or cinnamon. When you combine the creamy, rich texture of premium dairy with these playful flavor extracts, you elevate a simple novelty treat into a gourmet homemade dessert. It bridges the gap between childhood whimsy and adult culinary appreciation.
The Science of Homemade Soft Serve (No Machine Required)
Traditionally, soft serve ice cream is made using a specialized commercial machine that simultaneously freezes the liquid base while pumping air into it (a process called “overrun”). This constant agitation and aeration prevent large ice crystals from forming, resulting in that signature smooth, light, and airy texture that easily extrudes from a spigot.
So, how do we replicate this delicate texture without dropping thousands of dollars on commercial equipment? The secret lies in a technique involving frozen milk cubes and a high-powered blender or food processor. By freezing a portion of our dairy base into solid ice cubes, we are creating the chill factor. When we blend these frozen dairy cubes with a concentrated, sweetened cream mixture, the high-speed blades sheer the ice crystals down to a microscopic size while simultaneously whipping air into the heavy cream. The result is a thick, frosty, beautifully pipeable consistency that mimics machine-made soft serve flawlessly. It is an incredibly rewarding culinary magic trick that relies on emulsion and temperature control.
Essential Ingredients for the Perfect Swirl
Creating this two-toned masterpiece requires dividing your base to flavor and color each half separately. To ensure the creamiest possible mouthfeel, we are using a rich dairy foundation. Here is exactly what you will need:
The Universal Dairy Base (To be divided):
– 4 cups whole milk (divided into ice cube trays and frozen completely solid)
– 1 cup heavy whipping cream (very cold)
– 1 can (14 ounces) sweetened condensed milk (chilled in the fridge)
– 1/4 teaspoon fine sea salt (crucial for balancing the intense sweetness)
For the Blue Cotton Candy Half:
– 1 1/2 teaspoons high-quality cotton candy flavor extract (LorAnn Oils or similar brands work wonderfully)
– 2 to 3 drops electric blue or sky blue gel food coloring
For the Pink Bubblegum Half:
– 1 1/2 teaspoons bubblegum flavor extract
– 2 to 3 drops neon pink or electric pink gel food coloring
Understanding Your Ingredients
Sweetened Condensed Milk: This is the secret weapon in no-churn ice creams. Because it has had the water cooked out of it, it prevents your soft serve from becoming icy. It provides sweetness, a chewy texture, and a concentrated milky flavor that perfectly complements the candy extracts.
Gel Food Coloring vs. Liquid: It is imperative to use gel food coloring for this recipe. Liquid food coloring from the grocery store is mostly water. To get the vibrant pink and blue shown in the photos, you would need to add tablespoons of liquid dye, which would ruin the texture of your soft serve and thin it out. Gel colors are highly concentrated, meaning you only need a tiny drop to achieve explosive color without altering the consistency.
Equipment You Will Need
To successfully pull off the cafe-style presentation, you will need a few specific kitchen tools:
- Ice Cube Trays: Standard silicone or plastic trays to freeze your whole milk.
- High-Speed Blender or Large Food Processor: A powerful motor is necessary to crush the milk cubes into a smooth paste. A food processor with an 11-cup capacity or a Vitamix-style blender is ideal.
- Large Pastry Piping Bags: You need a heavy-duty bag (16-inch or larger) to accommodate the thick, cold mixture without bursting.
- Large Open Star Piping Tip: A Wilton 1M or Ateco 826 tip is perfect for creating those deep, classic soft serve ridges. A large round tip works too for a smooth, modern look.
- Serving Vessels: Simple white paper cups or clear plastic cups showcase the vibrant colors beautifully. Flat wooden spoons add an authentic nostalgic touch.
Step-by-Step Instructions
Preparation is key here. Because soft serve melts quickly, you want all your tools ready to go before you start blending.
Step 1: The Freeze (Day Before)
- Pour your 4 cups of whole milk into ice cube trays. Place them in the coldest part of your freezer and leave them overnight until they are frozen rock solid.
- Place your can of sweetened condensed milk and your heavy whipping cream in the refrigerator to ensure they are very cold.
Step 2: Preparing the Blue Cotton Candy Base
- Place your blender pitcher or food processor bowl in the freezer for 15 minutes to chill it down.
- Remove half of your frozen milk cubes (2 cups worth) and place them into the chilled blender.
- Add half of the chilled heavy cream (1/2 cup), half of the sweetened condensed milk (about 7 ounces), half of the salt, the cotton candy extract, and the blue gel food coloring.
- Blend on high power. You will need to stop frequently to scrape down the sides with a rubber spatula or use a tamper tool to push the ice into the blades. Continue blending until the mixture transforms from a crumbly ice texture into a thick, smooth, stretchy soft serve.
- Immediately transfer this blue mixture into a freezer-safe bowl and place it deep in the freezer so it firms up while you make the pink batch.
Step 3: Preparing the Pink Bubblegum Base
- Quickly rinse and thoroughly dry your blender pitcher to prevent color mixing. Chill it in the freezer for 5 minutes if possible.
- Add the remaining frozen milk cubes to the blender, along with the remaining heavy cream, remaining condensed milk, remaining salt, bubblegum extract, and pink gel food coloring.
- Blend just as you did the first batch, stopping to scrape the sides until perfectly smooth and creamy.
- Transfer this pink mixture to another bowl and place it in the freezer. Let both bowls sit in the freezer for about 15-20 minutes to firm up to a perfect piping consistency. The blending process creates friction heat, so this resting period is crucial for structural integrity.
Step 4: The Ultimate Swirl Assembly
- Fit your large piping bag with the star tip. To easily fill the bag, place it tip-down into a tall drinking glass and fold the wide top edges of the bag over the rim of the glass.
- Take your blue and pink soft serve from the freezer. Carefully spoon the blue soft serve down one vertical half of the piping bag.
- Carefully spoon the pink soft serve down the opposite vertical half of the bag. They should be sitting side-by-side inside the bag.
- Unfold the edges of the bag and twist the top tightly to apply downward pressure. Squeeze a small amount back into a bowl until you see both colors emerging simultaneously.
- Hold your serving cups. Starting at the outer edge of the bottom of the cup, pipe in a continuous circular motion, slowly lifting the bag upwards as you spiral inward to build a tall peak. Stop squeezing and gently pull straight up to form the perfect curly tip.
- Serve immediately with wooden spoons!
Pro Tips for the Perfect Dessert Experience
Work Quickly: Homemade soft serve melts faster than commercial versions because it lacks chemical stabilizers. Ensure your kitchen isn’t overly hot, and have your cups lined up before you start piping.
Extract Intensity: Flavor extracts can vary wildly in strength depending on the brand. It is always wise to start with 1 teaspoon, blend, taste a small spoonful, and add the remaining half teaspoon only if you want a stronger punch.
Texture Troubleshooting: If your blender is struggling to catch the frozen milk cubes, let them sit on the counter for exactly 3 minutes before blending to take the hard edge off. Do not add extra liquid, or your soft serve will turn into a milkshake.
Fun Flavor and Color Variations
Once you have conquered the milk-cube method, you can use this base recipe to create endless combinations.
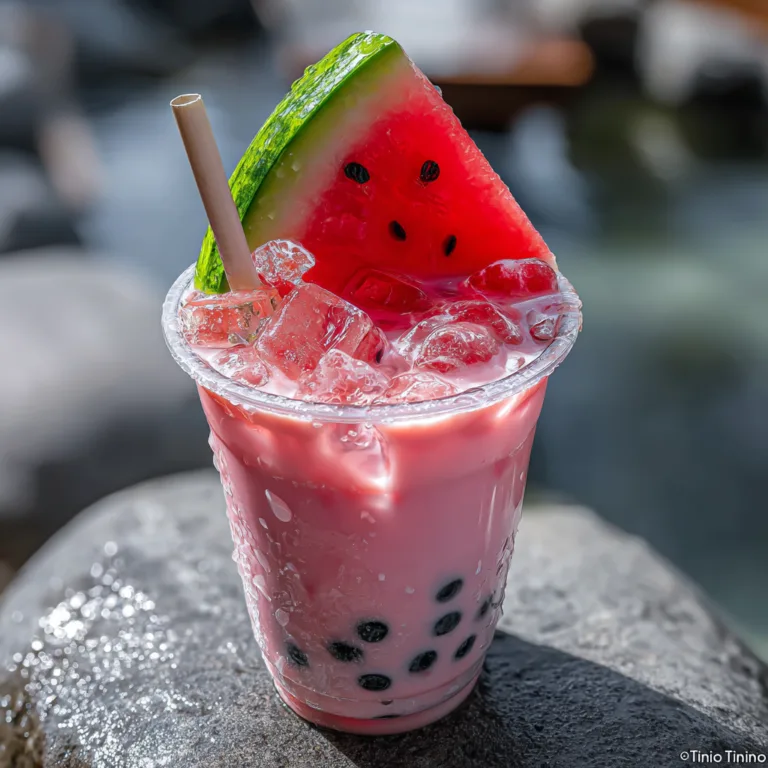
- Watermelon & Green Apple: Dye one half vibrant green with apple extract, and the other half bright pink with watermelon extract.
- Vanilla Bean & Chocolate: Skip the candy extracts. Use pure vanilla bean paste for one half, and blend the other half with high-quality Dutch-processed cocoa powder.
- The Mermaid Swirl: Use coconut extract for a white half and pineapple extract dyed sea-foam green for the other half, topped with edible glitter.
Making the Ultimate Carnival Sundae Bar
If you are serving this at a summer party, why not go all out? Set up a topping bar that leans into the carnival theme. Offer bowls of rainbow sprinkles, mini marshmallows, pop rocks (which add an incredible textural surprise), edible glitter spray, and actual tufts of real cotton candy to use as a garnish on top of the swirls. It turns a simple dessert into an interactive party activity that guests of all ages will love.
Frequently Asked Questions
Can I use non-dairy milk for this recipe?
Yes, but you must choose a high-fat alternative. Full-fat oat milk or a creamy cashew milk works best for the frozen cubes. Substitute the heavy cream with canned full-fat coconut cream, and swap the sweetened condensed milk for sweetened condensed coconut milk. The texture will be slightly different but still delicious.
What if I don’t have flavor extracts?
If you cannot find cotton candy or bubblegum extracts, you can flavor the blue side with a mix of vanilla and a tiny drop of raspberry extract, and the pink side with strawberry extract. It won’t have the exact “candy” profile, but it will still be a delicious, fruity, and gorgeous two-toned treat.
How do I store leftovers?
If you have leftover soft serve in the piping bag, squeeze it into an airtight freezer-safe container. It will freeze solid like traditional hard ice cream. When you are ready to eat it again, let it sit on the counter for 10-15 minutes to soften before scooping it with an ice cream scoop. It won’t retain the piped shape, but the flavor will remain phenomenal.
This Cotton Candy and Bubblegum Swirl Soft Serve is a testament to the fact that you can bring the joy of the boardwalk straight to your dining room table. It is bright, it is beautiful, and it is unapologetically fun. Embrace the vibrant colors, enjoy the nostalgic flavors, and have a wonderful time creating sweet memories in your kitchen!
Cotton Candy & Bubblegum Swirl Soft Serve
Ingredients
Equipment
Method
- The day before, pour the whole milk into ice cube trays and freeze completely solid.
- Chill your blender pitcher in the freezer for 15 minutes before starting.
- Make the Blue Half: Add half of the frozen milk cubes, half the heavy cream, half the condensed milk, half the salt, the cotton candy extract, and blue gel color to the blender.
- Blend on high, stopping frequently to scrape down the sides, until thick and perfectly smooth. Transfer to a bowl and place in the freezer.
- Clean and dry the blender. Make the Pink Half: Add remaining milk cubes, heavy cream, condensed milk, salt, bubblegum extract, and pink gel color. Blend until smooth.
- Transfer the pink mixture to a bowl. Let both bowls sit in the freezer for 15-20 minutes to firm up to piping consistency.
- Fit a piping bag with a large star tip. Spoon the blue mixture down one half of the bag, and the pink mixture down the other.
- Pipe in an upward swirling motion into cups and serve immediately.