Snowcone Cupcakes
Snowcone Cupcakes
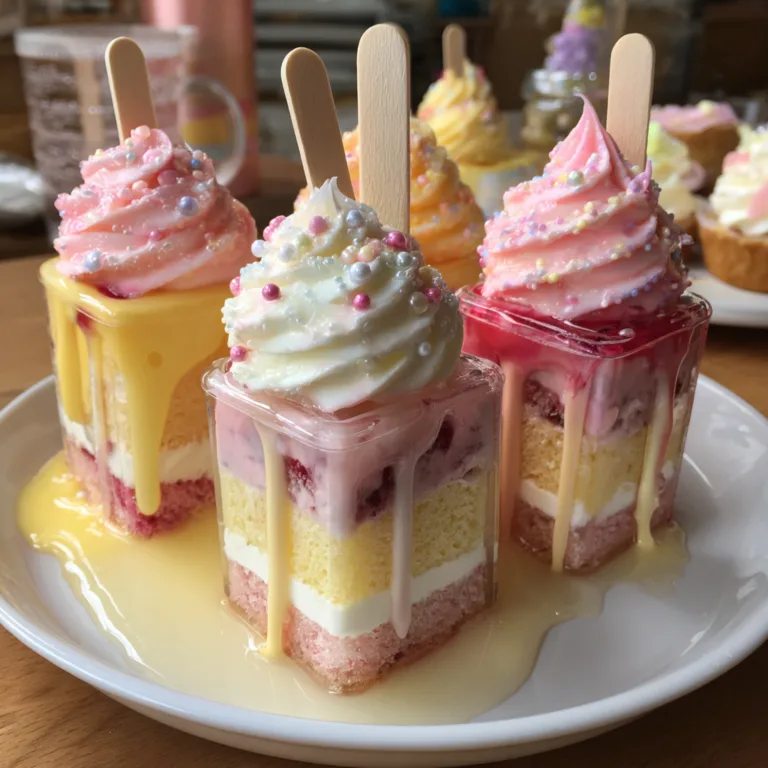
There is something undeniably magical about the nostalgic treats of childhood summers. The distant jingle of an ice cream truck or the bright, colorful stands at the local county fair immediately bring to mind one of the most iconic warm-weather desserts: the snow cone. But what if you could capture that vibrant, frosty aesthetic in a dessert that doesn’t melt and is guaranteed to be a hit at any party? Enter the Snowcone Cupcake. These delightful creations are a feast for the eyes and the palate, cleverly disguising a moist, tender vanilla cupcake and rich buttercream frosting underneath a sparkling, colorful layer of crunchy sugar that perfectly mimics the look of sweet, crushed ice.
The Ultimate Summer Party Treat
Whether you are hosting a backyard barbecue, a pool party, or a child’s summer birthday bash, these Snowcone Cupcakes are the ultimate showstopper. They immediately draw the eye with their brilliant, saturated colors—typically a classic trio of neon blue, bright yellow, and hot pink. Sticking a tiny plastic tasting spoon right into the top completes the illusion, making your guests look twice before taking a bite.
The beauty of this recipe lies in its sheer simplicity. You do not need to be a professional pastry chef to achieve this stunning look. There is no complicated fondant work, no intricate piping techniques, and no stressful temperature control. The “wow” factor comes entirely from a very simple, clever application of coarse colored sugar over a sturdy dome of everyday buttercream.

The Secret to the “Crushed Ice” Look
To create the authentic appearance of a snow cone, you cannot use regular granulated table sugar, and you certainly cannot use powdered sugar. The secret ingredient here is coarse sanding sugar, sometimes labeled as decorating sugar or sparkling sugar. The crystals in coarse sanding sugar are significantly larger than standard baking sugar.
When pressed into the frosting, these large, translucent crystals catch and reflect the light, brilliantly imitating the shiny, wet look of flavored ice. You will need three distinct colors to get the classic snow cone look. If you cannot find pre-colored coarse sanding sugar at your local craft or grocery store, you can easily make your own by placing clear coarse sugar in a ziplock bag with a single drop of gel food coloring and rubbing it together until the color is evenly distributed.
Mastering the Frosting Dome
The shape of your frosting is critical to selling the snow cone illusion. A flat layer of frosting or a traditional swirl will simply look like a colorful cupcake. You need to create a smooth, high, rounded dome that mimics a scoop of shaved ice resting on top of a paper cup.
To achieve this, your buttercream needs to be relatively stiff so it holds its shape. When piping, use a large round tip (or simply snip a large corner off your piping bag). Hold the bag straight above the center of the cupcake, apply steady pressure to build a thick, rounded mound of frosting, and release the pressure before pulling away. If the dome has a little peak at the top, you can gently smooth it down with a damp fingertip before applying the sugar.
Ingredients You Will Need
You can use your favorite scratch-made vanilla cake recipe, or save time with a high-quality boxed mix. The focus here is on the decoration!
For the Cupcakes:
- – 1 box white or vanilla cake mix (plus the oil, water, and eggs required on the box)
- – OR your favorite homemade vanilla cupcake batter yielding 12-15 cupcakes
- – White paper cupcake liners (plain white or faintly striped work best to resemble snow cone cups)
For the Vanilla Buttercream:
- – 1 cup (2 sticks) unsalted butter, softened to room temperature
- – 4 cups powdered sugar, sifted
- – 2 teaspoons pure vanilla extract
- – 2-3 tablespoons heavy cream or milk
- – A pinch of fine sea salt
For the Decoration:
- – 1/3 cup blue coarse sanding sugar
- – 1/3 cup yellow coarse sanding sugar
- – 1/3 cup pink or red coarse sanding sugar
- – Small plastic tasting spoons (often found in party supply aisles)
Step-by-Step Instructions
Creating these vibrant masterpieces is a fun and surprisingly easy process. It is a great recipe to get kids involved with in the kitchen!
- 1. Bake the Cupcakes: Preheat your oven according to your cake recipe or box instructions. Line a muffin tin with white cupcake liners. Fill each liner 2/3 full with batter. Bake until a toothpick inserted into the center comes out clean. Transfer the cupcakes to a wire rack and let them cool completely. Do not attempt to frost warm cupcakes!
- 2. Prepare the Sugars: While the cupcakes cool, set up your decorating station. Pour the blue, yellow, and pink coarse sanding sugars onto a small, flat plate, dividing the plate into three equal pie-shaped wedges (one for each color). Keep the colors touching but try not to mix them too much.
- 3. Whip the Buttercream: In a large mixing bowl using a hand mixer or a stand mixer fitted with a paddle attachment, beat the softened butter on medium speed for 2 minutes until pale and creamy. Gradually add the sifted powdered sugar, one cup at a time, mixing on low speed until incorporated.
- 4. Finish the Frosting: Add the vanilla extract, a pinch of salt, and 2 tablespoons of heavy cream. Beat on high speed for 3-4 minutes until the frosting is light, fluffy, and holds a stiff peak. If it is too soft, add a little more powdered sugar; if it is too stiff, add another splash of cream.
- 5. Pipe the Domes: Transfer the buttercream to a piping bag with a large round tip (or no tip, just a 3/4-inch opening cut at the end). Pipe a generous, high, rounded mound of frosting onto the center of each cooled cupcake.
- 6. Decorate: Take a frosted cupcake, turn it upside down, and gently but firmly press the frosting dome directly into the plate of tri-colored sanding sugars. Roll it slightly to ensure the entire dome is completely coated in sugar crystals and no white frosting is showing.
- 7. The Finishing Touch: Repeat the sugaring process for all cupcakes (you may need to replenish the sugar plate halfway through). Once all cupcakes are coated, carefully insert a small plastic tasting spoon into the top or side of the dome.
- 8. Serve: Display your spectacular Snowcone Cupcakes and enjoy the amazed reactions from your guests!
Pro Tips for the Best Results
Don’t Let the Frosting Crust: Buttercream has a tendency to form a slight “crust” on the outside when exposed to air for too long. For the sugar to adhere properly, the frosting needs to be sticky. Only pipe frosting onto 3 or 4 cupcakes at a time, roll them in the sugar immediately, and then move on to piping the next batch.

Control the Colors: If rolling the cupcake upside down in the plate of mixed sugars is resulting in muddy, overlapping colors, try a different approach. Keep the sugars in separate bowls. Hold the frosted cupcake over a baking sheet, and use a spoon to gently press one color of sugar onto a third of the dome. Repeat with the other two colors. This takes a bit more time but guarantees crisp, clean color lines.
Storage and Make-Ahead Instructions
Storage: These cupcakes can be stored at room temperature in an airtight container for up to 3 days. The sugar coating actually acts as a protective barrier, keeping the frosting from drying out. Avoid storing them in the refrigerator if possible, as the moisture from the fridge can cause the sugar crystals to “weep” or melt, ruining the crushed ice effect.
Make-Ahead: If you are prepping for a party, you can bake the cupcakes 1-2 days in advance and store them unfrosted in an airtight container at room temperature. You can also make the buttercream ahead of time and store it in the fridge; just be sure to let it come to room temperature and re-whip it before piping. It is highly recommended to wait to apply the sugar coating until the day of your event for maximum sparkle and crunch.
Have fun bringing a taste of the boardwalk to your own kitchen with these incredibly delightful and photogenic Snowcone Cupcakes!
Snowcone Cupcakes
Ingredients
Equipment
Method
- Bake the cupcakes according to the box directions using white liners. Let cool completely.
- Make the frosting: Beat butter until creamy. Gradually add powdered sugar, vanilla, and heavy cream. Beat on high until light, fluffy, and stiff enough to hold a shape.
- Pour the blue, yellow, and pink sanding sugars onto a small plate, creating three separate color wedges.
- Using a piping bag, pipe a high, thick, rounded dome of frosting onto each cooled cupcake.
- Immediately take the frosted cupcake and press the frosting dome directly into the tri-colored sugar. Gently roll it until the entire dome is coated and looks like crushed ice.
- Insert a small plastic tasting spoon into the top of each cupcake and serve.