Berrylicious Cheesecake Tacos
Berrylicious Cheesecake Tacos: The Ultimate Dessert Mashup
When it comes to creative desserts, the boundaries of culinary imagination are constantly being pushed. We’ve seen cronuts, dessert pizzas, and ice cream burritos, but there is one sweet treat that stands head and shoulders above the rest when it comes to fun, flavor, and sheer crowd-pleasing potential: Berrylicious Cheesecake Tacos. If you are looking for a dessert that pairs the satisfying crunch of a graham cracker crust with the velvety, rich smoothness of a classic cheesecake, all topped off with the bright, tart burst of a fresh berry compote, you have found your new obsession.
In this comprehensive guide, we are going to dive deep into the world of dessert tacos. We will explore the anatomy of the perfect sweet taco shell, the secrets to whipping up a stable and sliceable no-bake cheesecake filling, and the art of creating a glossy, mouth-watering berry topping that looks like it belongs in a gourmet bakery. Whether you are hosting a summer barbecue, planning a fun family dessert night, or looking for a show-stopping contribution to a potluck, these Berrylicious Cheesecake Tacos are guaranteed to steal the spotlight.
What Are Cheesecake Tacos?
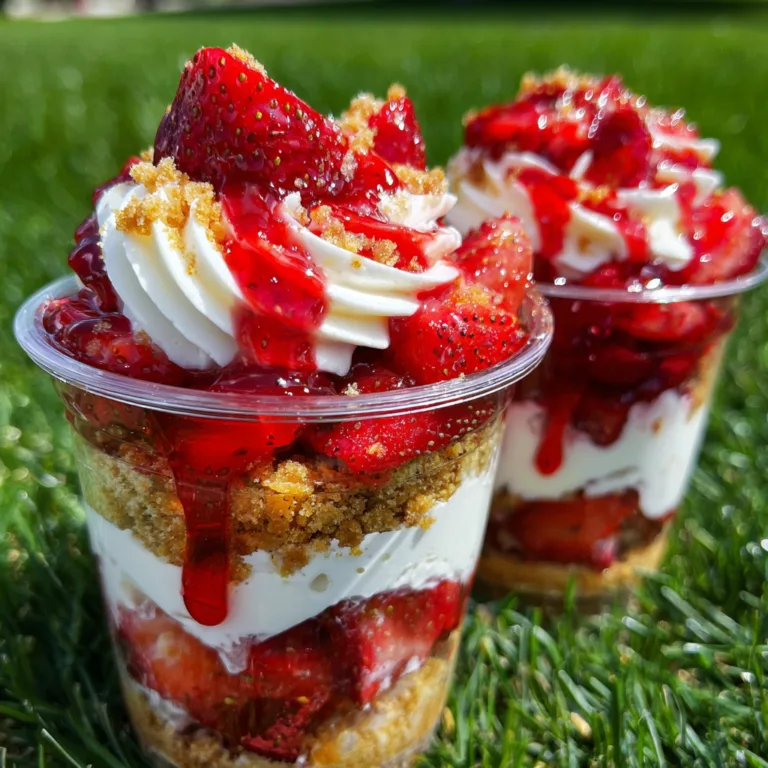
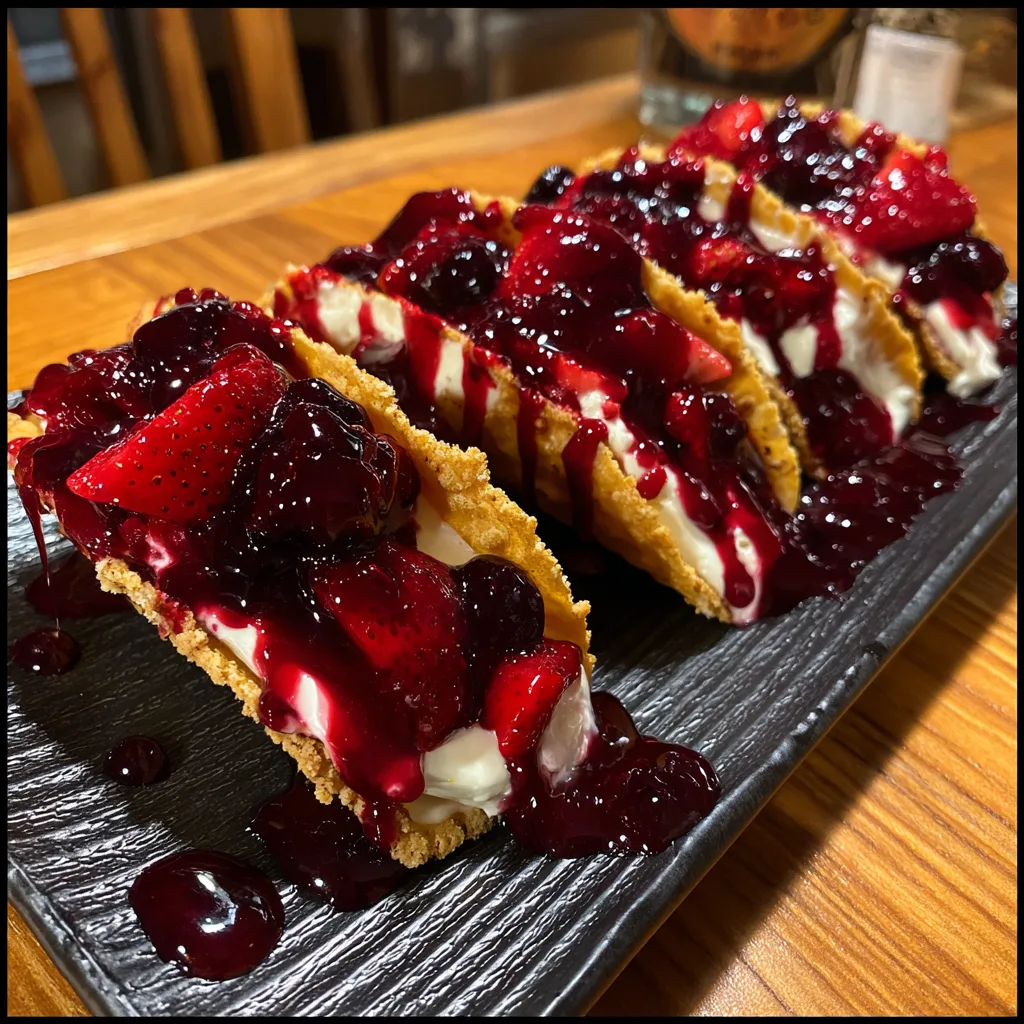
At their core, cheesecake tacos are a playful reimagining of two beloved classics: the traditional Mexican street taco and the iconic New York-style cheesecake. Instead of a savory corn or flour tortilla, the “shell” is crafted from a sweet dough or a baked graham cracker mixture molded into the classic U-shape. Instead of savory meats and salsas, the filling is a rich, tangy cream cheese mixture, piped generously into the crispy shells. Finally, the “salsa” on top is a vibrant, glossy fruit compote—in this case, a stunning mix of red and dark berries that provides the perfect acidic counterpoint to the sweet, heavy filling.
The beauty of this dessert lies in its textural contrast. Every bite delivers a satisfying crunch from the spiced, buttery shell, followed immediately by a cloud of airy, sweet cheesecake, and finished with the juicy, jammy pop of the berries. It is a sensory experience that traditional slice-and-serve cheesecake simply cannot match.
The Anatomy of the Perfect Dessert Taco
To master the Berrylicious Cheesecake Taco, we must break it down into its three essential components. Excelling at each of these layers is the key to creating a dessert that is not only delicious but also structurally sound and visually stunning.
1. The Graham Cracker Shell
The shell is the foundation. It needs to be sturdy enough to hold the heavy filling without cracking or becoming soggy too quickly, yet delicate enough to yield to a pleasant bite. We achieve this by creating a dough-like mixture of finely crushed graham crackers, butter, sugar, and a touch of flour and egg to bind it together. Once rolled out and cut into circles, these discs are baked over an inverted muffin tin or taco stand to achieve that iconic curved shape.
2. The No-Bake Cheesecake Filling
Traditional baked cheesecakes are wonderful, but for a delicate taco shell, a no-bake filling is superior. It is lighter, fluffier, and won’t risk softening the shell through a secondary baking process. By whipping full-fat cream cheese with powdered sugar, vanilla extract, and folding in freshly whipped heavy cream, you create a mousse-like filling that pipes beautifully and sets up firm in the refrigerator.
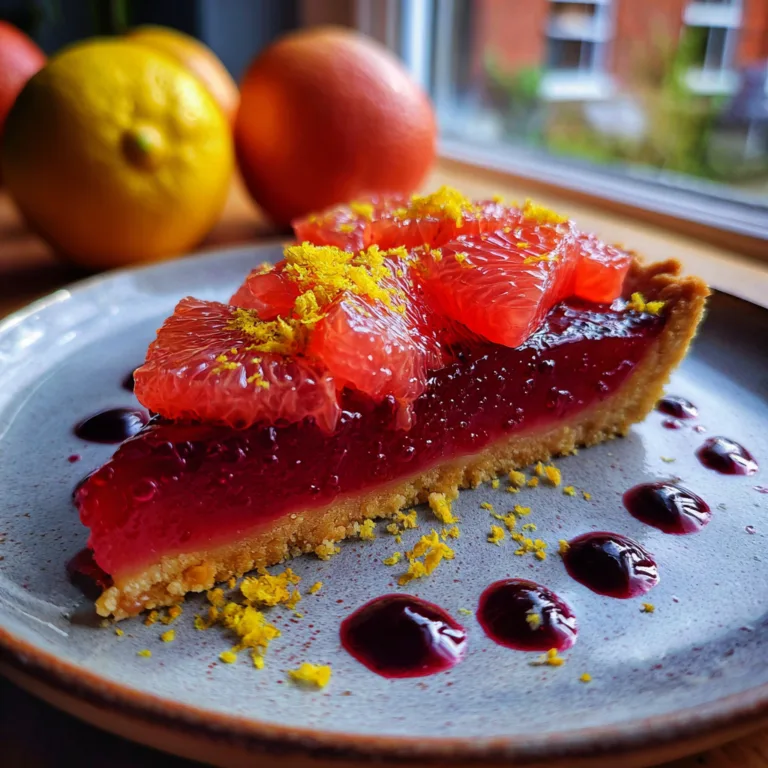
3. The Berrylicious Compote
This is the crown jewel of the taco. A mixture of strawberries, blueberries, raspberries, or blackberries (whatever is freshest!) simmered gently with a little sugar and a splash of lemon juice until the fruits break down and release their natural pectins. A tiny slurry of cornstarch helps thicken the juices into a glossy, mirror-like syrup that drapes luxuriously over the white filling.
Essential Equipment You Will Need
Before you begin your dessert taco journey, make sure your kitchen is equipped with the following tools:
- A food processor (for making perfectly fine graham cracker crumbs).
- A rolling pin.
- A 4-inch or 5-inch round cookie cutter or a bowl to trace circles.
- An inverted muffin tin or a specialized wire taco rack (crucial for forming the shells during baking).
- A stand mixer or electric hand mixer (essential for getting the filling fluffy).
- A piping bag with a large round or star tip (for a professional-looking filling).
- A medium saucepan for the berry compote.
Ingredients List
For the Graham Cracker Taco Shells:
- – 1 1/2 cups graham cracker crumbs (about 12-14 full sheets)
- – 1/2 cup all-purpose flour
- – 1/3 cup granulated sugar
- – 1/2 teaspoon cinnamon
- – 1/2 cup unsalted butter, melted
- – 1 large egg
For the Cheesecake Filling:
- – 16 oz (2 blocks) full-fat cream cheese, room temperature
- – 1 cup powdered sugar, sifted
- – 1 1/2 teaspoons pure vanilla extract
- – 1 cup heavy whipping cream, cold
For the Berry Compote:
- – 2 cups mixed berries (strawberries, blueberries, raspberries), fresh or frozen
- – 1/4 cup granulated sugar
- – 1 tablespoon lemon juice
- – 1 teaspoon cornstarch mixed with 1 tablespoon cold water (slurry)
Step-by-Step Instructions
Follow these detailed instructions to create the ultimate Berrylicious Cheesecake Tacos. Patience during the chilling steps is key to success!
Phase 1: Making the Taco Shells
- Prepare your baking station: Preheat your oven to 350°F (175°C). Take a standard 12-cup muffin tin, turn it upside down, and lightly spray the spaces between the cups with non-stick cooking spray. This is where your tacos will hang to get their shape.
- Mix the dry ingredients: In a medium bowl, whisk together the graham cracker crumbs, all-purpose flour, granulated sugar, and cinnamon until well combined.
- Form the dough: Pour the melted butter and the egg into the dry mixture. Use a fork or your hands to mix until the ingredients come together to form a cohesive, slightly sticky dough. If it’s too crumbly to hold together, add a teaspoon of water.
- Roll and cut: Place the dough between two sheets of parchment paper. Roll it out to about 1/8-inch thickness. Remove the top piece of parchment paper. Using a 4-inch or 5-inch round cutter, press out circles. Re-roll the scraps to get as many circles as possible (usually 8-10).
- Shape and bake: Carefully lift each circle and drape it over the spaces between the inverted muffin cups, gently pressing the sides down to form a taco shape. Bake for 10-12 minutes until the edges are golden brown.
- Cool completely: Let the shells cool on the muffin tin for 5 minutes, then very carefully transfer them to a wire rack. They will harden and crisp up as they cool. Do not fill them while they are warm!
Phase 2: Preparing the Berry Compote
- Simmer the fruit: In a medium saucepan, combine the mixed berries, granulated sugar, and lemon juice. Bring the mixture to a gentle boil over medium heat, stirring occasionally.
- Thicken the sauce: Once the berries have softened and released their juices (about 5-7 minutes), stir in the cornstarch slurry. Continue to cook for another 1-2 minutes until the liquid becomes thick and glossy.
- Cool the compote: Remove the pan from the heat. Transfer the compote to a glass jar or bowl and let it cool completely in the refrigerator. The sauce must be cold before topping the tacos, otherwise, it will melt the cheesecake filling.
Phase 3: Whipping the Cheesecake Filling
- Whip the heavy cream: In a chilled bowl, use a mixer to beat the cold heavy whipping cream until stiff peaks form. Set aside in the refrigerator.
- Beat the cream cheese: In a separate large bowl, beat the softened cream cheese until perfectly smooth and creamy, about 2-3 minutes. Ensure there are no lumps.
- Sweeten and flavor: Add the sifted powdered sugar and vanilla extract to the cream cheese. Beat until completely incorporated and smooth.
- Fold it together: Using a rubber spatula, gently fold the whipped cream into the cream cheese mixture. Work slowly to keep the filling light and airy. Do not overmix.
- Transfer to piping bag: Spoon the filling into a piping bag fitted with a large round or star tip. Chill in the refrigerator for at least 30 minutes to let the filling firm up slightly before piping.
Phase 4: Assembly
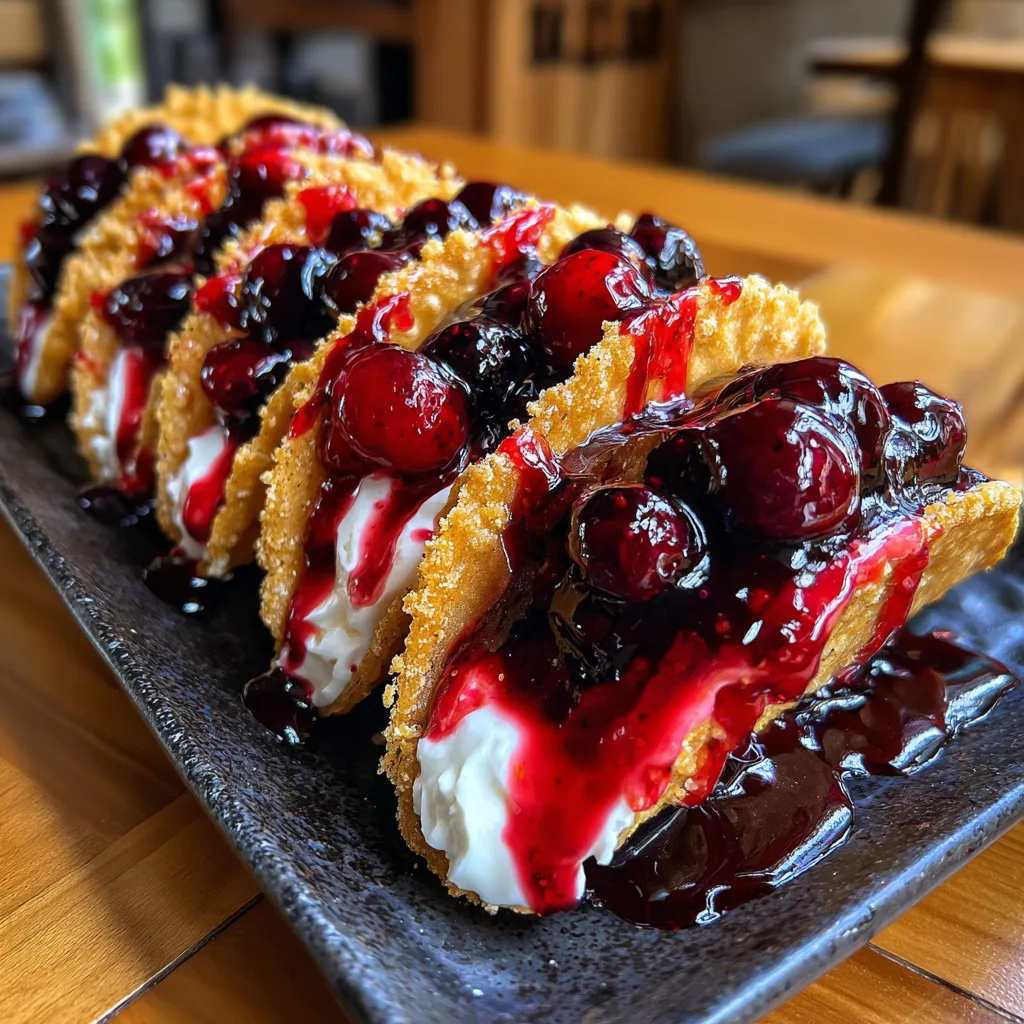
- Pipe the filling: Take a cooled graham cracker shell and pipe a generous zigzag of cheesecake filling into the center, filling it almost to the edges. Repeat with all shells.
- Add the berries: Spoon a generous amount of the cooled berry compote over the top of the cheesecake filling, allowing the glossy syrup to drip slightly down the sides of the filling.
- Serve immediately or chill: For the crispiest shell, serve the tacos immediately after assembling. If you prefer a slightly softer, more integrated dessert, chill the assembled tacos in the fridge for 1-2 hours before serving.
Pro Tips for the Best Cheesecake Tacos
To elevate your dessert from good to spectacular, keep these baker’s secrets in mind:
- Room Temperature Cream Cheese is Non-Negotiable: If your cream cheese is even slightly cold, you will end up with lumpy filling. Leave it out for at least 2 hours before mixing, or microwave the unwrapped blocks on a microwave-safe plate for 15 seconds.
- Don’t Skip Sifting: Always sift your powdered sugar. Tiny sugar lumps will ruin the silky texture of your cheesecake filling.
- Reinforce the Crunch: If you are worried about your taco shells getting soggy from the filling, melt a little white chocolate or dark chocolate and brush the inside of the cooled shells with it. Let the chocolate set before piping in the cheesecake. This creates a delicious, waterproof barrier!
- Customize Your Berries: While a mixed berry blend is visually stunning, you can easily adapt this recipe. A pure cherry compote, cinnamon-spiced diced apples, or even a tropical mango-passionfruit drizzle would all be incredible variations.
Exciting Variations to Try
Once you master the basic Berrylicious Cheesecake Taco, the world is your oyster. Here are a few fun ways to change up the flavor profile for different occasions:
The Turtle Cheesecake Taco: Swap the berry compote for a heavy drizzle of rich caramel sauce, hot fudge, and chopped toasted pecans. Add a dash of cocoa powder to the graham cracker dough for a chocolate shell.
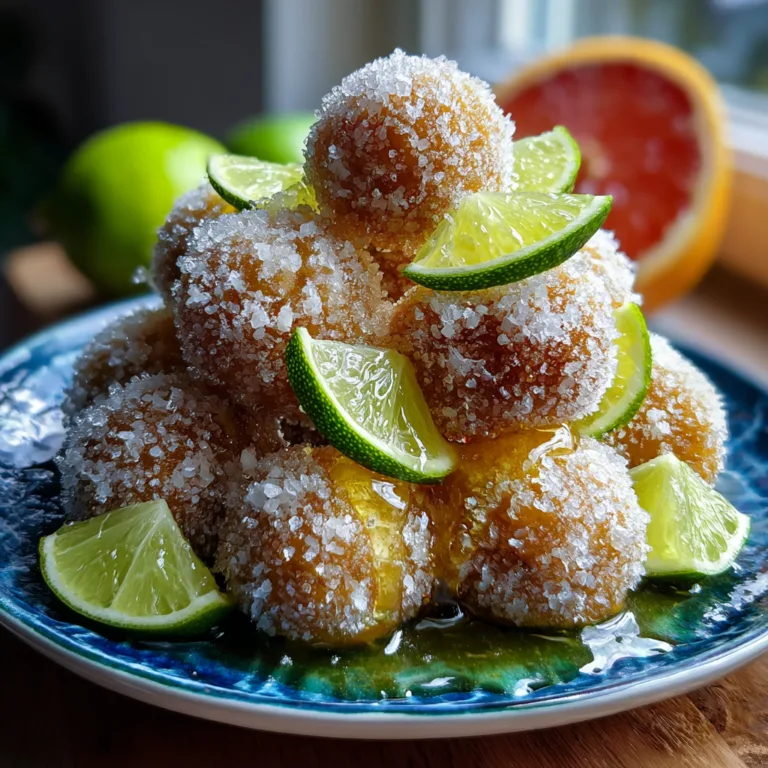
The Key Lime Taco: Add the zest of two limes and a tablespoon of fresh lime juice to the cheesecake filling. Top with toasted coconut flakes and a dollop of fresh whipped cream instead of berries.
The Peanut Butter Cup Taco: Blend half a cup of creamy peanut butter into the cream cheese mixture before folding in the whipped cream. Top with chopped peanut butter cups and a chocolate drizzle.
Serving Suggestions and Occasions
These tacos are visually spectacular, making them ideal for entertaining. Because they are individual portions, they are perfect for a dessert buffet or a potluck. Display them on a long, dark slate board or a rustic wooden serving tray to make the vibrant red and purple berries pop.
If you are hosting a dinner party, consider setting up a “Dessert Taco Bar.” Bake the shells ahead of time and set them out alongside bowls of the piped cheesecake filling, various fruit compotes, chocolate sauces, crushed nuts, and sprinkles. Let your guests build their own custom dessert tacos for a fun, interactive end to the meal.
Make-Ahead and Storage Instructions
Dessert tacos are best enjoyed fresh, but you can certainly prepare the components ahead of time to make assembly a breeze.
- The Shells: The baked graham cracker shells can be stored in an airtight container at room temperature for up to 3 days. Do not put them in the fridge, or they will soften.
- The Filling: The no-bake cheesecake filling can be made up to 2 days in advance. Keep it in the piping bag in the refrigerator until ready to use.
- The Compote: The berry sauce can be made up to a week in advance and stored in a sealed jar in the fridge.
Once assembled, the tacos should be eaten within a few hours for maximum shell crispness. If you have leftovers, store them in an airtight container in the fridge for up to 2 days, but be aware the shells will become soft (though they will still taste delicious, much like a traditional cheesecake crust!).
Frequently Asked Questions (FAQ)
Can I use store-bought taco shells?
We do not recommend using store-bought savory taco shells. However, some specialty stores sell sweet waffle cone taco shells, which could work in a pinch. Making the graham cracker shells from scratch yields the best flavor pairing for the cheesecake.
My filling is too runny, what happened?
Runny filling is usually caused by overmixing the heavy cream into the cream cheese, which deflates the air, or by using low-fat cream cheese, which has a higher water content. Always use full-fat block cream cheese and gently fold the ingredients together.
Can I freeze cheesecake tacos?
We do not recommend freezing the assembled tacos, as the freezing and thawing process will ruin the texture of the fresh berries and make the graham cracker shell mushy. However, you can freeze the cheesecake filling in an airtight container for up to 2 months.
Conclusion
Berrylicious Cheesecake Tacos are more than just a novelty; they are a genuinely fantastic dessert that balances flavor and texture perfectly. With a buttery, crisp graham cracker shell, a rich and fluffy no-bake cheesecake center, and a vibrant, sweet-tart berry finish, they hit all the right notes for a satisfying sweet treat. Don’t be intimidated by the multi-step process—each component is surprisingly simple to make, and the final result is well worth the effort. Grab your mixing bowls and get ready to impress your family and friends with this ultimate dessert mashup!
Berrylicious Cheesecake Tacos
Ingredients
Equipment
Method
- Preheat oven to 350°F (175°C). Turn a 12-cup muffin tin upside down and spray lightly with non-stick spray.
- In a bowl, mix graham cracker crumbs, flour, sugar, and cinnamon. Stir in melted butter and egg until a dough forms.
- Roll dough out between parchment paper to 1/8-inch thickness. Cut into 4-inch circles.
- Drape circles over the inverted muffin cups to form taco shapes. Bake for 10-12 minutes until golden. Cool completely on the tin before moving.
- For the compote: In a saucepan, simmer berries, sugar, and lemon juice for 5 minutes. Stir in cornstarch slurry and cook 1 more minute until thickened. Chill completely.
- For the filling: Whip heavy cream until stiff peaks form. Set aside.
- In a separate bowl, beat softened cream cheese until smooth. Add powdered sugar and vanilla, beating until combined. Gently fold in the whipped cream.
- Transfer cheesecake filling to a piping bag. Pipe generously into the cooled graham cracker shells.
- Top each taco generously with the cooled berry compote. Serve immediately or chill until ready.