Chocolate Glazed Truffles
The Ultimate Decadent Chocolate Glazed Truffles Guide
There are few things in the culinary world as universally beloved as chocolate. It is the ultimate comfort food, a symbol of romance, and the centerpiece of countless celebrations. Today, we are diving deep into a recipe that elevates this beloved ingredient to new, glorious heights: Decadent Chocolate Glazed Truffles. If you have ever stared at a bakery display case, mesmerized by the impossibly glossy, mirror-like finish on a piece of high-end confectionery, you might have thought such results were impossible to achieve at home. This comprehensive guide is here to prove otherwise.
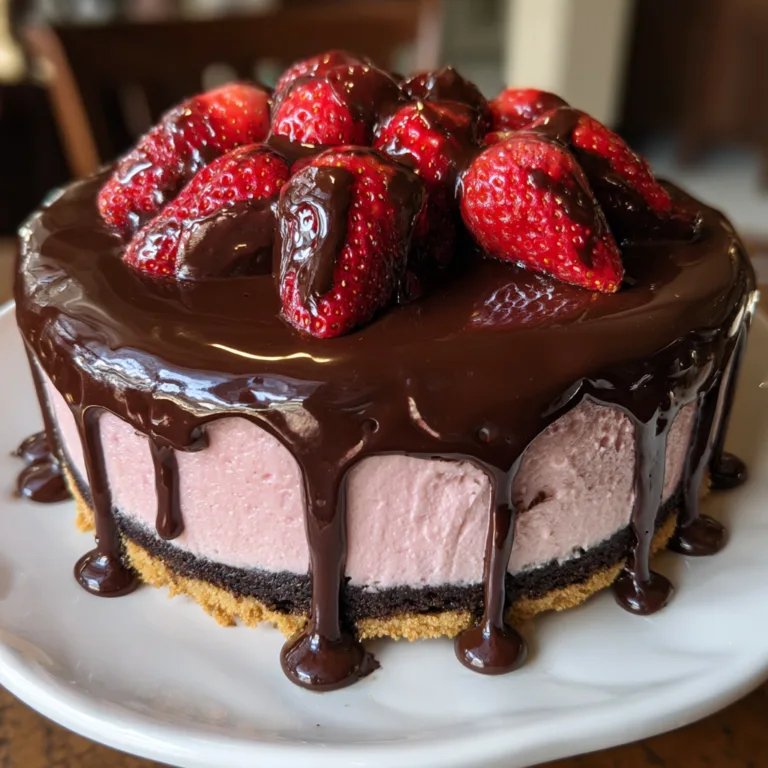
These truffles are not your average, dusty, cocoa-rolled candies. They are rich, dense, intensely flavored domes of chocolate ganache, enrobed in a secondary layer of the glossiest, most fluid chocolate glaze you have ever seen. They look like dark, liquid glass and taste like pure indulgence. Whether you are preparing for a holiday party, looking for a spectacular edible gift, or simply treating yourself on a rainy weekend, this recipe will be your new secret weapon.
Why You Will Love This Recipe
Creating these truffles is a journey of textures and deep flavors. Here is why this recipe is guaranteed to become a staple in your dessert repertoire:
- Unmatched Texture: The contrast between the firm but melt-in-your-mouth interior ganache and the smooth, snappy exterior glaze is absolute perfection.
- Visual Appeal: That ultra-glossy finish makes these truffles look like they came from a high-end Parisian chocolatier. They are show-stoppers.
- Customizable: The base ganache acts as a blank canvas. You can infuse it with liqueurs, extracts, espresso, or spices to create endless variations.
- No Baking Required: Because this is fundamentally a confectionery recipe, you do not have to worry about perfectly calibrated oven temperatures or rising times. It is all about melting, mixing, and chilling.
- Impressive yet Accessible: While the results look intimidatingly professional, the actual steps—making a ganache and pouring a glaze—are incredibly straightforward once you know the basics.

The Science of the Perfect Chocolate Glaze
To achieve that mirror-like reflection—that ultra-shiny coating that cascades off the spoon like liquid silk—you need to understand a little bit of chocolate science. A standard melted chocolate bar will eventually dry dull and can bloom (develop white streaks) if not perfectly tempered. Our glaze relies on a specific ratio of chocolate to fat (usually butter or oil) and sometimes a touch of corn syrup or liquid glucose.
The addition of a liquid sugar like corn syrup is the secret to the gloss. It prevents the sugar crystals in the chocolate from re-forming tightly, keeping the glaze supple and incredibly reflective even after it sets. Furthermore, the butter adds richness and a smooth mouthfeel while keeping the coating from becoming rock hard in the refrigerator. Temperature is also key; pouring the glaze when it is warm (but not scalding hot) ensures it flows smoothly over the cold truffles, creating a flawless, thin shell without melting the interior.
Essential Ingredients
Quality ingredients are paramount here. Since chocolate is the star of the show, try to use the best you can afford.
- High-Quality Dark Chocolate (for the filling): Look for chocolate bars or baking discs (couverture) rather than standard chocolate chips, which contain stabilizers that prevent them from melting smoothly. Aim for a cacao percentage around 60% to 70%.
- Heavy Whipping Cream: This provides the rich, creamy liquid needed to turn the solid chocolate into a lush ganache. Do not substitute with milk or half-and-half; you need the fat content.
- Unsalted Butter: Used in both the filling (for silkiness) and the glaze (for shine and texture). Using unsalted butter allows you to control the sodium level perfectly.
- Vanilla Extract: A splash of pure vanilla extract enhances the chocolate flavor, adding depth and floral notes.
- Salt: A tiny pinch of fine sea salt balances the sweetness and elevates the overall flavor profile.
- Semi-Sweet Chocolate (for the glaze): A slightly sweeter chocolate for the outside balances the intense dark chocolate interior.
- Corn Syrup or Liquid Glucose: The magic ingredient for that ultra-glossy, mirror-like finish that stays shiny even when set.
Step-by-Step Instructions
Follow these detailed steps to achieve confectionery perfection. Patience during the chilling phases is the key to success.
- Chop the Chocolate: Begin by finely chopping the dark chocolate for the filling. The finer the chocolate is chopped, the faster and more evenly it will melt, preventing the ganache from splitting or becoming grainy. Place the chopped chocolate into a heatproof glass or metal mixing bowl.
- Heat the Cream: In a small, heavy-bottomed saucepan, pour in the heavy whipping cream. Place it over medium heat and bring it just to a simmer. You want to see small bubbles forming around the edges of the pan, but do not let it come to a full, rolling boil, as this can scorch the cream and alter its flavor.
- Create the Ganache Base: Pour the hot cream directly over the finely chopped dark chocolate. Do not stir immediately! Let the mixture sit undisturbed for exactly 3 to 5 minutes. This allows the heat of the cream to gently penetrate and melt the chocolate.
- Whisk to Perfection: After the resting period, add the softened butter, vanilla extract, and a pinch of salt. Beginning in the center of the bowl, gently whisk the mixture in small, tight circles. As the cream and chocolate emulsify, slowly widen your circles until the entire mixture is smooth, glossy, and homogeneous.
- Chill the Filling: Press a piece of plastic wrap directly onto the surface of the ganache to prevent a skin from forming. Place the bowl in the refrigerator and let it chill for at least 2 to 3 hours, or until it is firm enough to scoop and hold its shape.
- Portion and Roll: Line a baking sheet with parchment paper. Using a small cookie scoop or a melon baller, portion the chilled ganache into bite-sized mounds. Dust your hands lightly with cocoa powder (to prevent sticking) and rapidly roll each mound into a smooth ball or dome shape. Place them back on the prepared baking sheet.
- Second Chill: Once all the truffles are rolled, place the baking sheet back into the refrigerator (or freezer for 20 minutes) to ensure they are very cold and firm. This is crucial so they do not melt when the warm glaze is poured over them.
- Prepare the Glossy Glaze: While the truffles are chilling, prepare the glaze. In a heatproof bowl set over a saucepan of gently simmering water (a double boiler setup), combine the chopped semi-sweet chocolate, butter, and corn syrup. Stir constantly until the mixture is completely melted, brilliantly smooth, and intensely shiny. Remove from heat and let it cool slightly (it should still be very warm and pourable, but not boiling hot).
- The Pour: Transfer your chilled truffles to a wire rack set over a clean, parchment-lined baking sheet (to catch the drips). Using a spoon or a small pitcher, generously pour the warm, glossy glaze over each truffle. Ensure the glaze cascades down the sides, coating the dome entirely. Allow the excess to drip off.
- Final Set: Let the freshly glazed truffles sit at room temperature for about 10 minutes, then carefully transfer them back to the refrigerator for at least 30 minutes to allow the glossy shell to set completely before serving.
Pro Tips for the Glossiest Finish
Even seasoned bakers can run into trouble with chocolate. Here are some insider tips to guarantee success every single time.
- Keep Water Away: Chocolate’s worst enemy is water. Even a single drop of condensation from a lid or a wet spoon can cause melting chocolate to seize, turning it into a stiff, grainy paste. Ensure all bowls and utensils are bone dry.
- Temperature Control: If your ganache splits (looks oily and separated), the cream was likely too hot or it was stirred too vigorously. You can often rescue split ganache by vigorously whisking in a tablespoon of cold heavy cream until it comes back together.
- Double Glazing: For a flawlessly smooth, incredibly thick shell, you can double-glaze the truffles. Pour the first layer, let it chill for 10 minutes, and then pour a second layer. This hides any imperfections in the rolling phase.
- Reusing the Drips: Do not waste the beautiful chocolate that pools on the parchment paper beneath your wire rack! You can scrape it up, gently reheat it, and use it for more truffles or to drizzle over ice cream.
Exciting Variations and Flavor Combinations
The beauty of a classic chocolate truffle is its versatility. Once you master the basic ganache, you can take the flavor profile in dozens of different directions.
Liqueur Infusions: For an adult twist, stir 1 to 2 tablespoons of your favorite liqueur into the ganache just after the chocolate and cream have emulsified. Grand Marnier (orange), Baileys Irish Cream, Kahlua (coffee), or Amaretto (almond) all pair beautifully with dark chocolate.
Spice and Heat: Mexican chocolate inspired truffles are always a hit. Add half a teaspoon of ground cinnamon and a generous pinch of cayenne pepper or ancho chili powder to the hot cream before pouring it over the chocolate. The subtle heat pairs wonderfully with the sweet glaze.
Extracts and Oils: Food-grade essential oils or high-quality extracts can completely change the character of the dessert. A few drops of pure peppermint extract creates a refreshing, after-dinner mint truffle. Orange extract or raspberry extract are also excellent choices.
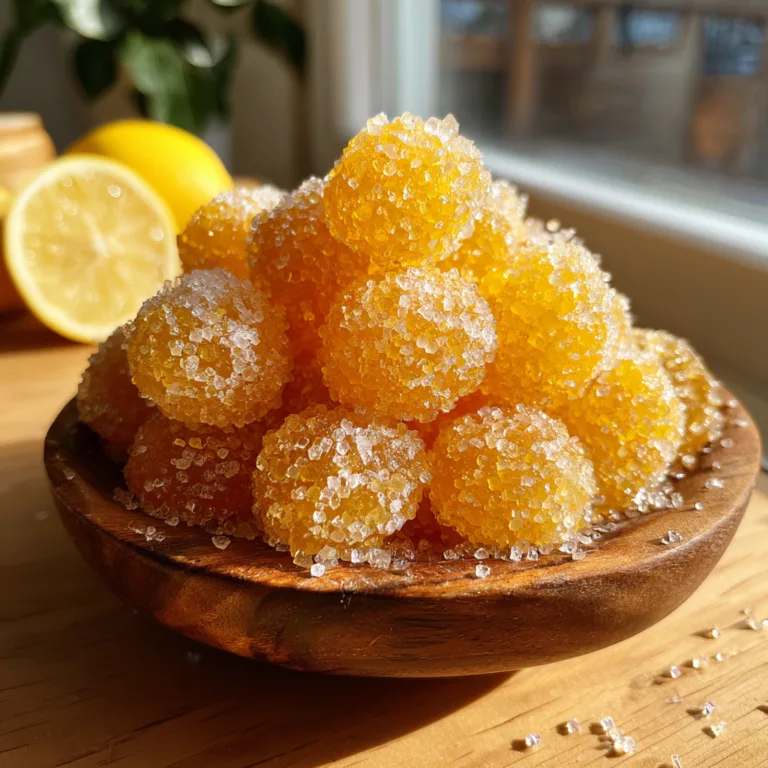
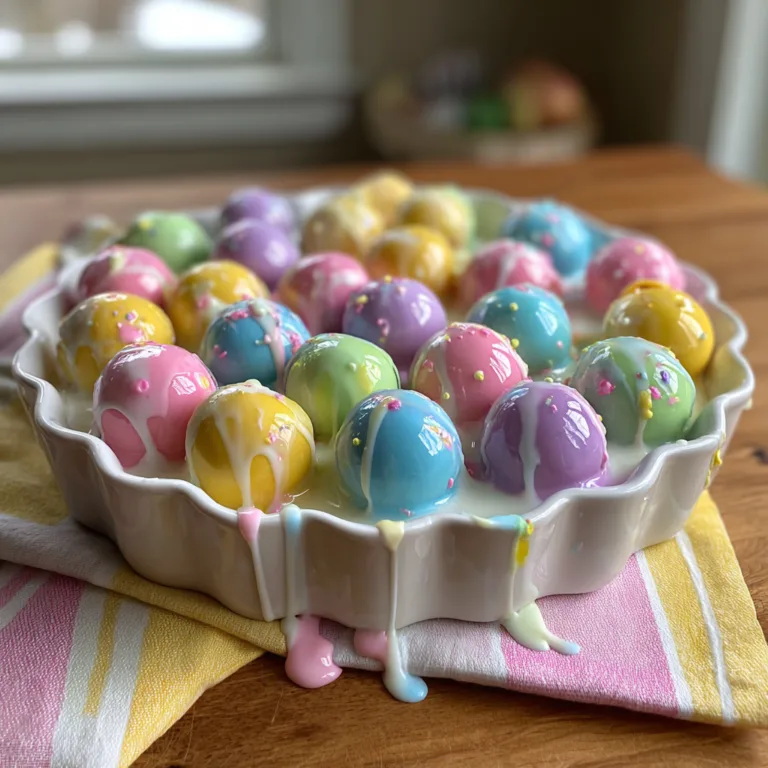
Textural Additions: Before the glaze sets, you can add visual flair and texture to the top of the truffles. Sprinkle them with flaky sea salt, crushed freeze-dried raspberries, finely chopped toasted pistachios, or edible gold leaf for a truly luxurious presentation.
Serving Suggestions
Because these truffles are incredibly rich, serving them requires a bit of thought. They are best enjoyed slightly chilled but not freezing cold, allowing the interior ganache to soften just enough to melt on the tongue while the outer shell retains its satisfying snap.
Serve them as the grand finale to an elegant dinner party, perhaps alongside a shot of espresso or a glass of port wine or ruby Cabernet. They also make magnificent additions to a dessert charcuterie board, nestled among fresh berries, nuts, and shortbread cookies.
Storage and Make-Ahead Instructions
Truffles are fantastic make-ahead desserts. The base ganache can actually be made up to a week in advance and stored in an airtight container in the refrigerator before rolling.
Once the truffles are fully formed and glazed, they should be stored in an airtight container in the refrigerator. They will easily keep for up to two weeks. If you need to stack them, be sure to place layers of wax paper or parchment paper between them to protect the glossy finish.
You can also freeze un-glazed truffles for up to three months. Simply thaw them in the refrigerator overnight before proceeding with the glossy glaze step.
Frequently Asked Questions (FAQ)
Can I make these vegan/dairy-free?
Yes! You can substitute the heavy cream with full-fat canned coconut milk (scoop out the solid cream part). For the butter, use a high-quality vegan butter block. Ensure all your chocolate is certified dairy-free.
Why did my glaze dry dull instead of shiny?
If the glaze lost its shine, it usually means the chocolate was overheated during melting, or the ratio of fat/corn syrup to chocolate was off. Make sure to melt the glaze ingredients gently over a double boiler, never directly on high heat.
Do I absolutely need corn syrup?
If you cannot find corn syrup or prefer not to use it, liquid glucose, golden syrup, or even honey can be substituted. However, honey will impart a distinct flavor to the chocolate, whereas corn syrup is completely neutral.

The Cultural Context of Chocolate Truffles
It is worth noting the history of this luxurious treat. The chocolate truffle was named after the savory truffle fungus due to its physical resemblance. Traditionally, French truffles were simply rough balls of ganache rolled in bitter cocoa powder, mimicking the look of a freshly unearthed mushroom covered in dirt.
The glossy, enrobed truffle we are making today is a more modern, refined evolution of that rustic original. Techniques pioneered by Belgian and Swiss chocolatiers introduced the concept of creating a hard, snappy chocolate shell to protect the soft interior and extend shelf life. The high-gloss glaze is an even further evolution, borrowing techniques from modern pastry glazing (like the famous mirror glazes used on entremets) and applying them to bite-sized confections.
Conclusion
Making Decadent Chocolate Glazed Truffles at home is a tremendously rewarding culinary project. Watching that dark, glossy liquid coat the chocolate domes is mesmerizing, and taking that first bite—breaking through the shiny shell into the lush, velvety interior—is a moment of pure bliss. Gather your ingredients, prepare your kitchen, and get ready to create a dessert that will impress everyone who tries it. Happy truffle making!
Decadent Chocolate Glazed Truffles
Ingredients
Equipment
Method
- Place the finely chopped dark chocolate into a heatproof mixing bowl.
- In a small saucepan, gently heat the heavy whipping cream until it just reaches a simmer. Do not let it boil.
- Pour the hot cream over the chopped dark chocolate. Let it sit undisturbed for 5 minutes.
- Add the softened butter, vanilla extract, and salt. Whisk gently starting from the center until the ganache is smooth and completely combined.
- Cover the bowl with plastic wrap touching the surface of the ganache. Chill in the refrigerator for at least 2 hours until firm.
- Line a baking sheet with parchment paper. Scoop the chilled ganache into bite-sized mounds and roll them into smooth domes. Return to the fridge for 30 minutes.
- Prepare the glaze: Melt the semi-sweet chocolate, butter, and corn syrup together in a double boiler over gently simmering water. Stir until perfectly smooth and glossy. Let cool slightly.
- Place the chilled truffles on a wire rack set over a parchment-lined baking sheet. Spoon or pour the warm, glossy glaze over each truffle, allowing the excess to drip off.
- Let set at room temperature for 10 minutes, then transfer to the refrigerator to harden the shell completely before serving.